Blog
Already using Braze or Adjust in your mobile app? RudderStack can now send events into that same instance
Already using Braze or Adjust in your mobile app? RudderStack can now send events into that same instance

Chryssa Aliferi
Product Manager
7 min read
November 10, 2026
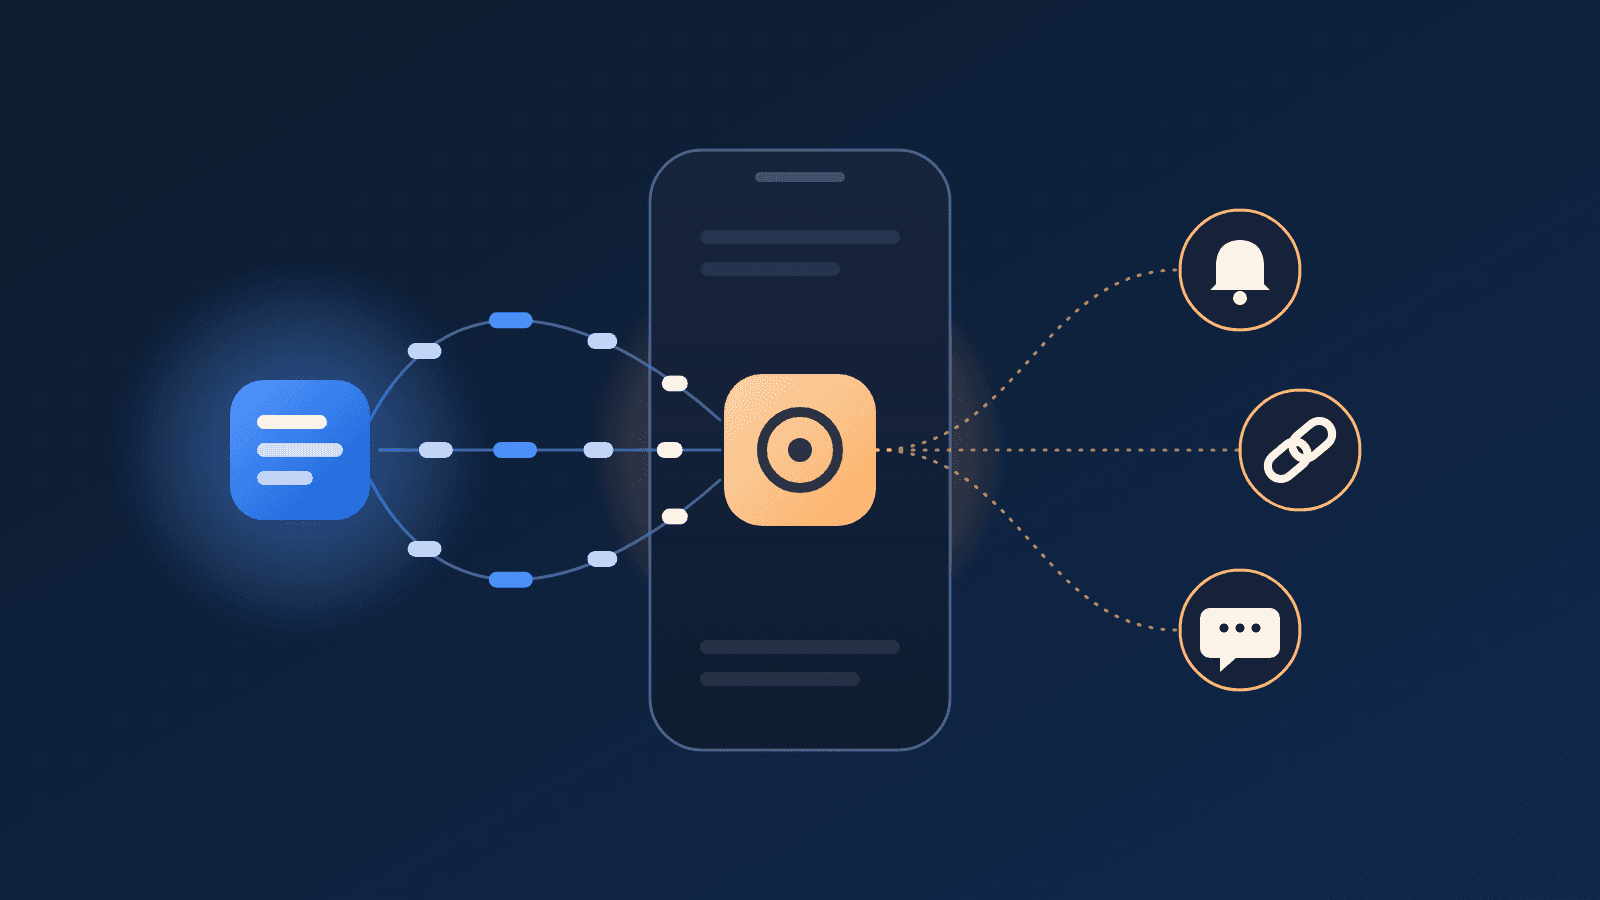
Your mobile app has used Braze for years. It sends push notifications, shows in-app messages, and authenticates users through the Braze SDK. Your team set it up by hand, tuned every option, and it works.
Then the business grows. Product teams want the same user behavior in Amplitude. Data and marketing teams want to build customer profiles in the warehouse. Everyone wants clean, governed events with the same names in every tool. So you add RudderStack to collect events once and send them everywhere, and Braze becomes one of those destinations. That's where it gets awkward.
In your app, Braze is more than a tool that receives your data. It powers push notifications, deep links, and in-app messages, all configured the way your product needs. But the RudderStack Braze integration was built to create and configure its own Braze instance, and your app had already done that. So most teams either kept RudderStack out of Braze, or ran two Braze setups side by side in the same app.
Starting today, that conflict is gone. On the RudderStack Kotlin and Swift SDKs, every device-mode destination can use the vendor SDK instance your app already runs. Pass your instance in, and RudderStack maps and forwards your events into it. Your setup and the features built on it stay exactly as they are.
One SDK, two owners
Until now, a RudderStack device-mode integration did two jobs:
- Set up the vendor SDK, using the settings in your RudderStack dashboard.
- Map and forward your RudderStack events to that SDK.
That works well when RudderStack is the only thing in your app that talks to the vendor. But vendor SDKs aren't just tools that receive your data. They power product features: push, in-app messages, deep links, attribution, and surveys. The app team sets them up directly, often before anyone thinks about a Customer Data Platform (CDP).
So two parts of your app wanted to own the same SDK:
- Your marketing features (push, in-app messages, deep links) needed the SDK set up by your app, the way your product needs it.
- Your event tracking, through RudderStack, needed the integration to set the SDK up itself so it could send events.
Only one of them could.
The workarounds
We heard about the same few workarounds again and again, in support threads, customer calls, and from our own account teams:
- Instrument twice. Keep your own vendor setup, skip the RudderStack integration, and log events to the vendor SDK by hand next to every RudderStack call. It works, but it's double the tracking code. Event names drift between the two, and the vendor never sees the clean, governed events the rest of your stack gets.
- Hand the SDK to RudderStack. Let the integration set it up, and give up the deep links, attribution callbacks, or push handling your app depends on.
- Run both, or fork. Run the vendor SDK alongside RudderStack's, which means two instances of the same SDK in one app and a real chance of dependency version conflicts. Or maintain a private fork of our integration with the options you need. Either way, you own extra code that breaks on upgrades.
- Build a custom device mode integration. RudderStack's custom device mode integrations let you wrap any vendor SDK yourself, including one your app already set up. It gives you full control, but you write and maintain the event mapping and configuration that the standard integration would otherwise handle for you.
Each of these costs you something. All of them come from the same root cause: the standard integration insisted on setting up an SDK your app already owned.
What's new: RudderStack uses the SDK your app already runs
You can now pass your own vendor instance to the RudderStack integration. Your app sets up the SDK, and RudderStack only maps and forwards events into it. Here's what changes:
- Who sets up the vendor SDK. Before: RudderStack. Now: your app, with any option the vendor offers.
- Vendor features: push, in-app messages, deep links, attribution. Before: only what RudderStack exposes. Now: yours, set up natively.
- Getting events into the vendor. Before: RudderStack, or your own instrumentation calling the vendor SDK directly. Now: RudderStack, into your instance.
- Event mapping and on/off switch. Still in the dashboard, as before.
Your app keeps one instance of each vendor SDK, set up your way. You track an event once, with RudderStack, and it lands in the Braze instance that also sends your push notifications, or the Adjust instance that also handles your deep links. No second instance, no dependency conflicts, and nothing to keep in sync.
How it works
Keep your vendor setup code as it is. Then add the RudderStack integration with your instance, not the default form.
On Android, with the Braze setup your app already has:
KOTLIN
On iOS, with your existing Adjust setup:
SWIFT
That's the whole change. Your track, identify, and screen calls flow through RudderStack, which maps them using your dashboard settings and sends them into your instance. If your app also sends events to the vendor SDK directly, you can now remove that instrumentation.
"A lot of mobile teams set up Braze or Adjust long before they used RudderStack, and they weren't going to rip that out. Our integration wanted to create its own instance of the same SDK. That meant two instances in one app, possible dependency conflicts, and only the options RudderStack exposed. Now RudderStack plugs into the instance your app already runs, with every feature you've built on it." — Chryssa Aliferi, Product Manager at RudderStack
Good to know
When your app owns the SDK, a few things that RudderStack used to do become yours.
- Consent for the vendor SDK. RudderStack no longer sets up the vendor SDK, so it can't stop it from collecting its own data, such as sessions, installs, and push tokens. Set the SDK up only after the user consents, or use the vendor's own consent APIs. RudderStack still applies your consent settings to the events it forwards.
- The destination stays in the dashboard. It must still exist and be enabled, because it holds the event-mapping settings and works as your on/off switch. The credential fields still need a value, even though the integration doesn't use them.
- Nothing changes unless you opt in. If you don't pass an instance, every integration works exactly as before.
Availability
Available now on all RudderStack plans, for every device-mode destination on the Kotlin and Swift SDKs. Minimum integration versions:
- Braze: Android (Kotlin) integration v2.1.0+. iOS (Swift) integration v3.0.0+ with Swift SDK v2.0.0+.
- Adjust: Android (Kotlin) integration v2.1.0+. iOS (Swift) integration v2.0.0+ with Swift SDK v2.0.0+.
- CleverTap: Android (Kotlin) integration v2.1.0+. iOS (Swift) integration v2.0.0+ with Swift SDK v2.0.0+.
- Sprig: Android (Kotlin) integration v2.1.0+. iOS (Swift) integration v2.0.0+ with Swift SDK v2.0.0+.
React Native and Flutter aren't supported yet.
Get started
If your app already runs a vendor SDK, you can now use RudderStack device mode with the instance you have.
- Upgrade. Move to the Kotlin integration v2.1.0 or later, or to Swift SDK v2.0.0 with the matching integration versions.
- Keep your vendor setup. Leave your existing vendor SDK setup code in place.
- Pass the instance to RudderStack. Add the integration with your instance, not the default form.
- Enable the destination. Connect it to your mobile source in the RudderStack dashboard, and set up event mapping there.
- Clean up any workaround. Once events show up in the vendor from RudderStack (check from a staging workspace first), remove any direct vendor instrumentation, a second SDK instance, or a forked integration if you had one.
New to RudderStack? Try it for free. Want a walkthrough first? Get a demo.
Questions, or want this on another SDK or destination? Reach out on the RudderStack Slack community or contact your customer success manager.
Supported destinations
To use your own instance with any of these destinations, follow its setup guide:
Published:
November 10, 2026
Get started today
Start driving better business outcomes with your customer data in less than a week
Book a demo
Explore use cases with an expert and see RudderStack in action.
Implement RudderStack
Start collecting and enabling real-time customer data everywhere it's needed.
Drive better outcomes
Supercharge your analytics, product, growth, and AI teams.