Okta SCIM Configuration
- enterprise
3 minute read
The Single Sign-On (SSO) feature is available in the Enterprise plan only.
This guide lets you configure Okta’s SCIM provisioning feature to automatically grant RudderStack access to your users. It is divided into the following sections:
Supported features
RudderStack supports the following SCIM provisioning features currently:
- Push users: You can create or link a user in RudderStack when assigning the app to a user in Okta.
- Update user attributes: Okta updates a user’s attributes in RudderStack when the app is assigned to them. Note that any future attribute changes made to the Okta user’s profile will automatically overwrite the corresponding attribute value in RudderStack.
You can only update the user’s display name. Updating the email is not supported currently.
- Deactivate/reactivate users: This feature deactivates a user’s RudderStack account when it is unassigned in Okta or their Okta account is deactivated. To reactivate the account, you can reassign the app to the user in Okta.
When a user is deactivated through SCIM, RudderStack does not delete the user from its database; it only revokes their organization user role leading to the loss of their workspace access.
Prerequisites
Before setting up SCIM provisioning, make sure to generate an organization-level Service Access Token in the RudderStack workspace for which you want to enable SCIM.
Make sure to create an organization-level Service Access Token. Otherwise, your SCIM provisioning tasks will fail.
Token permissions for legacy RBAC system
If you are on the legacy Permissions Management (RBAC) system, generate an Organization-level Service Access Token.
SCIM configuration steps
- Log in to Okta as an administrator.
- In the sidebar, go to Applications > Applications and select your SSO app configured with SAML 2.0.
Make sure that the Application username format in your app is set to Email. See the SSO setup instructions guide for more information.
- In the app settings, go to the Provisioning tab and and click Configure API Integration.
- Check the Enable API Integration setting.
- In the API Token field, enter the Service Access Token you generated above.
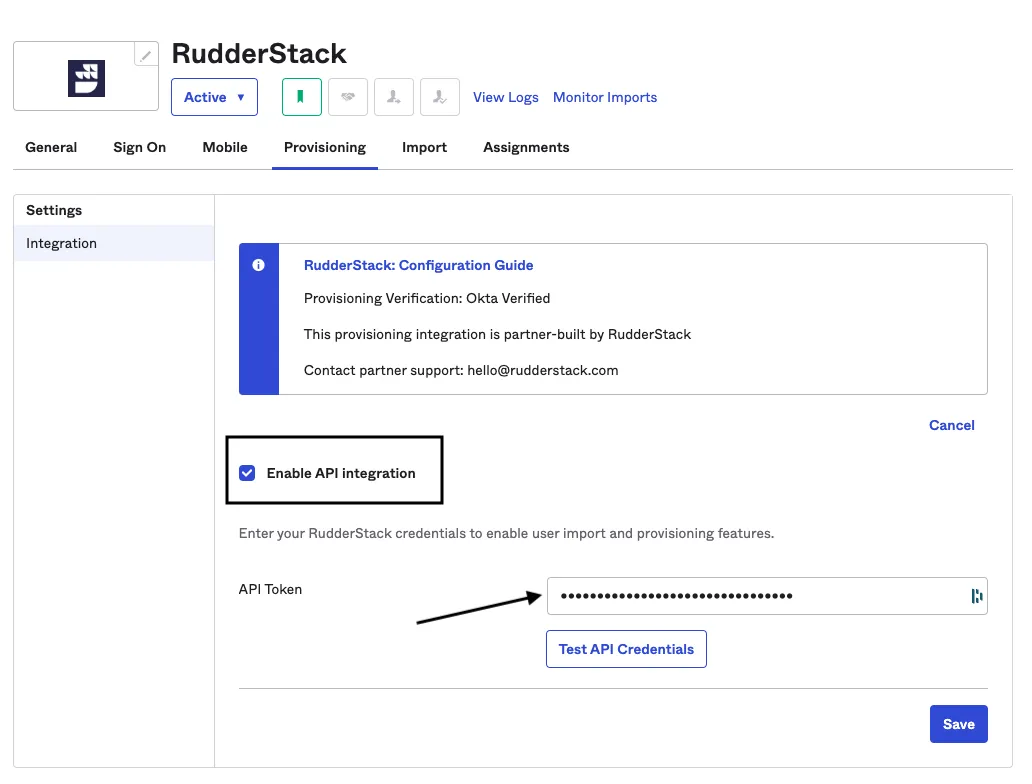
- Click Save to finish the configuration.
Note that:
If you have already added or assigned users to your SSO app, make sure to reassign them after completing the SCIM configuration. Otherwise, you will see a red exclamation symbol next to such users.
Your SCIM app needs the following permissions for the admin to be able to manage (add, update, or, deactivate) the users:
- Create Users
- Update User Attributes
- Deactivate Users
The RudderStack app (in the Okta gallery) comes preconfigured with these permissions turned on by fault. Do not remove these permissions while setting up your SCIM app.
Known issues
RudderStack does not support the following SCIM features currently:
| Feature | Comments |
|---|---|
| Importing users | - |
| Importing groups | Support for SCIM group operations is coming soon. |
| Pushing groups | Support for SCIM group operations is coming soon. |
| Removing users | The user account is deactivated (disabled) instead as it achieves the same outcome. |
| Syncing passwords | As SCIM is implemented after SSO, there is no need for a password for SSO authentication. |
| Enhanced group push | - |
