Integrate JavaScript SDK v1.1 with your Next.js App
5 minute read
This guide will help you integrate RudderStack with your Next.js app using the RudderStack JavaScript SDK. On successful integration, you can track and send real-time user events to your preferred destinations via RudderStack.
To set up the event stream on your Next.js app, you need to perform the following steps:
The RudderStack JavaScript source is required track the events from your Next.js app. Follow these steps to set it up in your RudderStack dashboard:
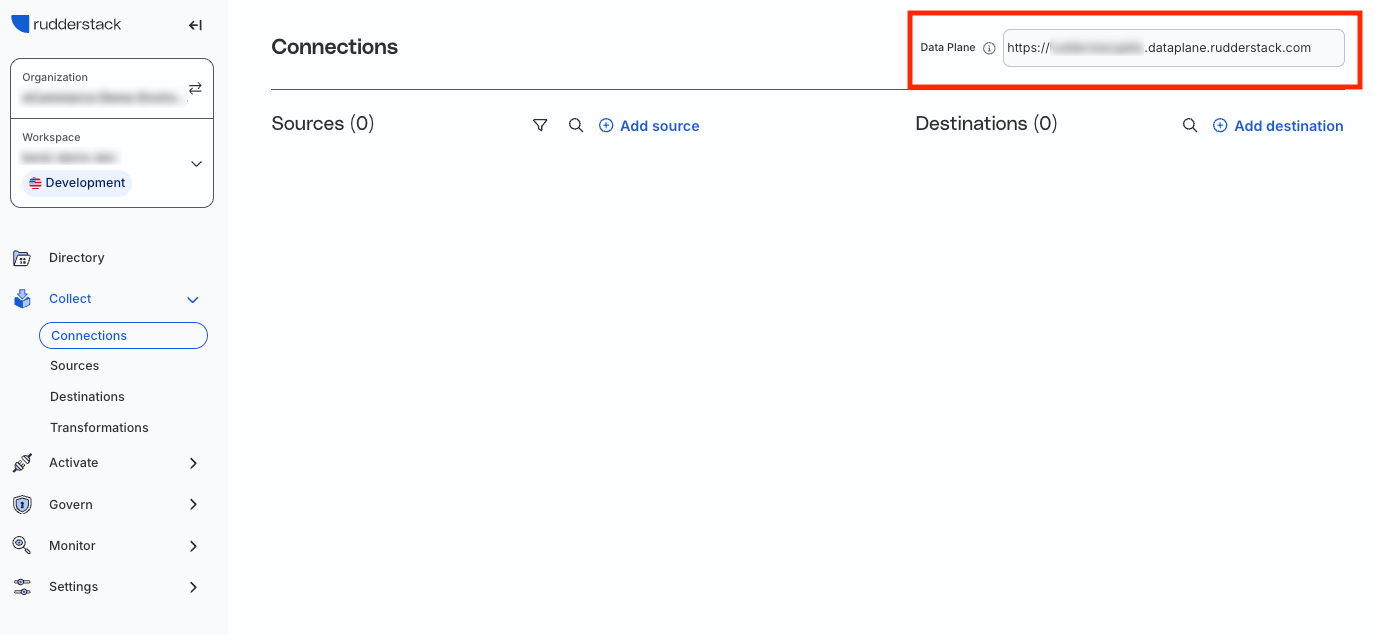
Note the data plane URL in your RudderStack dashboard. This is required to set up the JavaScript SDK in your Next.js app.
Click the Sources button in the left navigation bar and select New Source to create a source. Under Sources, select Event Streams > JavaScript.
Assign a name to your source and click Continue.
Your JavaScript source is now configured. Note down the write key for this source:
Method 1: Installing and configuring the JavaScript SDK in your Next.js app
To integrate RudderStack with your Next.js app and set up the tracking code, follow the steps below:
In your Next.js project folder, create a rudderInitialize.js file with the following code:
exportasyncfunctionrudderInitialize(){(function(){vare=(window.rudderanalytics=window.rudderanalytics||[]);(e.methods=['load','page','track','identify','alias','group','ready','reset','getAnonymousId','setAnonymousId','getUserId','getUserTraits','getGroupId','getGroupTraits','startSession','endSession',]),(e.factory=function(t){returnfunction(){e.push([t].concat(Array.prototype.slice.call(arguments)));};});for(vart=0;t<e.methods.length;t++){varr=e.methods[t];e[r]=e.factory(r);}(e.loadJS=function(e,t){varr=document.createElement('script');(r.type='text/javascript'),(r.async=!0),(r.src='https://cdn.rudderlabs.com/v1.1/rudder-analytics.min.js');vara=document.getElementsByTagName('script')[0];a.parentNode.insertBefore(r,a);}),e.loadJS(),e.load('WRITE-KEY','DATAPLANE-URL'),// Replace 'WRITE-KEY' and 'DATAPLANE-URL'
e.page();})();}
If you are using an older version of the JavaScript SDK, see the Version Migration Guide to migrate to SDK v1.1.
Replace <WRITE_KEY> and <DATA_PLANE_URL> with your JavaScript source write key and the data plane URL obtained in the Creating a JavaScript source in RudderStack section above.
In the pages folder, open the index.js file and add the following code snippet:
Replace <WRITE_KEY> and <DATA_PLANE_URL> with your JavaScript source write key and the data plane URL obtained in the Creating a JavaScript source in RudderStack section above.
In the pages folder, open the index.js file and add the following code snippet:
This section details the steps required to set up a destination in RudderStack, where you can send all events tracked by the JavaScript SDK you set up above.
In your RudderStack dashboard, click Destinations > New destination.
Choose your preferred destination from the list.
Assign a name to the destination and click Continue.
Select the JavaScript source configured in the above section and click Continue.
Configure the destination with the required settings.
Optionally, you can add a user transformations to this destination to transform your events.
Deploying your Next.js app and verifying the event stream
To verify if your event stream is working correctly, deploy your Next.js app and test if the events are tracked and delivered correctly. To do so, follow these steps:
From your terminal, navigate to the folder containing your Next.js app and run following command:
npm run dev
Open the local server URL(generally http://localhost:3000/) in your browser to view the app.
Go to your browser’s developer tools and check the Network tab to verify if the RudderStack JavaScript SDK (rudder-analytics.js) is loaded correctly. The following image highlights this option for the Google Chrome browser:
Click the various links or pages in your app for RudderStack to track these actions.
Go to the Live Events tab of your JavaScript source in the RudderStack dashboard to check if the events are tracked. Note that you may face a minor delay before the events start showing up in your dashboard.
Go to your destination to verify if the events are received successfully.
Questions? We're here to help.
Join the RudderStack Slack community or email us for support
This site uses cookies to improve your experience while you navigate through the website. Out of
these
cookies, the cookies that are categorized as necessary are stored on your browser as they are as
essential
for the working of basic functionalities of the website. We also use third-party cookies that
help
us
analyze and understand how you use this website. These cookies will be stored in your browser
only
with
your
consent. You also have the option to opt-out of these cookies. But opting out of some of these
cookies
may
have an effect on your browsing experience.
Necessary
Always Enabled
Necessary cookies are absolutely essential for the website to function properly. This
category only includes cookies that ensures basic functionalities and security
features of the website. These cookies do not store any personal information.
This site uses cookies to improve your experience. If you want to
learn more about cookies and why we use them, visit our cookie
policy. We'll assume you're ok with this, but you can opt-out if you wish Cookie Settings.