Use your own domain for fetching the source configuration.
4 minute read
This guide covers the steps to use your own domain instead of the RudderStack domains for fetching the source configuration response.
Setup overview
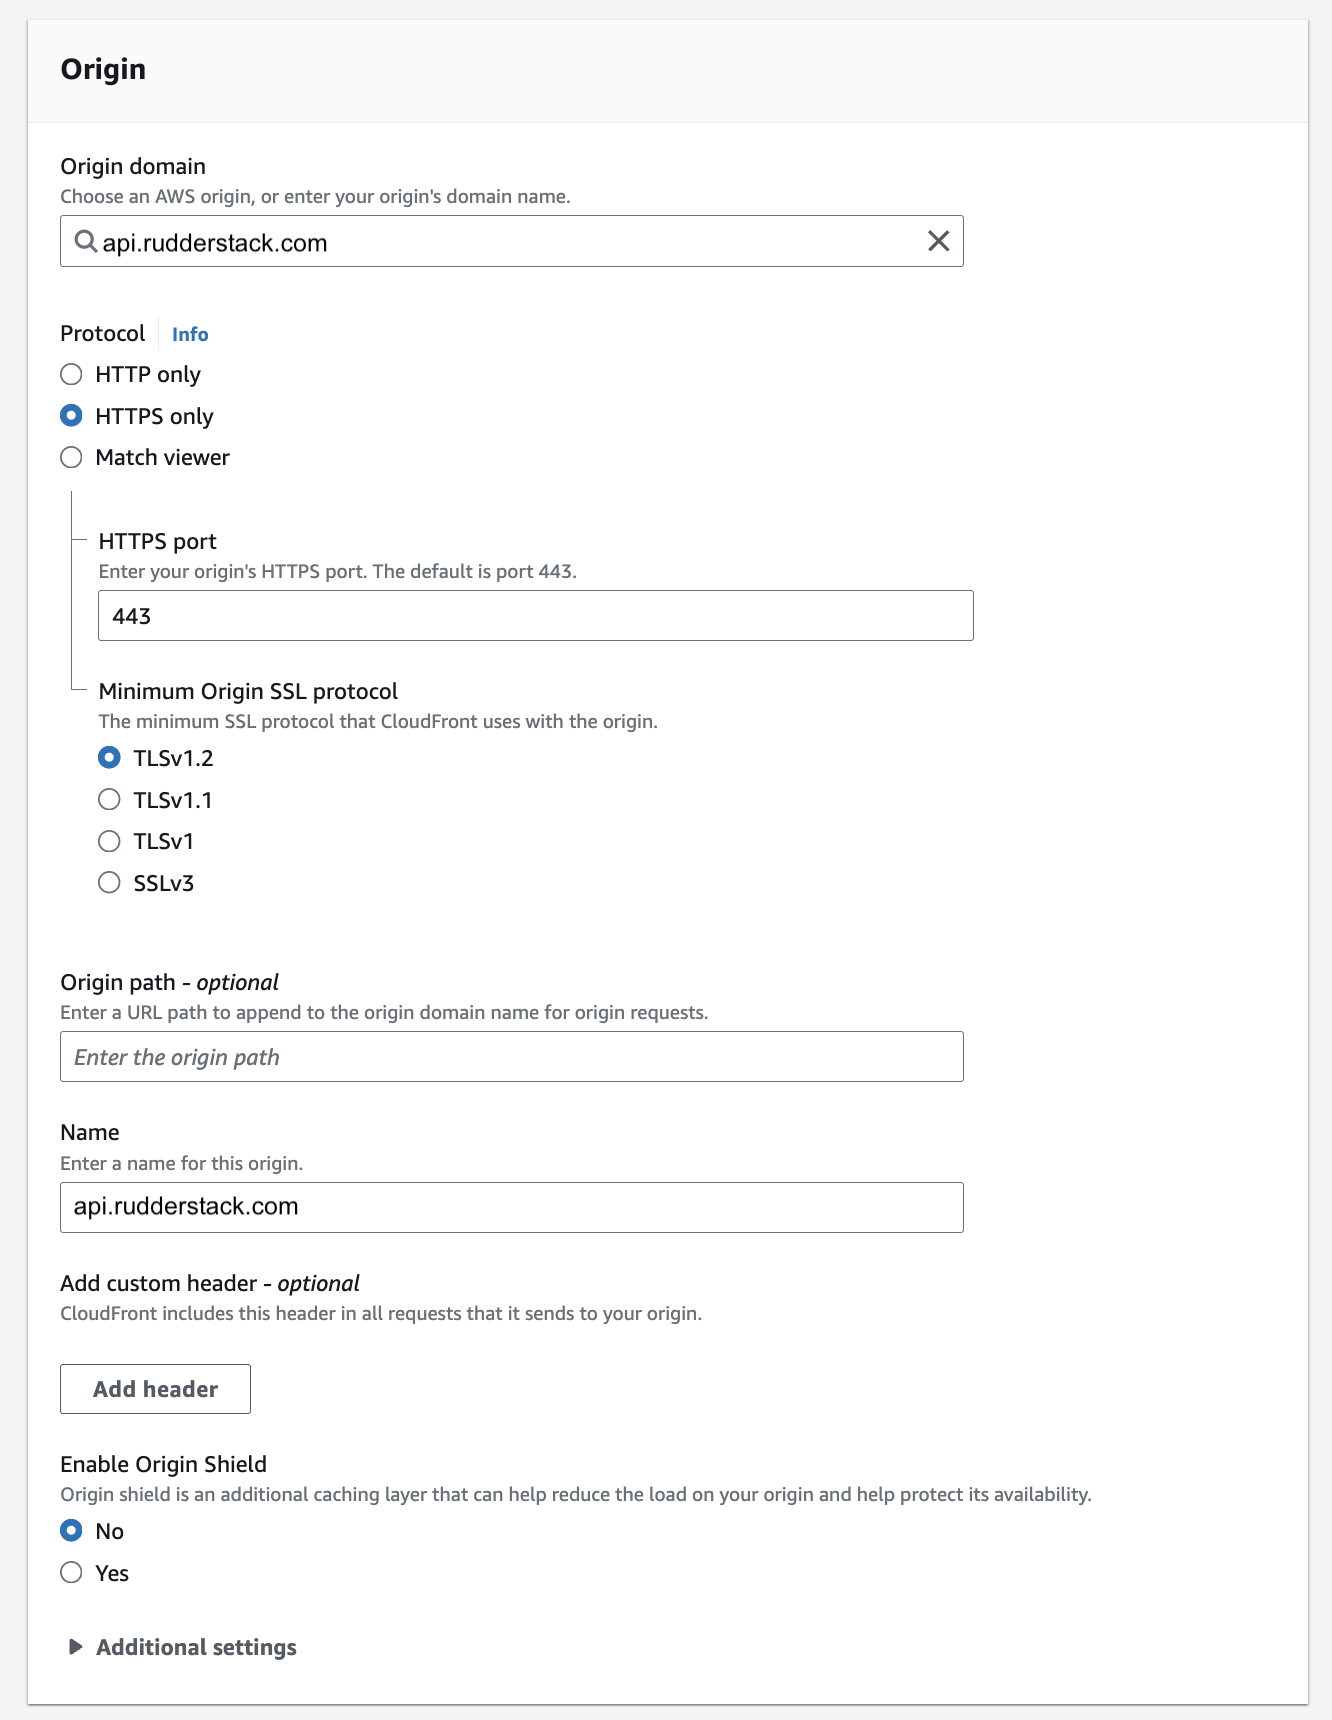
When the RudderStack SDK is loaded, it uses the source write key to fetch the required source configuration from RudderStack. For this reason, the distribution settings in this scenario are slightly different as you need to explicitly allowlist the Authorization header to make sure it is sent along with each request.
The SDK makes a GET request to the https://api.rudderstack.com/sourceConfig URL to fetch the source configuration and uses the write key as the authorization header.
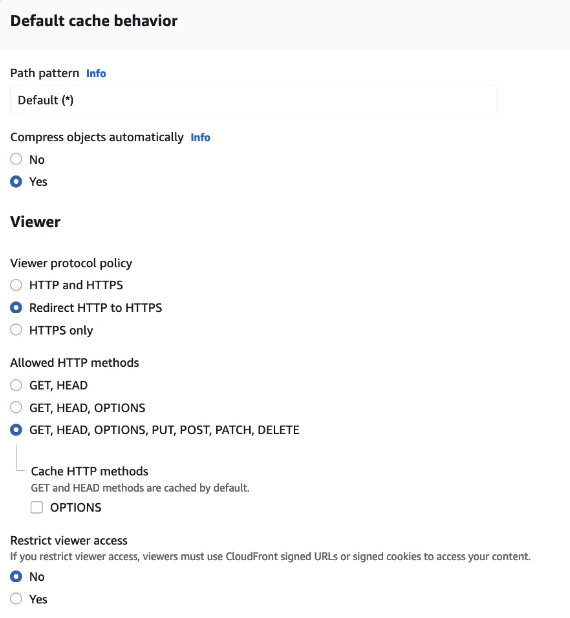
Create a new distribution by following these steps:
Click Services and go to Network & Content Delivery > CloudFront.
Click Create a CloudFront distribution.
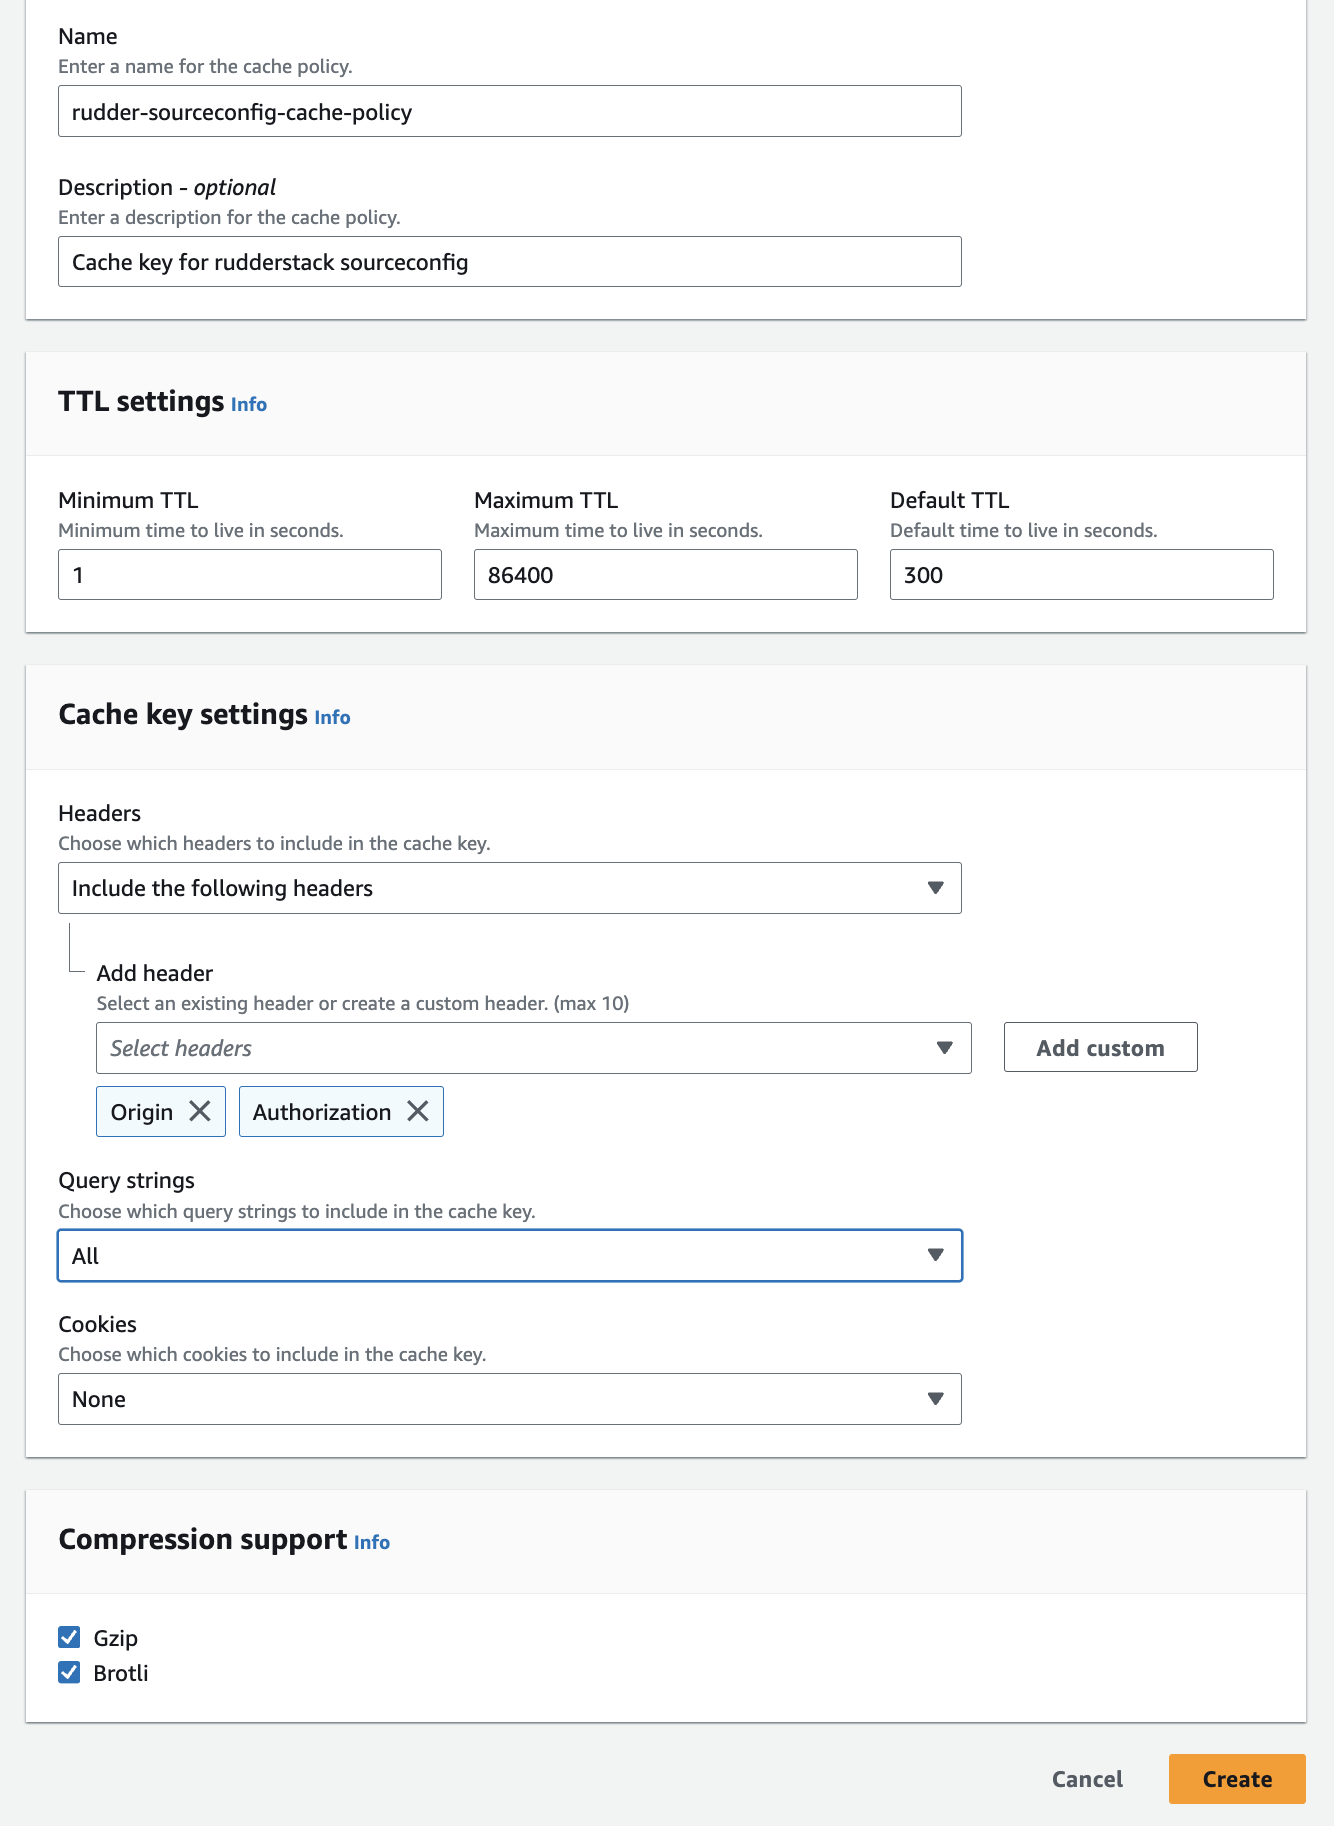
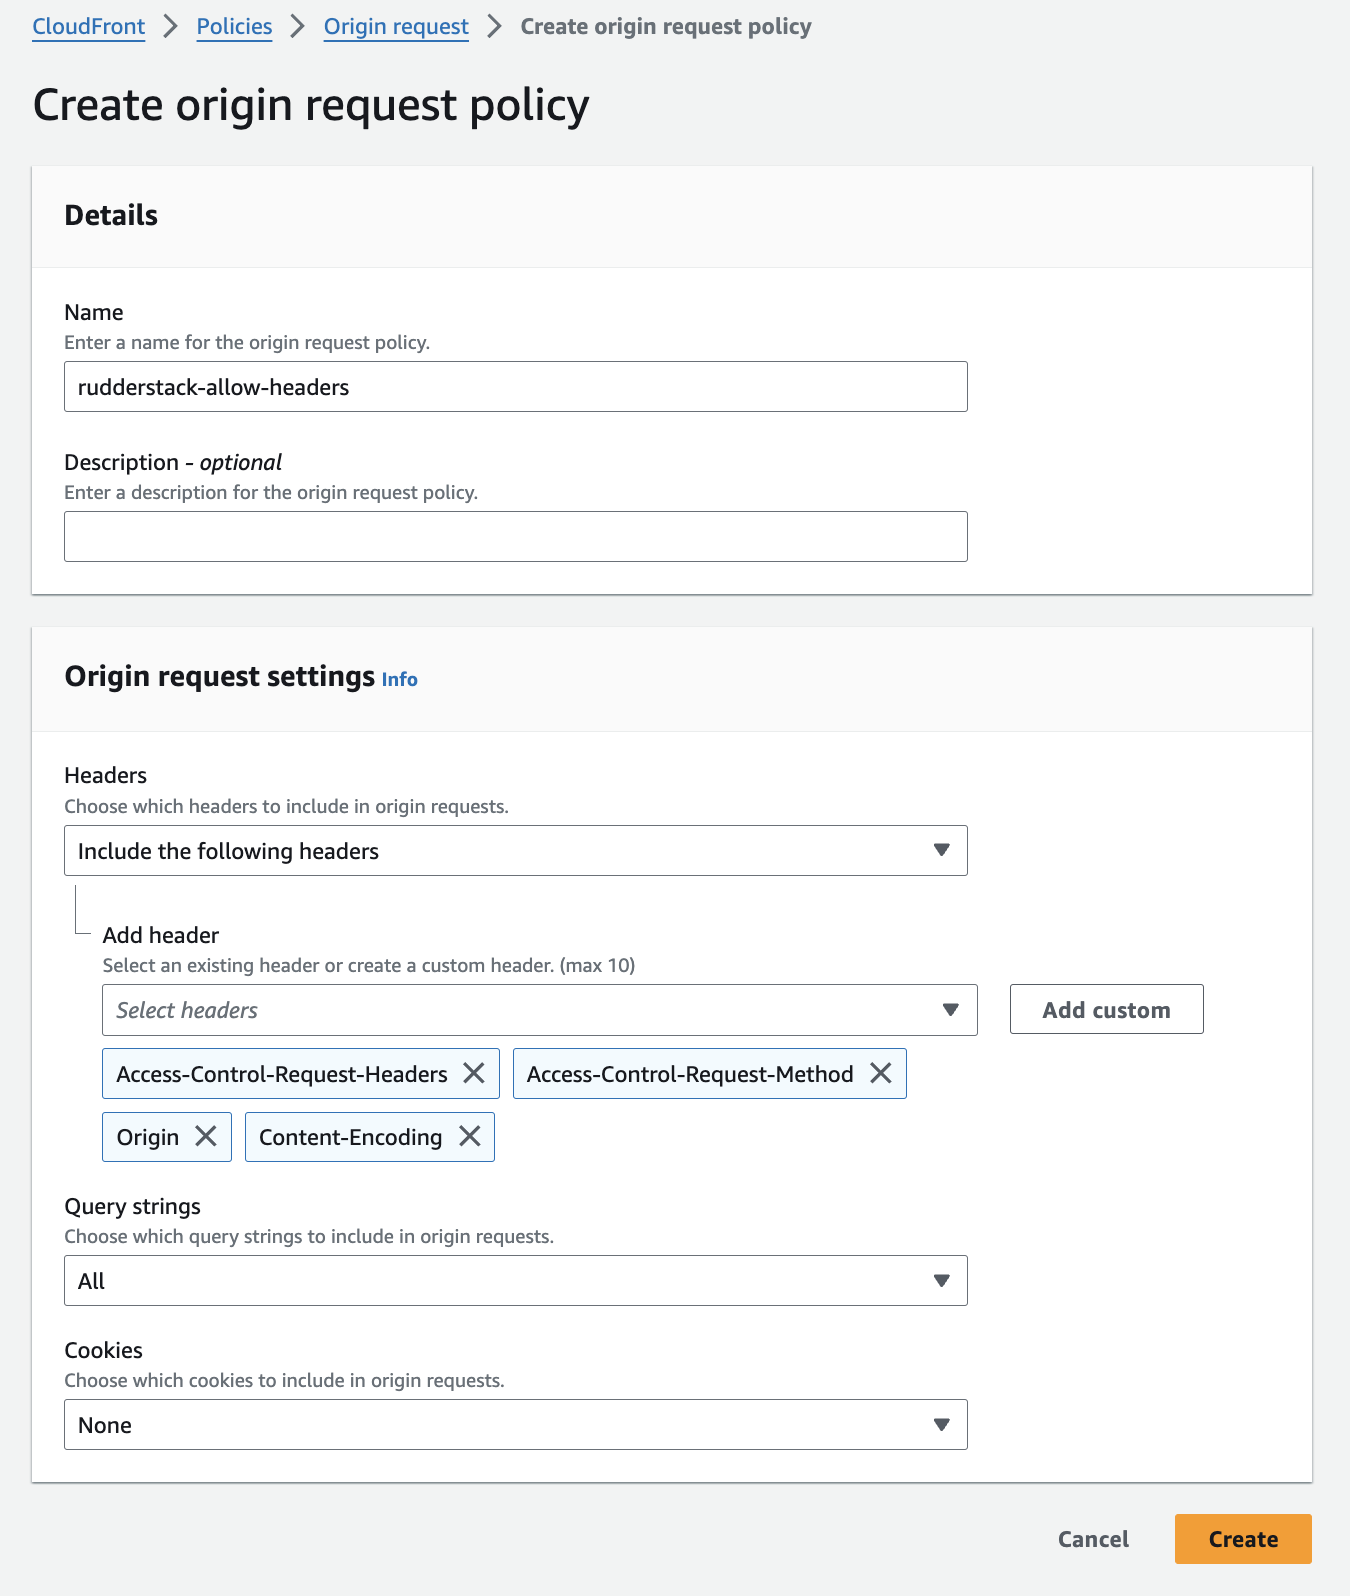
The following table gives a high-level overview of the required cache policy, origin request policy, and response headers policy for fetching the source configuration response:
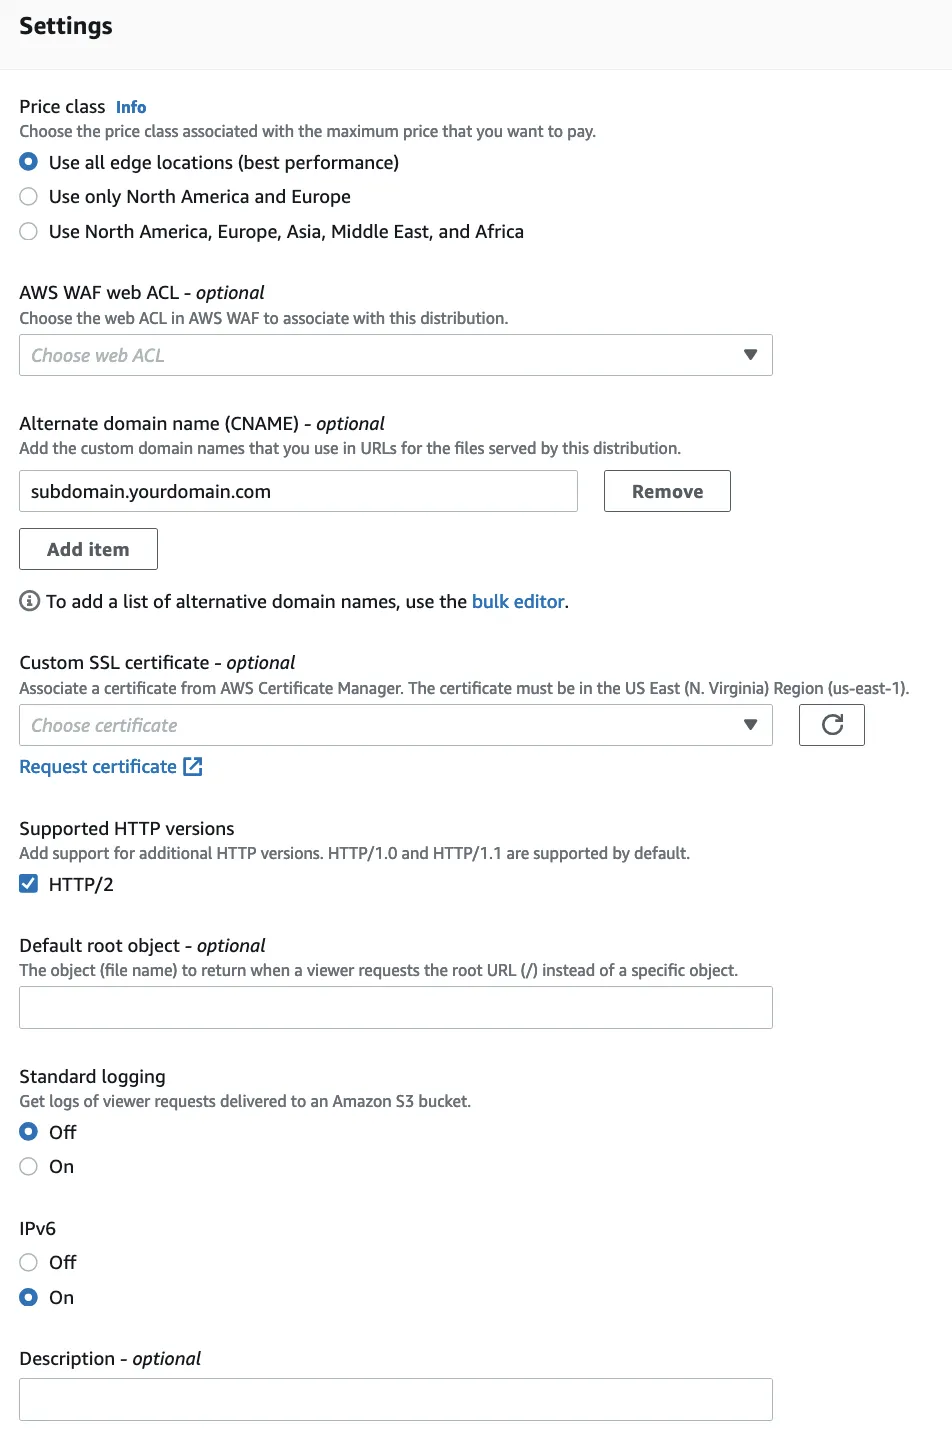
To use a custom domain for your use case, you can request or import an SSL certificate with your CDN provider. Note that this is an optional setting.
To use the AWS Certificate Manager with CloudFront, choose the relevant ACM/IAM certificate in the Custom SSL certificate field:
You can choose your subdomain or use a wildcard domain *.yourdomain.com to set up multiple subdomains.
The AWS Certificate Manager will guide you through the verification by email or DNS TXT records. You will be able to choose your own domain for SSL certificates once verified.
Custom request header for GCP external load balancer
This site uses cookies to improve your experience while you navigate through the website. Out of
these
cookies, the cookies that are categorized as necessary are stored on your browser as they are as
essential
for the working of basic functionalities of the website. We also use third-party cookies that
help
us
analyze and understand how you use this website. These cookies will be stored in your browser
only
with
your
consent. You also have the option to opt-out of these cookies. But opting out of some of these
cookies
may
have an effect on your browsing experience.
Necessary
Always Enabled
Necessary cookies are absolutely essential for the website to function properly. This
category only includes cookies that ensures basic functionalities and security
features of the website. These cookies do not store any personal information.
This site uses cookies to improve your experience. If you want to
learn more about cookies and why we use them, visit our cookie
policy. We'll assume you're ok with this, but you can opt-out if you wish Cookie Settings.