Snowflake is a cloud-based data warehouse provided as Software-as-a-Service (SaaS). It offers all features of a modern data warehouse, including scalability, ease of use, secure data access, and much more.
RudderStack supports Snowflake as a data source from which you can ingest data and route it to your desired downstream destinations.
Grant permissions
Before you set up Snowflake as a source, you must grant certain permissions on your Snowflake warehouse for RudderStack to access data from it.
Run the queries listed in the following sections in the exact order to grant the required permissions:
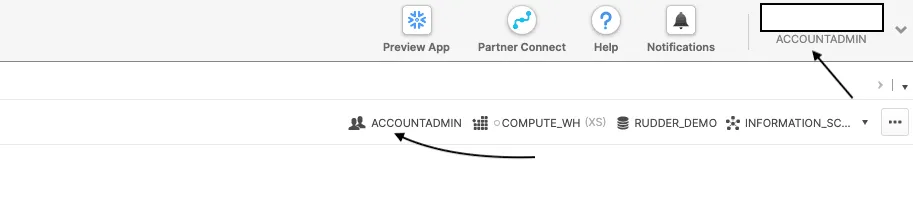
You must have the ACCOUNTADMIN role to grant these permissions.
Step 1: Create a new role and user in Snowflake
In your Snowflake console, run the following command to create a role RUDDER_ROLE in Snowflake. After creating the role, you can grant object privileges to it.
CREATEROLERUDDER_ROLE;
Verify if the role RUDDER_ROLE is successfully created.
SHOWROLES;
Create a new user RUDDER with a password <strong_unique_password>.
You can assign some other role to this user in the RudderStack dashboard settings later. See Configuring the connection credentials section for more information.
Verify if the user RUDDER is successfully created.
SHOWUSERS;
Step 2: Create RudderStack schema and grant permissions to the role
Create a dedicated schema _RUDDERSTACK in your database <YOUR_DATABASE>.
CREATESCHEMA"<YOUR_DATABASE>"."_RUDDERSTACK";
The _RUDDERSTACK schema is used by RudderStack for storing the state of each data sync. Do not change this name.
Grant full access to the schema _RUDDERSTACK for the previously created role RUDDER_ROLE.
Replace <YOUR_DATABASE> with the exact name of your Snowflake database
Step 3: Grant permissions on warehouse, database, schema, and table
Enable the user RUDDER to perform all operations allowed for the role RUDDER_ROLE(via the privileges granted to it).
GRANTROLERUDDER_ROLETOUSERRUDDER;
Run the following commands to allow the role RUDDER_ROLE to look up the objects within your warehouse, database, schema, and the specific table or view:
Replace <YOUR_WAREHOUSE>, <YOUR_DATABASE>, <YOUR_SCHEMA>, <YOUR_TABLE>, and <YOUR_VIEW> with the exact names of your Snowflake warehouse, database, schema, table, and view respectively.
Optional commands
Run the following commands only if you’re okay with RudderStack being able to access all current or future tables/views within your specified schema.
To allow the role RUDDER_ROLE to read data from all the tables in the schema <YOUR_SCHEMA>.
Under Sources, click Reverse ETL and select Snowflake.
Configure warehouse credentials
You can choose to proceed with your existing warehouse credentials if you have configured them in the RudderStack dashboard previously. Otherwise, click Add new credentials to add new credentials for your warehouse.
Authentication Type: Select the user authentication mechanism from the dropdown. RudderStack supports the following methods:
Username Password Authentication
Key Pair Authentication
For enhanced security, RudderStack recommends using the key pair authentication over the basic authentication mechanism (username and password).
See the Migration Guide to migrate from the username/password authentication to the key pair authentication.
Refer to the following sections in the Snowflake documentation to generate and use the key pair:
Account: Your warehouse account ID is part of your Snowflake URL. The following examples illustrate the slight differences in the account ID for various cloud providers:
Database: Enter the name of the database in which your data resides.
Warehouse: Specify the name of your data warehouse.
User: Enter the name of the user that has the required read/write access to the above database.
Role: Enter a role you want to assign to the above user. For syncing the data, you can use this role apart from the default role (RUDDER_ROLE) assigned in the Create a new role and user section.
If you have set Authentication Type to Username Password Authentication:
Password: Enter the password for the user specified in the User field.
If you have set Authentication Type to Key Pair Authentication:
Private Key: Specify the private key generated above. Make sure to include the delimiters.
Private Key Passphrase: Specify the password you set while encrypting the private key. Note that:
RudderStack requires a non-empty passphrase for encrypted private keys.
You can leave this field blank if your private key is not encrypted.
The user authentication will fail if your private key is encrypted and you do not specify the passphrase.
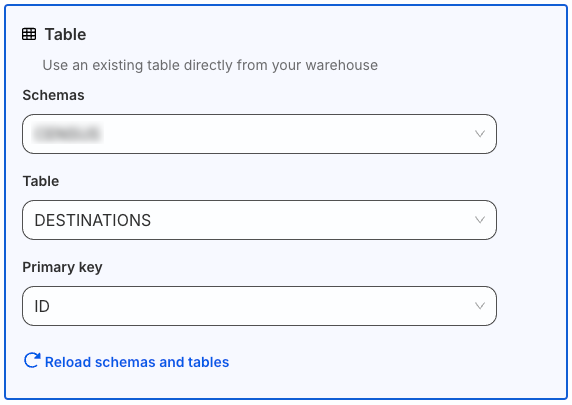
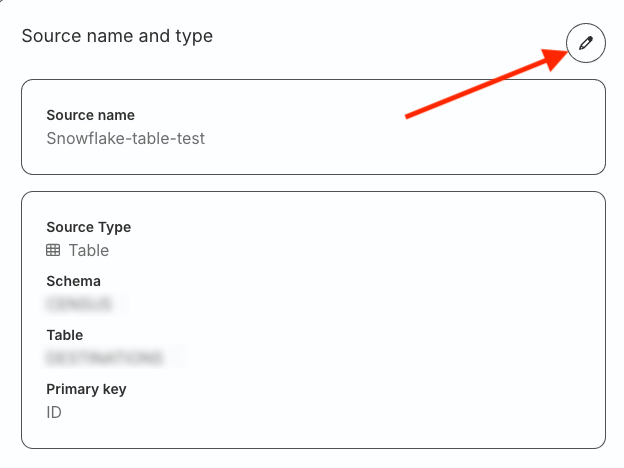
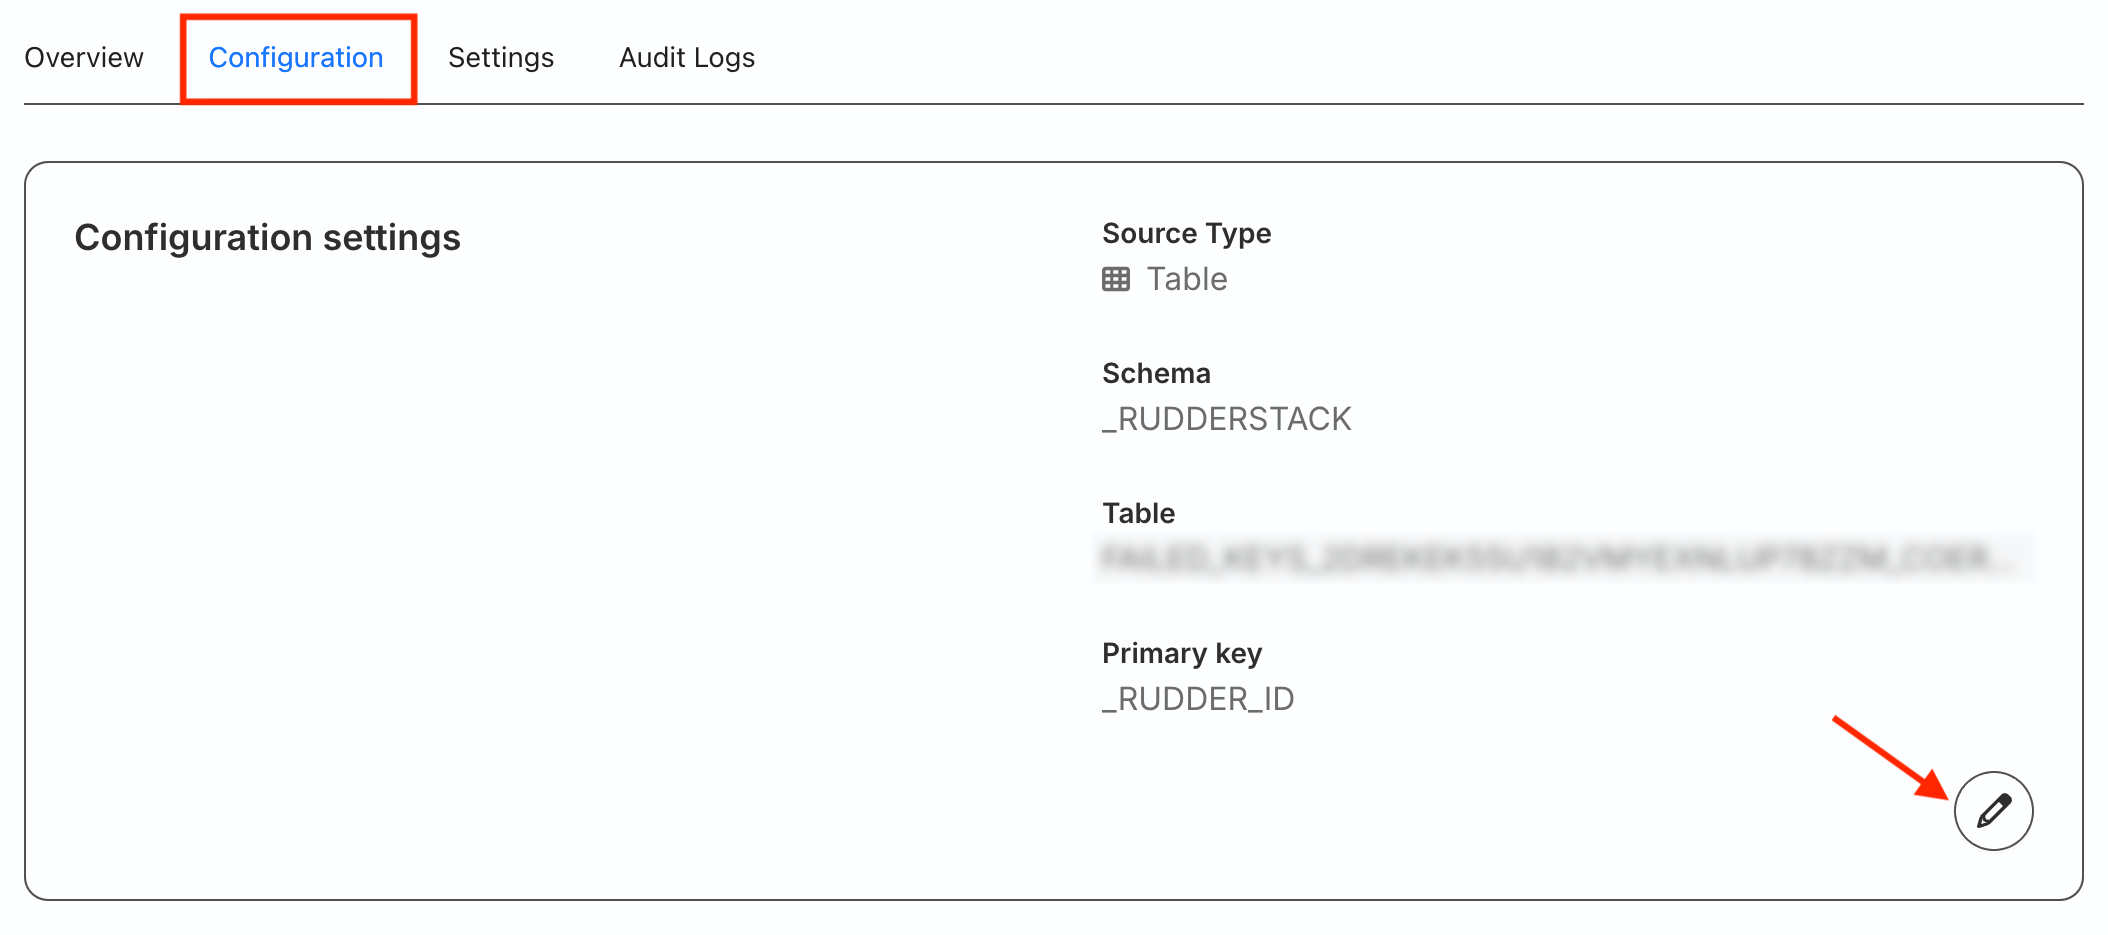
Under Select your source type, choose Table and specify the below fields:
Schema: Select the warehouse schema from the dropdown.
Table: Choose the required table from which RudderStack syncs the data.
Primary key: Select the column from the above table that uniquely identifies your records in the warehouse.
RudderStack uses the primary key column for diffing in case of incremental syncs. You can generate it by:
Generating your table with a primary key, OR
Creating a table view
You can use a composite key in cases where one column cannot be considered as a primary key. For example, you can a declare a composite key of user_id and timestamp by creating a view on your warehouse table.
Under Select your source type, choose Model and click Continue.
To configure a model as source:
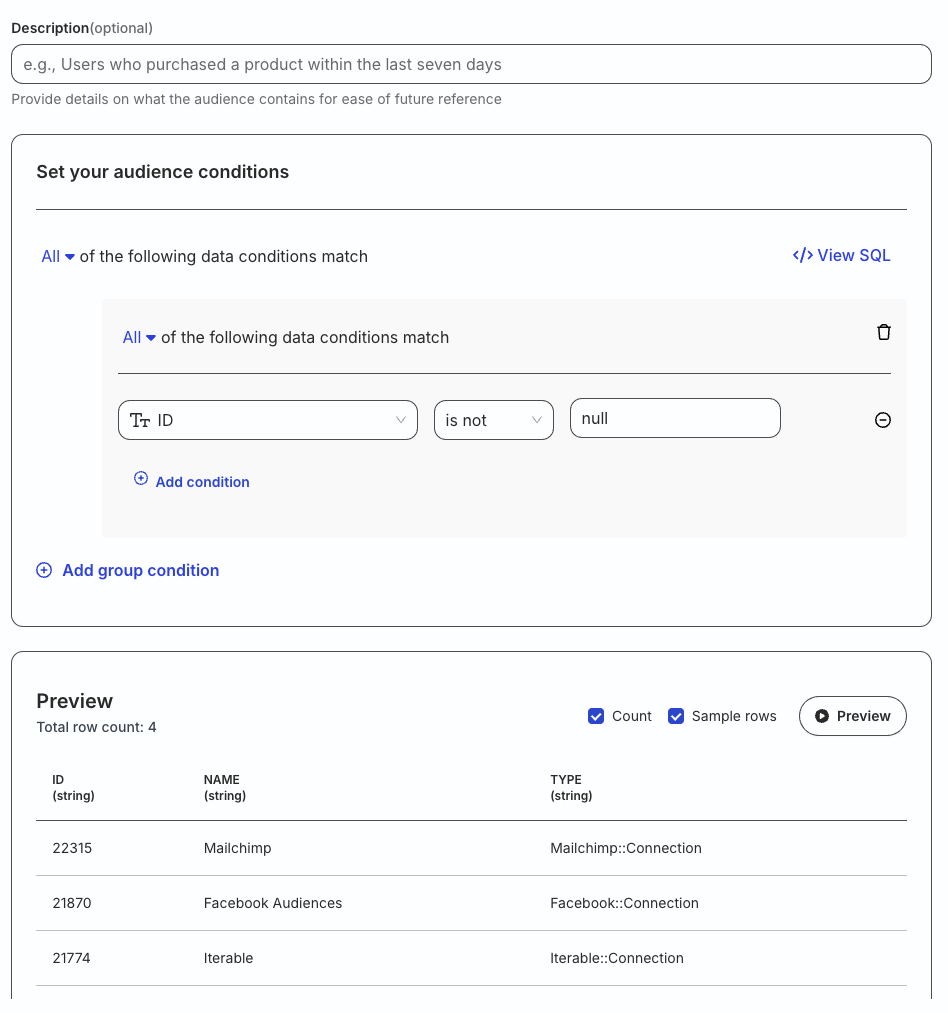
Enter an optional description and specify the custom SQL query in Query section.
Click Run Query to fetch the data preview.
Select the Primary key to use a column that uniquely identifies your warehouse records.
You can set a primary key only after you run the SQL query successfully using the Run Query option.
RudderStack uses the primary key column for diffing in case of incremental syncs. You can generate it by:
Generating your table with a primary key, OR
Creating a table view
You can use a composite key in cases where one column cannot be considered as a primary key. For example, you can a declare a composite key of user_id and timestamp in SQL query of the model.
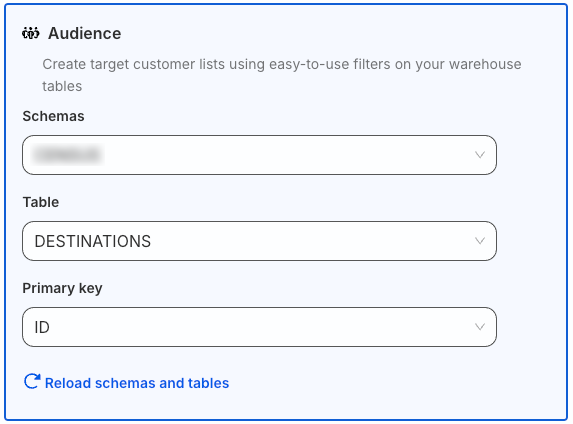
Under Select your source type, choose Audience and follow these steps:
Configure your audience source by specifying the below fields:
Schema: Select the warehouse schema from the dropdown.
Table: Choose the required table from which RudderStack syncs the data.
Primary key: Select the column from the above table that uniquely identify your records in the warehouse.
RudderStack uses the primary key column for diffing in case of incremental syncs. You can generate it by:
Generating your table with a primary key, OR
Creating a table view
You can use a composite key in cases where one column cannot be considered as a primary key. For example, you can a declare a composite key of user_id and timestamp by creating a view on your warehouse table.
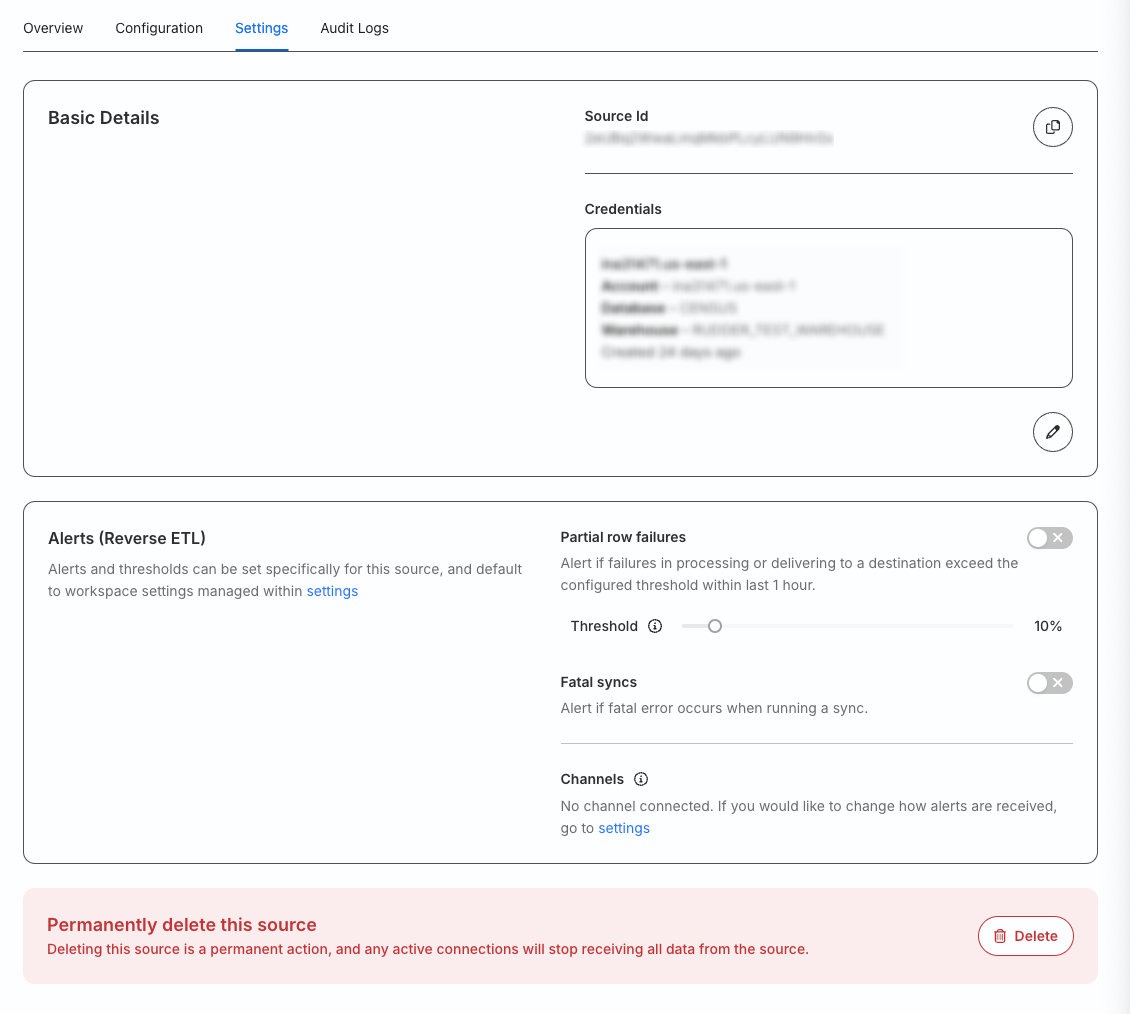
You cannot delete a source that is connected to any destination.
FAQ
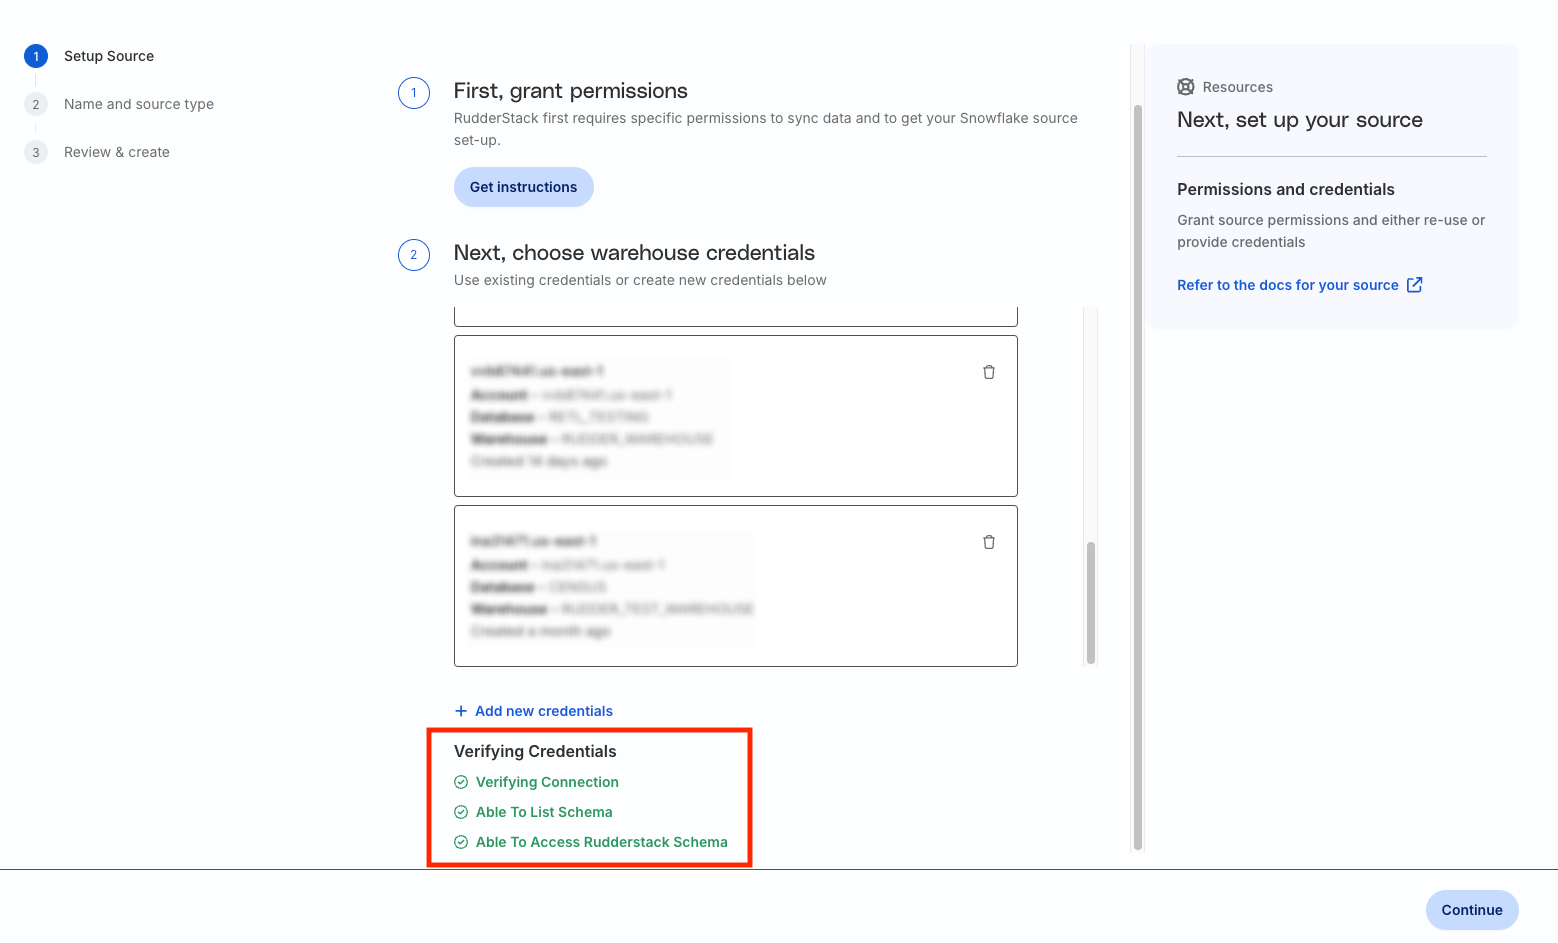
What do the three validations under Verifying Credentials imply?
When setting up a Reverse ETL source, you will see the following three validations under the Verifying Credentials option once you proceed after entering the warehouse credentials:
These options are explained below:
Verifying Connection: This option indicates that RudderStack is trying to connect to the warehouse with the provided warehouse credentials.
If this option gives an error, it means that one or more fields specified in the warehouse credentials are incorrect. Verify your credentials in this case.
Able to List Schema: This option checks if RudderStack is able to fetch all schema details by using the provided credentials.
Able to Access RudderStack Schema: This option implies that RudderStack is able to access the _rudderstack schema you have created by running all commands in the User Permissions section.
If this option gives an error, verify if you have successfully created the _rudderstack schema and given RudderStack the required permissions to access it.
What is the difference between the Table, Model, and Audience options when creating a Reverse ETL source?
When creating a new Reverse ETL source, you are presented with the following options from which RudderStack syncs the data:
Source type
Description
Table
RudderStack uses an existing warehouse table as a data source.
This site uses cookies to improve your experience while you navigate through the website. Out of
these
cookies, the cookies that are categorized as necessary are stored on your browser as they are as
essential
for the working of basic functionalities of the website. We also use third-party cookies that
help
us
analyze and understand how you use this website. These cookies will be stored in your browser
only
with
your
consent. You also have the option to opt-out of these cookies. But opting out of some of these
cookies
may
have an effect on your browsing experience.
Necessary
Always Enabled
Necessary cookies are absolutely essential for the website to function properly. This
category only includes cookies that ensures basic functionalities and security
features of the website. These cookies do not store any personal information.
This site uses cookies to improve your experience. If you want to
learn more about cookies and why we use them, visit our cookie
policy. We'll assume you're ok with this, but you can opt-out if you wish Cookie Settings.