The rudderstack_ schema is created in the default region of your BigQuery instance.
If the GCP cloud storage bucket used as a staging bucket by RudderStack is in a different region, you will need to adjust the above SQL statement to match that region. For example, to create the schema in the europe-west-3 region, run the following statement:
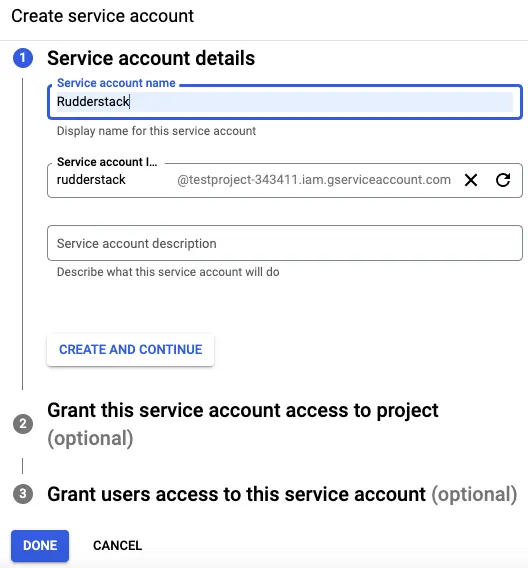
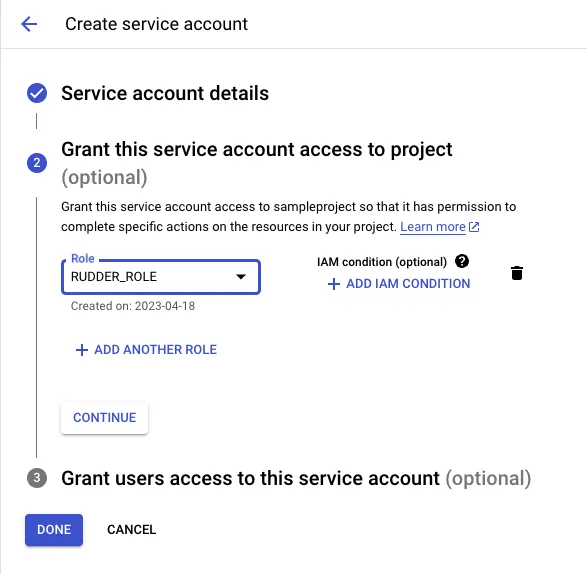
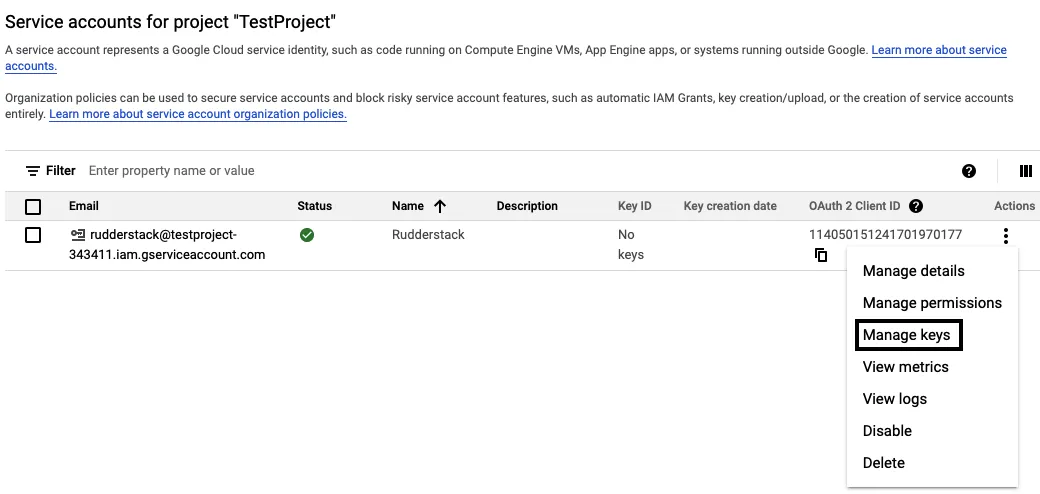
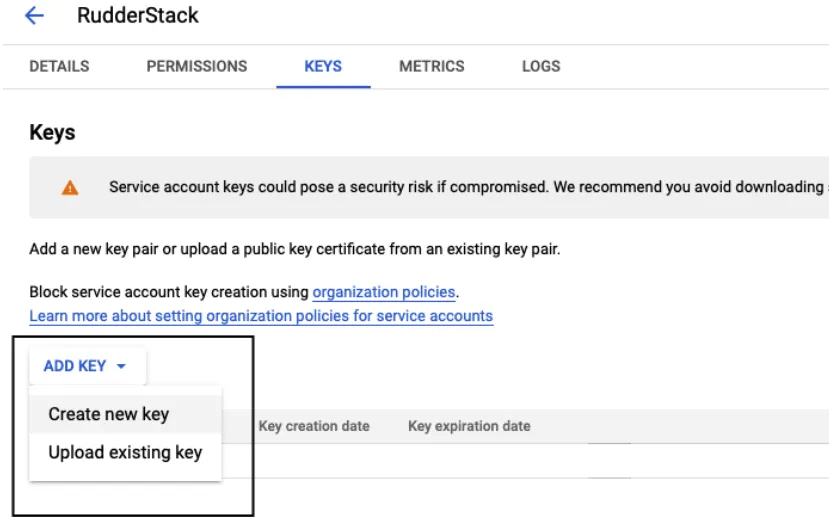
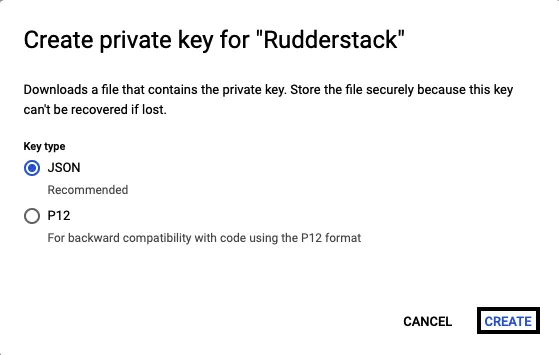
The <SERVICE_ACCOUNT_ID> takes the form of name@your-gcp-project.iam.gserviceaccount.com. You can also find it in the client_email key of the service account credentials JSON file downloaded in Step 3: Creating and downloading the JSON key.
Under Sources, click Reverse ETL and select BigQuery.
Configure warehouse credentials
You can choose to proceed with your existing warehouse credentials if you have configured them in the RudderStack dashboard previously. Otherwise, click Add new credentials to add new credentials for your warehouse.
Credentials: Add the contents of the GCP service account credentials JSON downloaded above.
Project ID: Specify your GCP project ID where your BigQuery database is located.
Service account: Specify your GCP service account in this field.
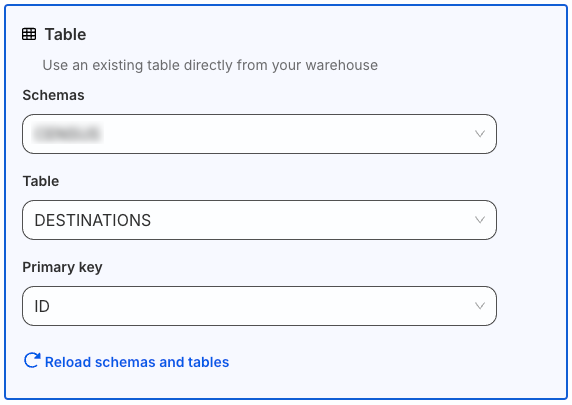
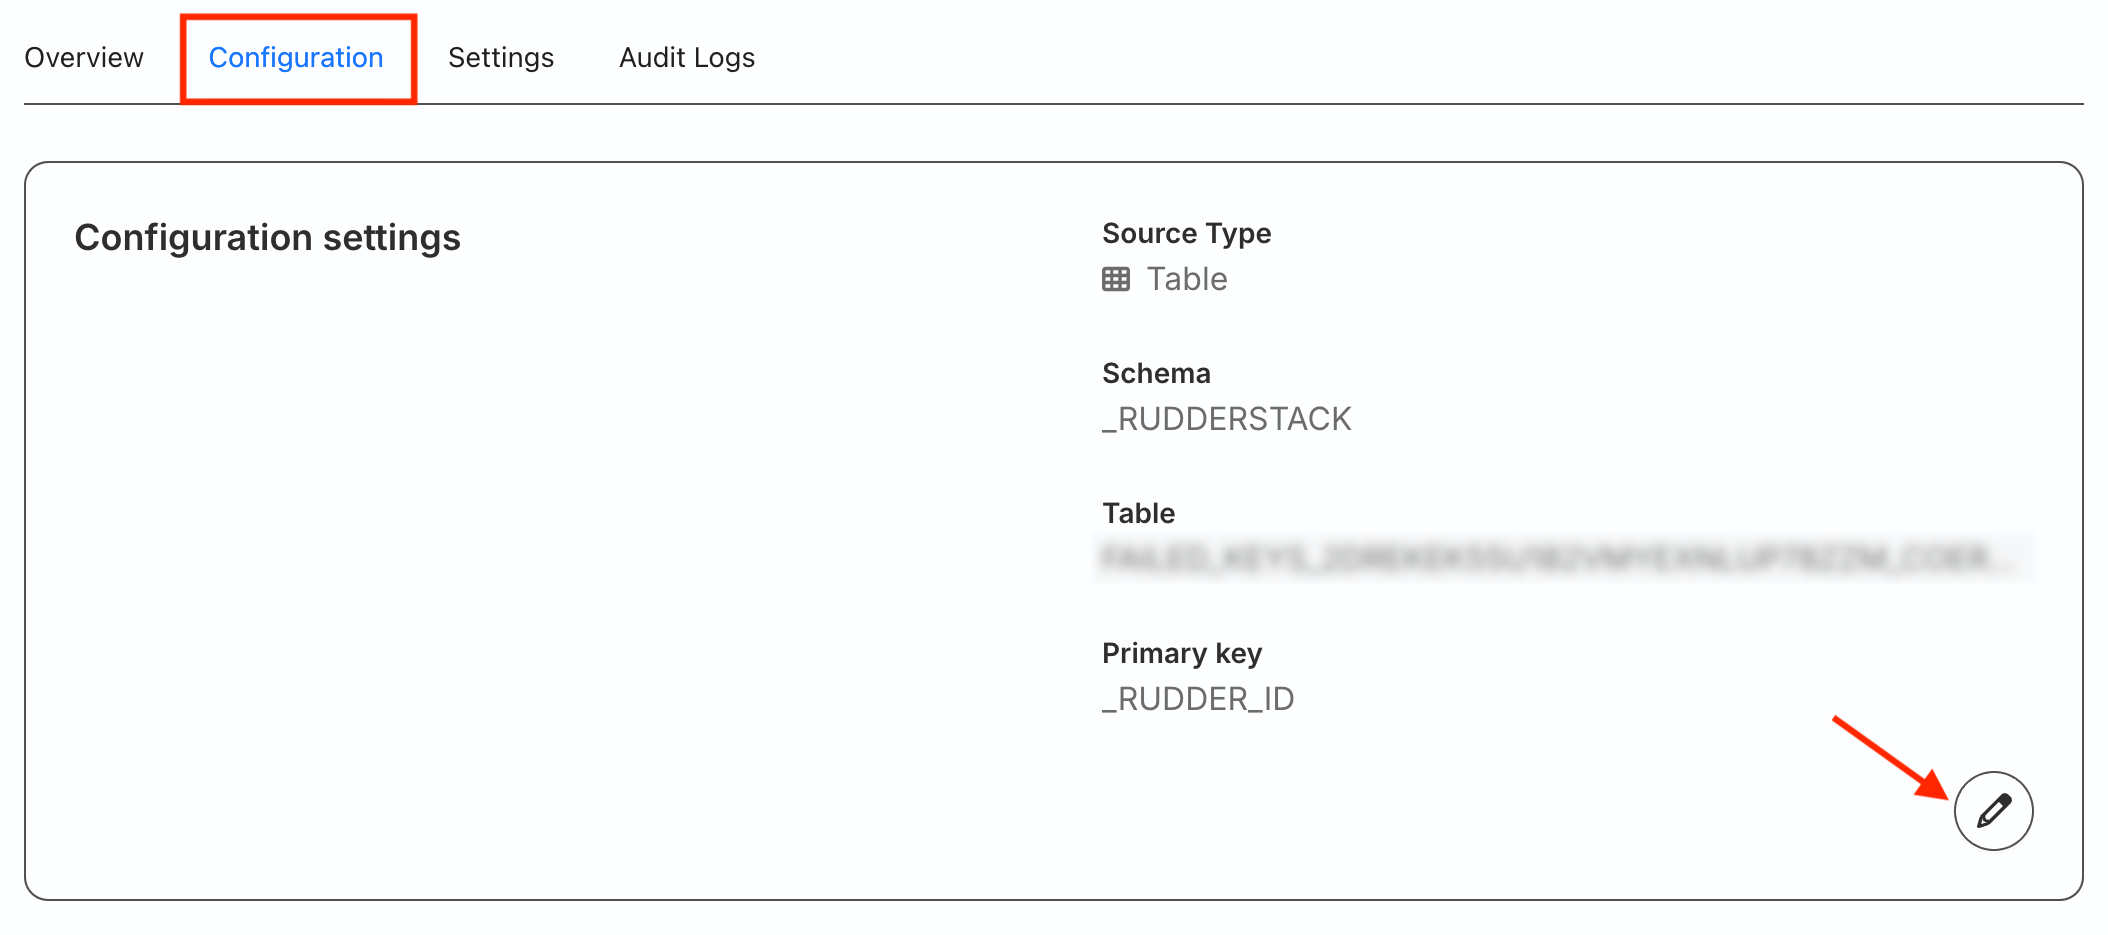
Under Select your source type, choose Table and specify the below fields:
Schema: Select the warehouse schema from the dropdown.
Table: Choose the required table from which RudderStack syncs the data.
Primary key: Select the column from the above table that uniquely identifies your records in the warehouse.
RudderStack uses the primary key column for diffing in case of incremental syncs. You can generate it by:
Generating your table with a primary key, OR
Creating a table view
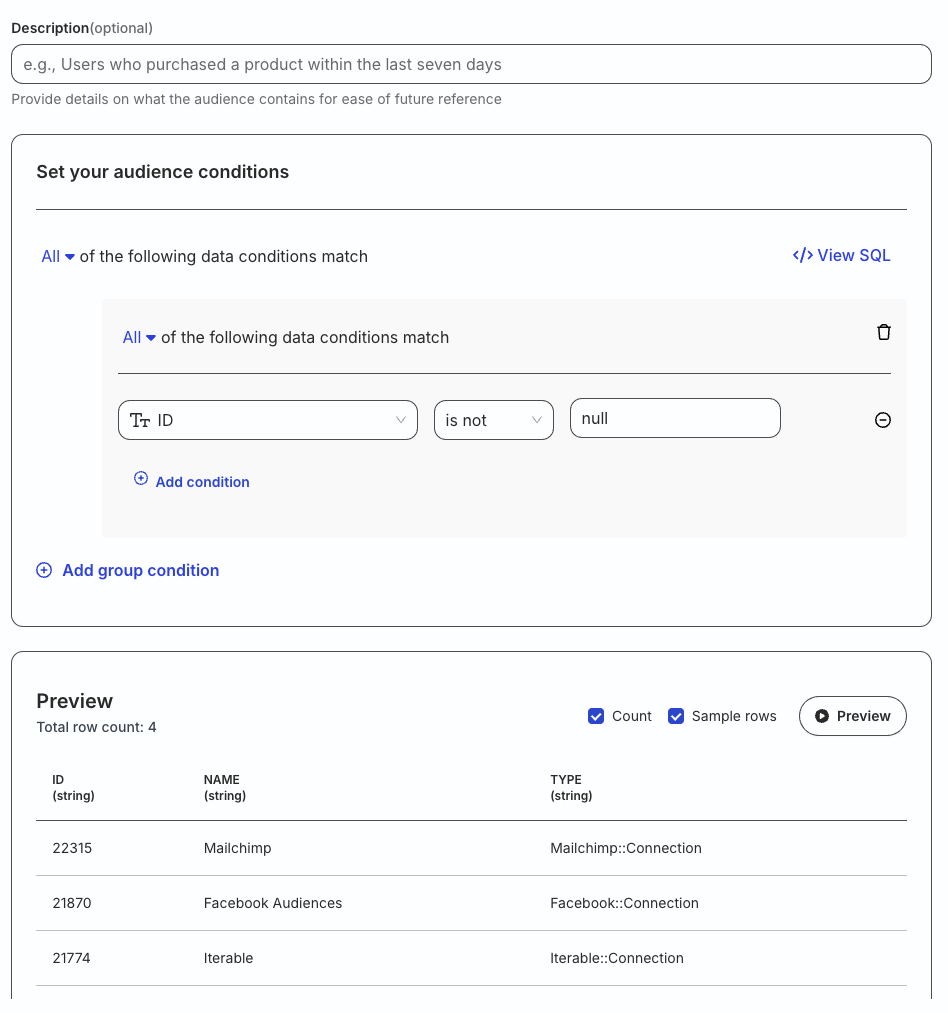
You can use a composite key in cases where one column cannot be considered as a primary key. For example, you can a declare a composite key of user_id and timestamp by creating a view on your warehouse table.
Under Select your source type, choose Model and click Continue.
To configure a model as source:
Enter an optional description and specify the custom SQL query in Query section.
Click Run Query to fetch the data preview.
Select the Primary key to use a column that uniquely identifies your warehouse records.
You can set a primary key only after you run the SQL query successfully using the Run Query option.
RudderStack uses the primary key column for diffing in case of incremental syncs. You can generate it by:
Generating your table with a primary key, OR
Creating a table view
You can use a composite key in cases where one column cannot be considered as a primary key. For example, you can a declare a composite key of user_id and timestamp in SQL query of the model.
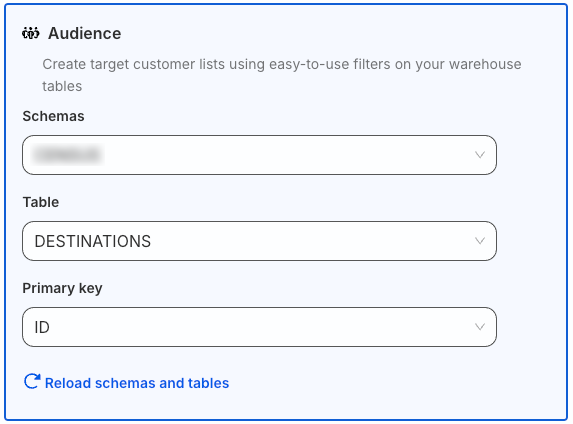
Under Select your source type, choose Audience and follow these steps:
Configure your audience source by specifying the below fields:
Schema: Select the warehouse schema from the dropdown.
Table: Choose the required table from which RudderStack syncs the data.
Primary key: Select the column from the above table that uniquely identify your records in the warehouse.
RudderStack uses the primary key column for diffing in case of incremental syncs. You can generate it by:
Generating your table with a primary key, OR
Creating a table view
You can use a composite key in cases where one column cannot be considered as a primary key. For example, you can a declare a composite key of user_id and timestamp by creating a view on your warehouse table.
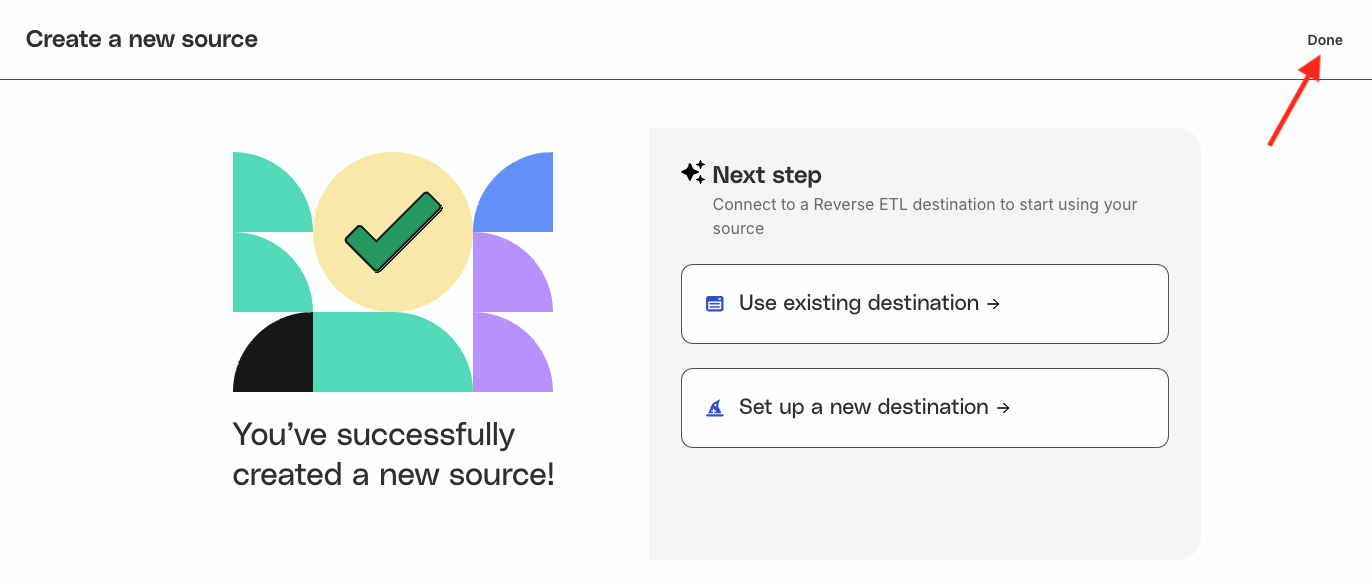
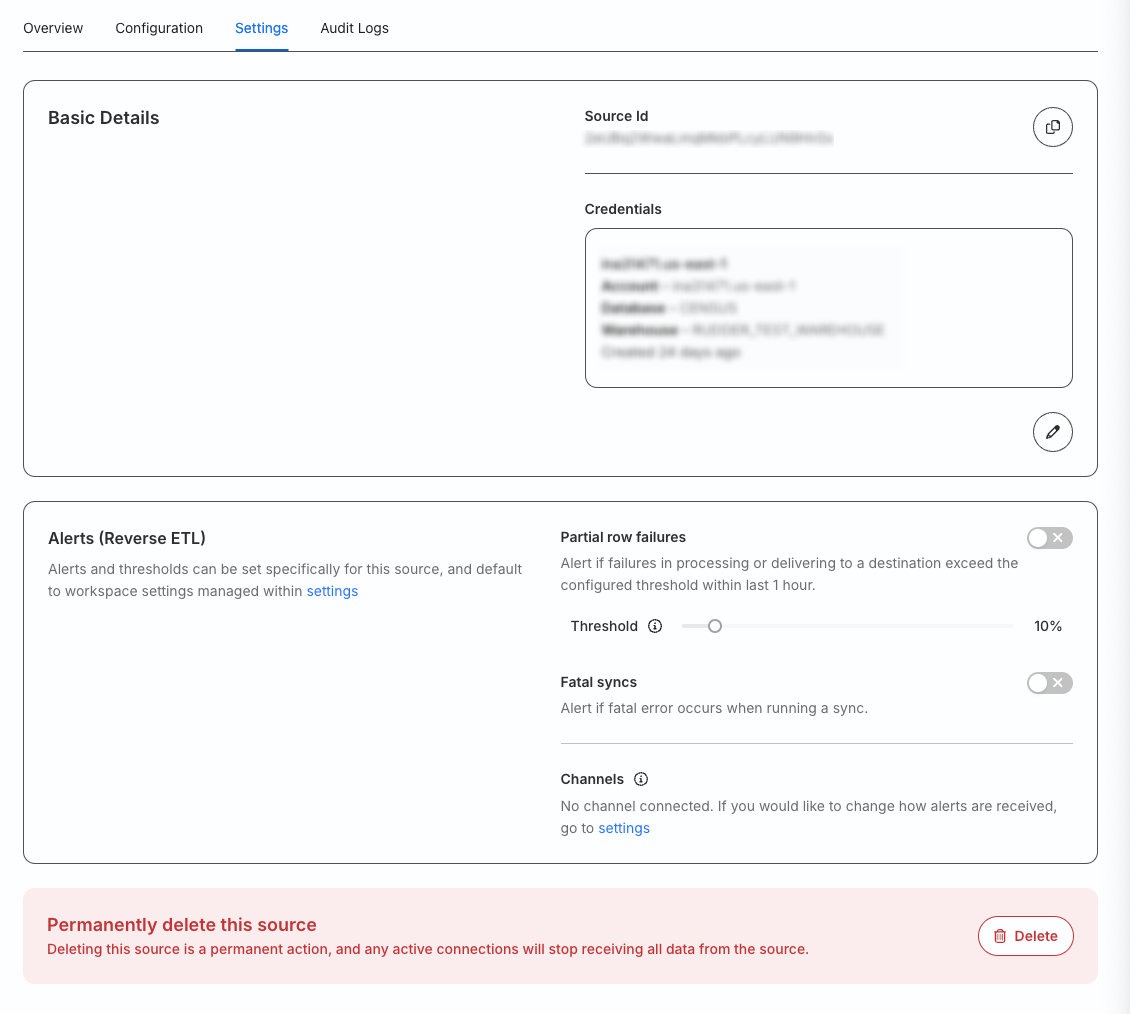
You cannot delete a source that is connected to any destination.
FAQ
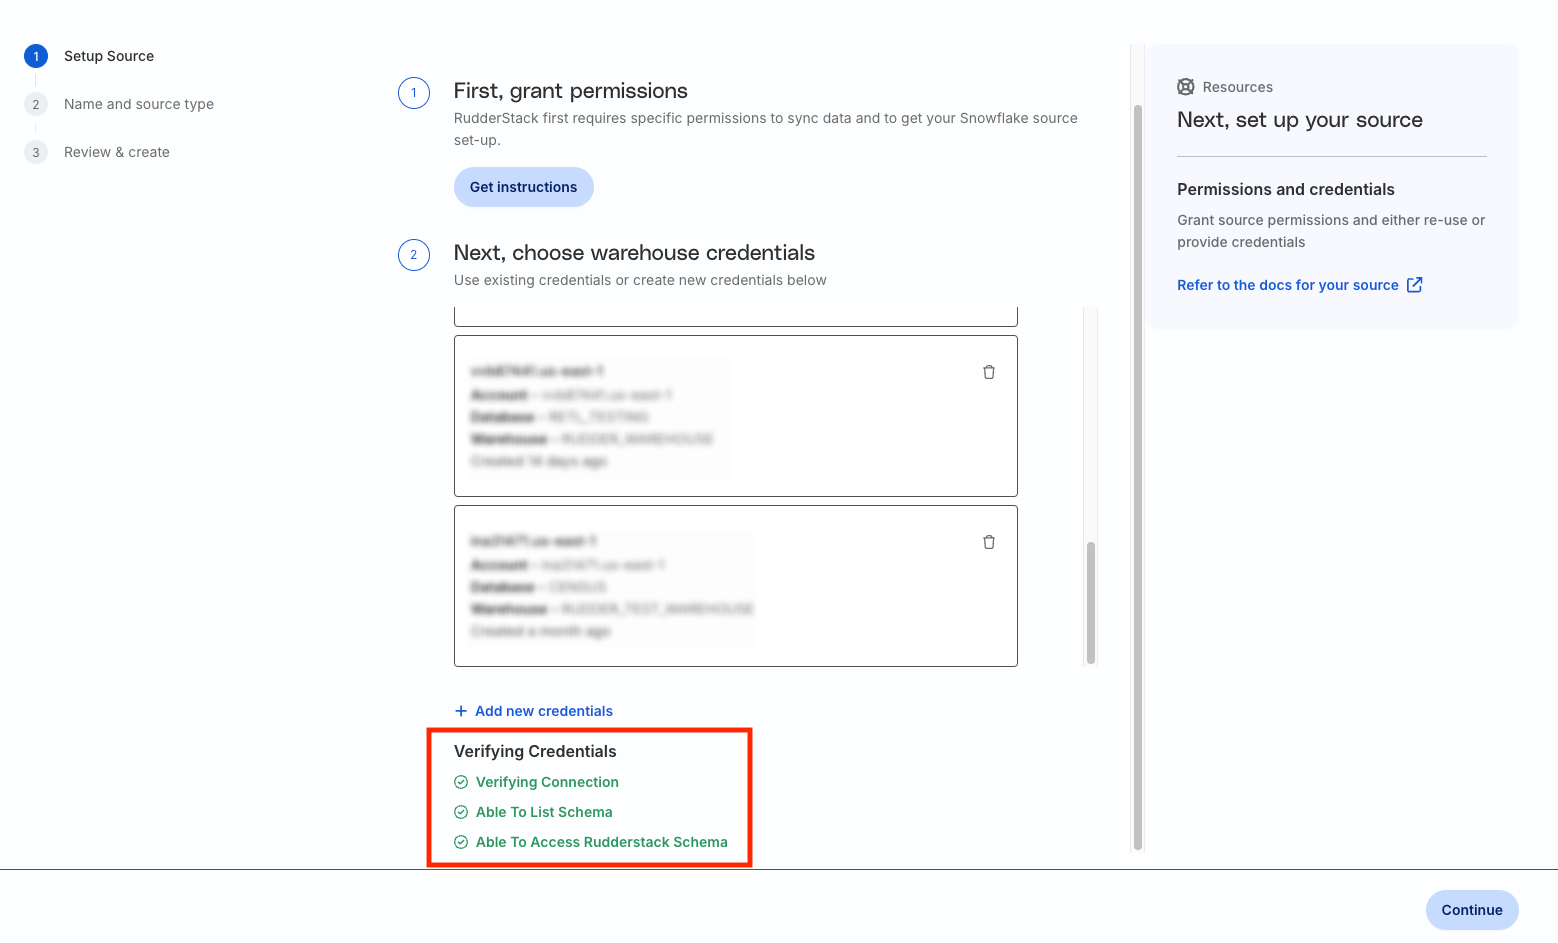
What do the three validations under Verifying Credentials imply?
When setting up a Reverse ETL source, you will see the following three validations under the Verifying Credentials option once you proceed after entering the warehouse credentials:
These options are explained below:
Verifying Connection: This option indicates that RudderStack is trying to connect to the warehouse with the provided warehouse credentials.
If this option gives an error, it means that one or more fields specified in the warehouse credentials are incorrect. Verify your credentials in this case.
Able to List Schema: This option checks if RudderStack is able to fetch all schema details by using the provided credentials.
Able to Access RudderStack Schema: This option implies that RudderStack is able to access the _rudderstack schema you have created by running all commands in the User Permissions section.
If this option gives an error, verify if you have successfully created the _rudderstack schema and given RudderStack the required permissions to access it.
What is the difference between the Table, Model, and Audience options when creating a Reverse ETL source?
When creating a new Reverse ETL source, you are presented with the following options from which RudderStack syncs the data:
Source type
Description
Table
RudderStack uses an existing warehouse table as a data source.
This site uses cookies to improve your experience while you navigate through the website. Out of
these
cookies, the cookies that are categorized as necessary are stored on your browser as they are as
essential
for the working of basic functionalities of the website. We also use third-party cookies that
help
us
analyze and understand how you use this website. These cookies will be stored in your browser
only
with
your
consent. You also have the option to opt-out of these cookies. But opting out of some of these
cookies
may
have an effect on your browsing experience.
Necessary
Always Enabled
Necessary cookies are absolutely essential for the website to function properly. This
category only includes cookies that ensures basic functionalities and security
features of the website. These cookies do not store any personal information.
This site uses cookies to improve your experience. If you want to
learn more about cookies and why we use them, visit our cookie
policy. We'll assume you're ok with this, but you can opt-out if you wish Cookie Settings.