Build audiences on the warehouse sources and activate them in downstream destinations.
Available Plans
growth
enterprise
5 minute read
RudderStack’s Audiences feature lets you create target customer lists or a subset of users satisfying specific criteria with easy-to-use filters on your warehouse tables. Once created, you can connect and activate them in the supported destinations.
For example, you can create an audience and send that data to the downstream digital advertising destinations to:
Retarget all users from a specific city/state/region to improve repeat sales.
Prompt active customers on your sports website to buy season tickets.
Run campaigns to grow product usage and retain users.
Key features
RudderStack provides audience-building capabilities in its Reverse ETL pipeline where you can:
Create and sync a single audience to multiple downstream systems, which is very time-consuming to do manually.
Analyze the results of multichannel campaigns in a single place at the data warehouse.
Trust the audience data as a single source of truth and have complete control over the ecosystem.
Fast-track the process for marketing teams who would otherwise need to work with SQL and warehouses or rely on data engineers to query and sync audiences.
Avoid updating the audience every time or debugging issues while building audiences using proprietary tools, saving time.
Create audience
RudderStack provides a visual Audience builder tool which you can use to build audiences without any prior knowledge of SQL or how to store the data.
Specify the warehouse credentials to authenticate RudderStack. See the Configure warehouse credentials section of the source-specific documentation (for example, Redshift) for more details.
Specify audience name and source
Source name: Assign a name to uniquely identify the source in the RudderStack dashboard.
Configure your audience source by specifying the below fields:
Schema: Select the warehouse schema from the dropdown.
Table: Choose the required table from which RudderStack syncs the data.
Primary key: Select the column from the above table that uniquely identify your records in the warehouse.
Set audience conditions
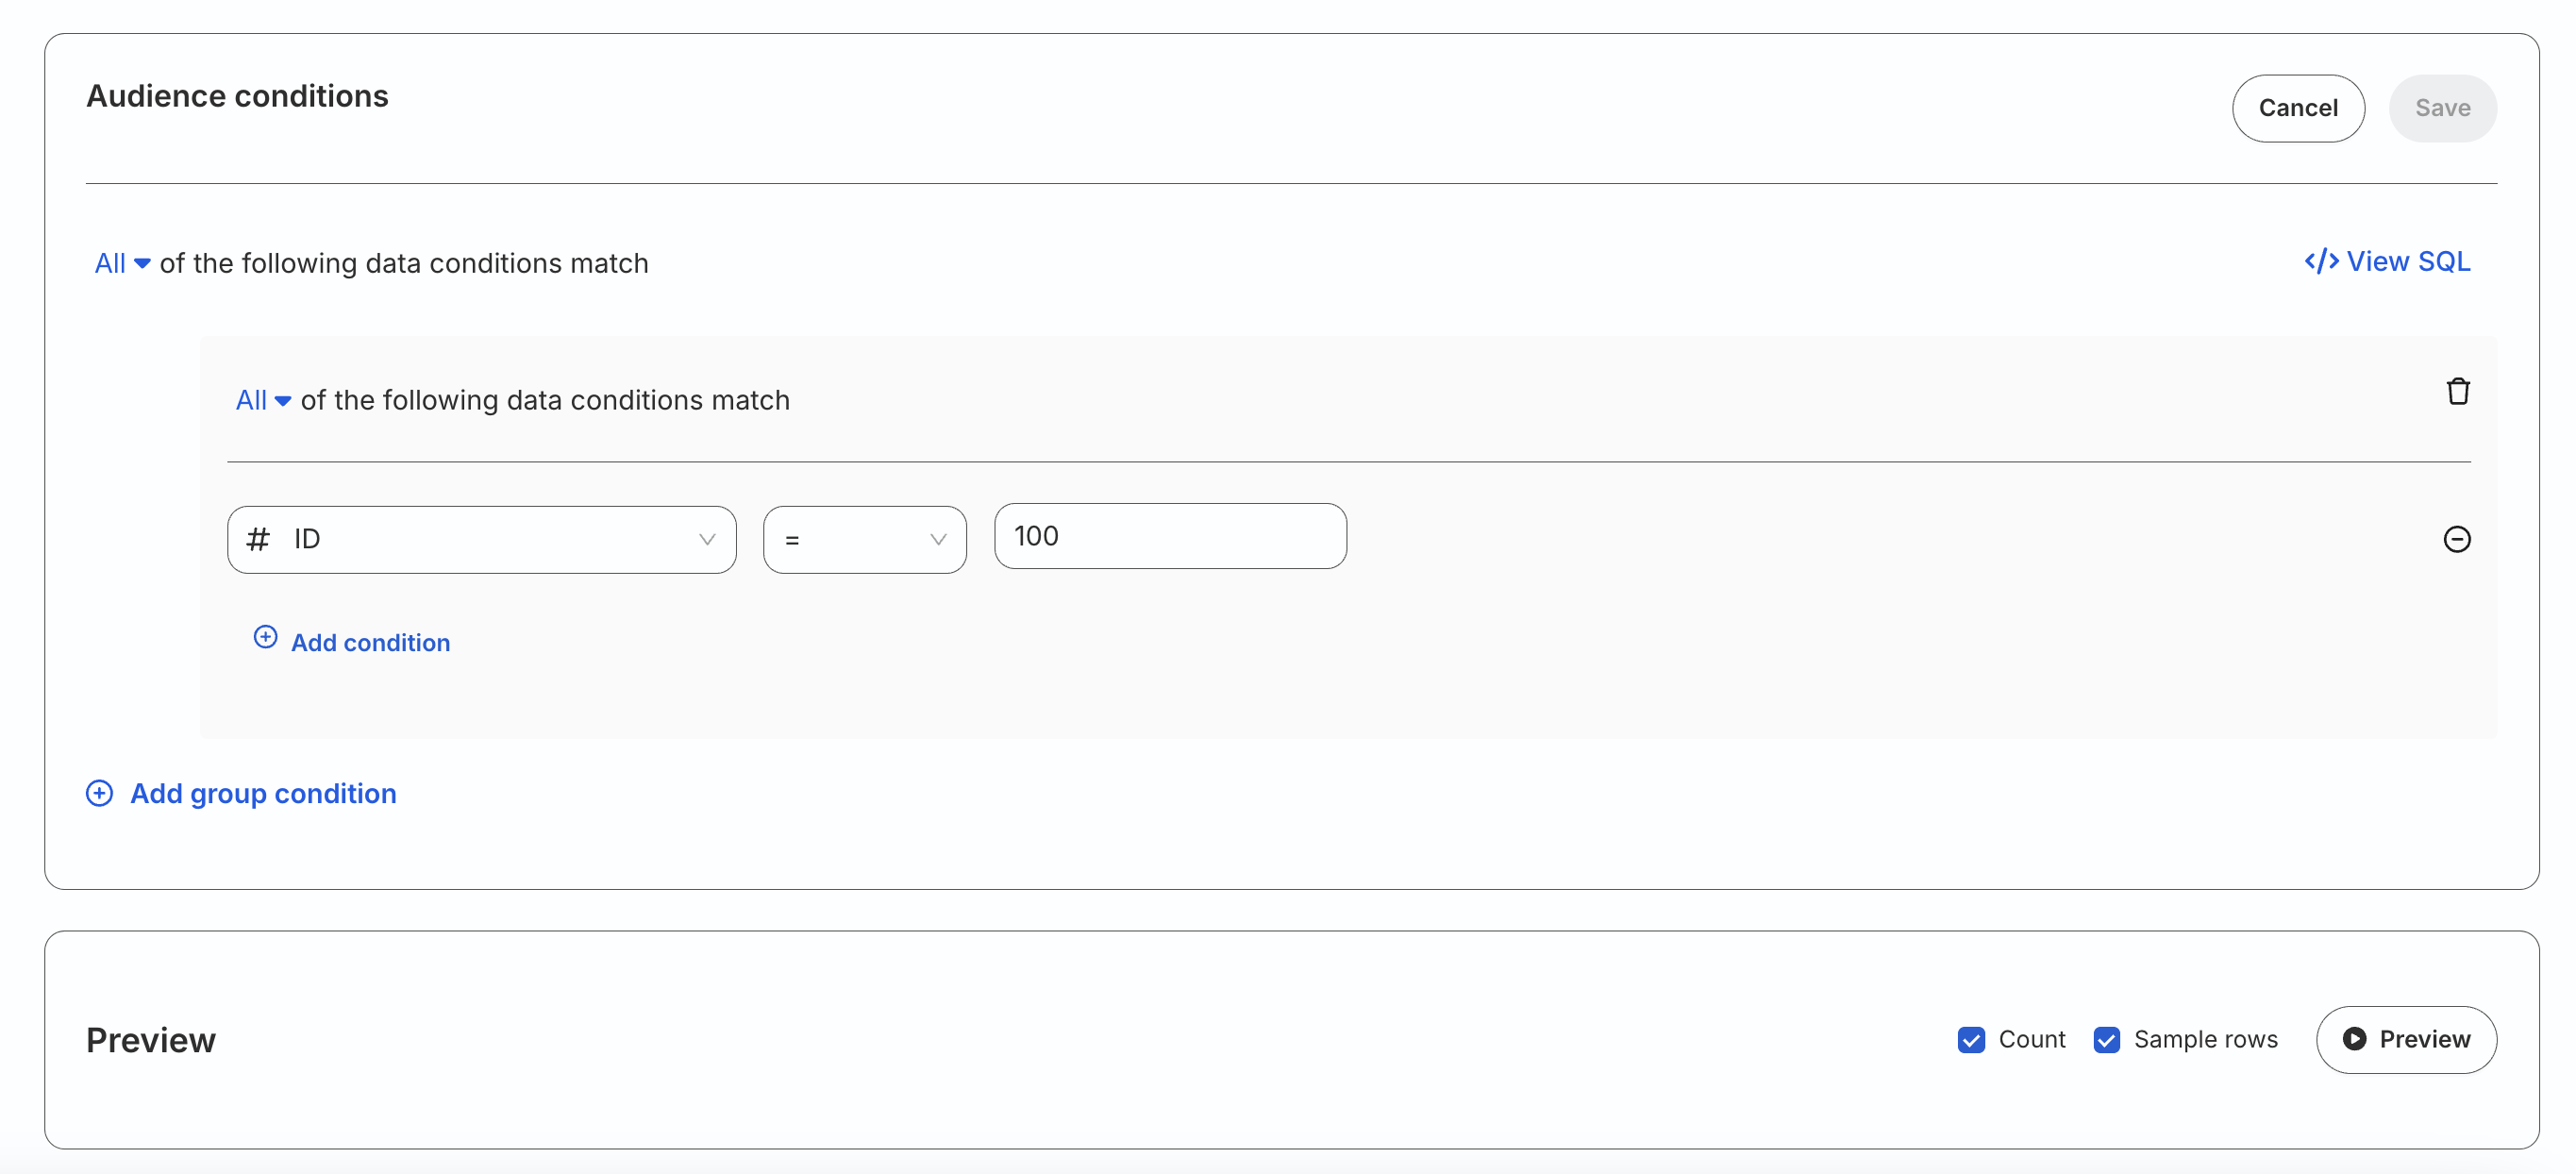
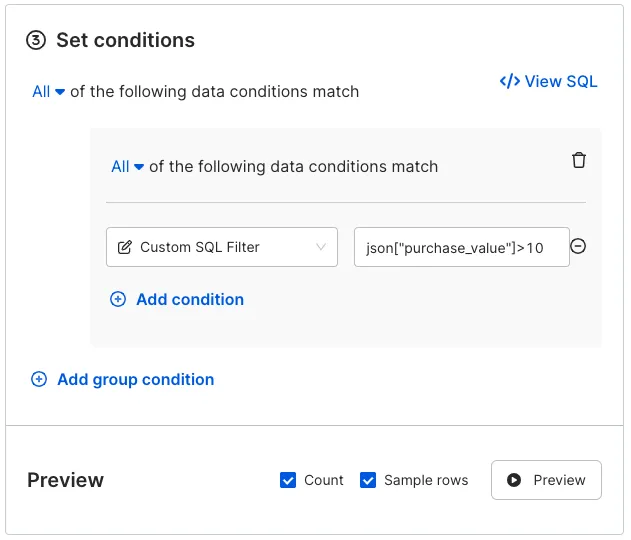
You can set the required filtering conditions, view the corresponding SQL query and preview the resultant data from your data filters:
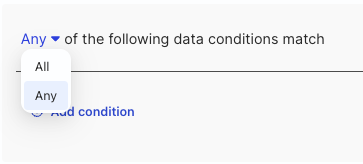
You can add multiple filters within a condition by clicking Add condition or add multiple group filters by clicking Add group condition. Select All or Any to implement the AND or OR operator respectively between different filtering conditions.
Click Preview to see the results and verify if the audience conditions are correct. Click Continue to proceed.
Review and complete setup
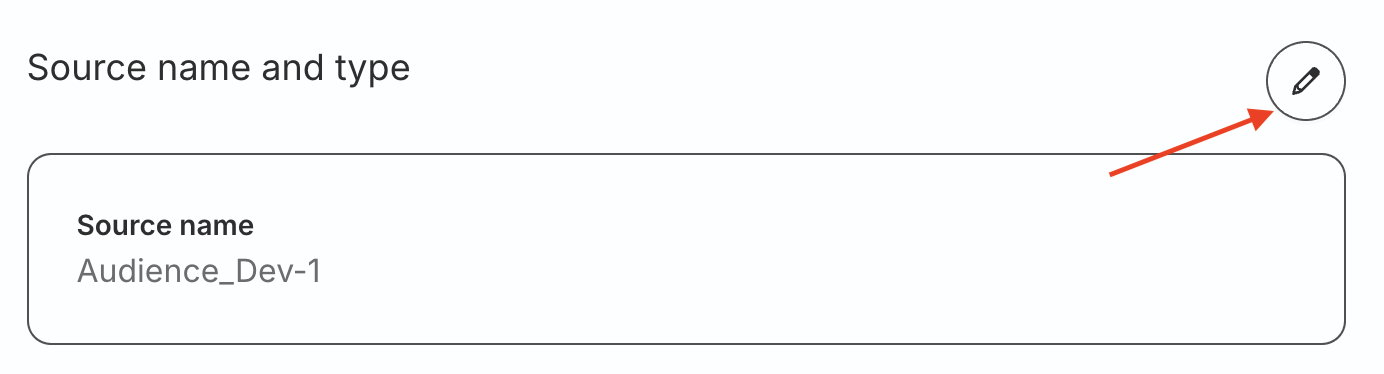
To make any changes to the warehouse credentials or audience configuration, click the edit icon present next to those sections.
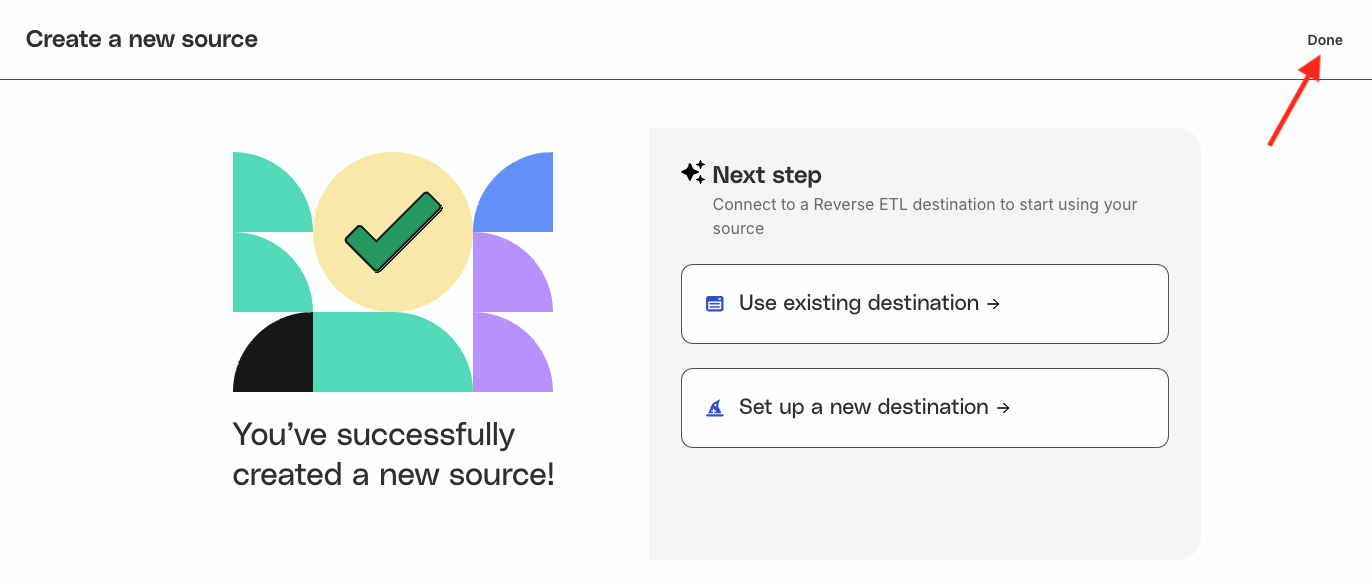
Once you have reviewed your configuration, click Create source to complete the setup.
Connect audience to destination
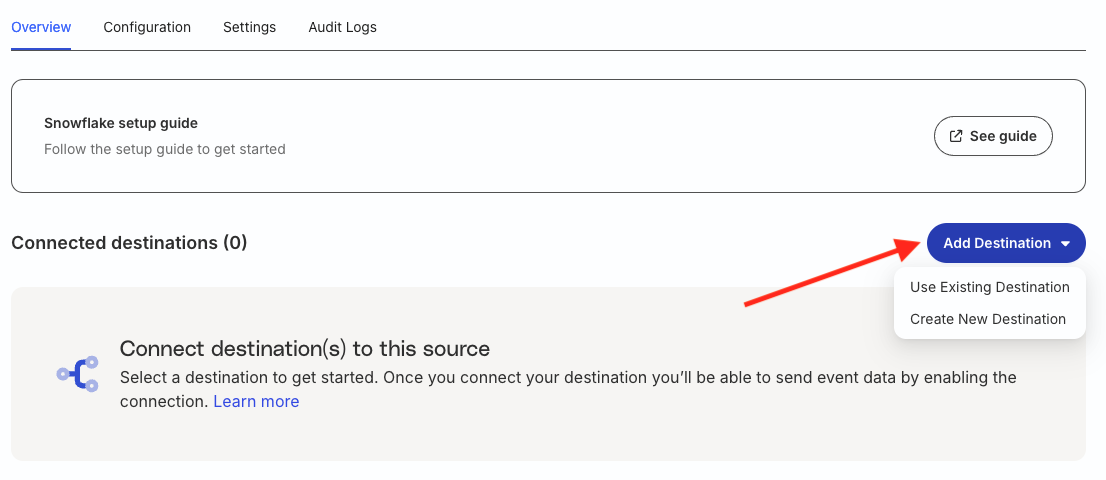
To start using the newly-created source, you can connect it to:
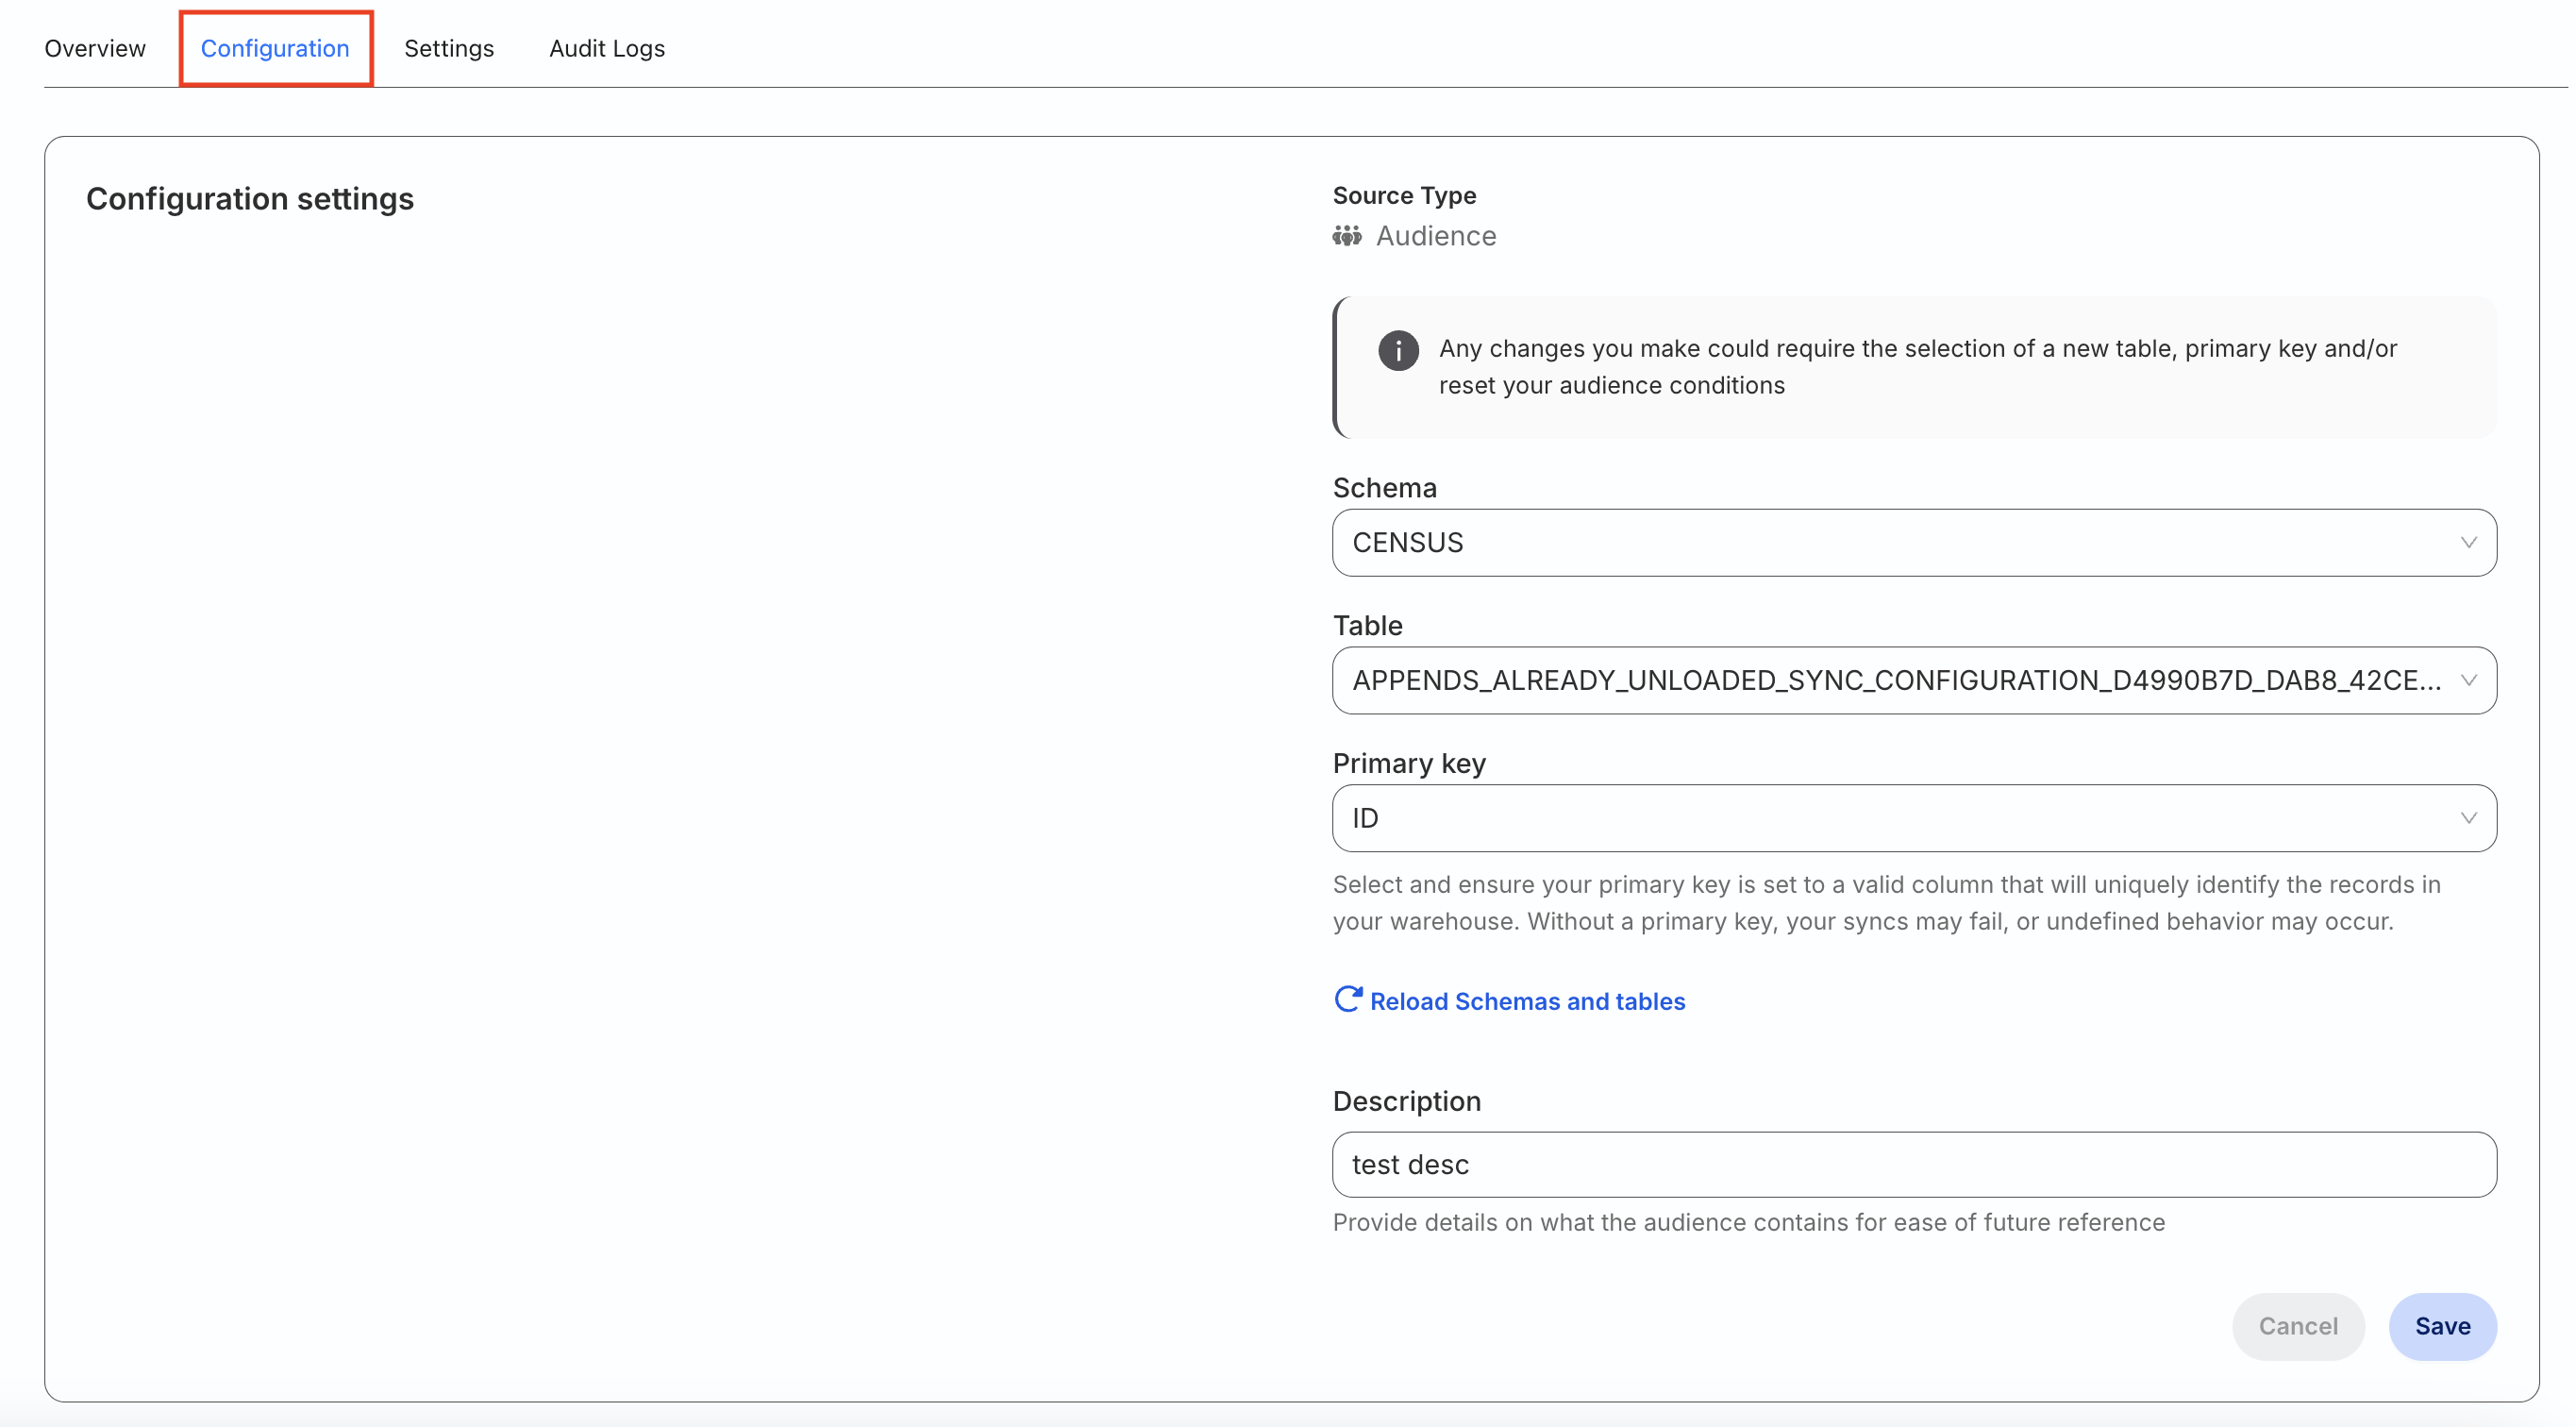
Go to the Configuration tab of the audience source.
Click the edit icon in the Configuration settings to update the source configuration and audience description
Note that:
You can update the Schema and Table fields only if your audience source is not connected to any destination. Otherwise, you can only update the Primary key and Description.
Your audience conditions will be reset if you change the warehouse schema or table.
To update the audience conditions, click the Edit conditions button and update the conditions. Make sure to preview the data before saving the updated conditions.
Audience identifier
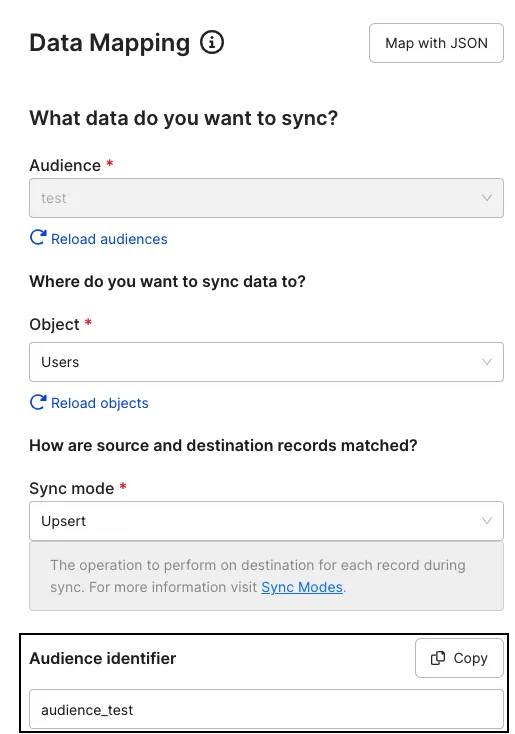
RudderStack requires an audience identifier when mapping your audience to destinations that don’t support audiences by default, for example, Salesforce, Customer.io, HubSpot, etc. It picks up this identifier from the Audience identifier setting in the dashboard while setting up the data mapping.
Note that:
You will see the Audience identifier setting while connecting your audience to all the supported destinationsexcept Facebook Custom Audience and Google Ads Remarketing Lists, which have audience support by default.
The value of Audience identifier is pre-populated in the dashboard. However, you can change it as required.
RudderStack sets the user traits with the provided Audience identifier as the key. It sets the value of the trait to either true or false depending on whether the user is a member of the defined audience.
Supported destinations
You can connect an audience to the following destinations:
Can I create a filter on the JSON columns in my warehouse table?
Yes, you can. Select the Custom SQL filter option from the dropdown and enter the corresponding SQL query, which includes the relevant filtering condition for the JSON column:
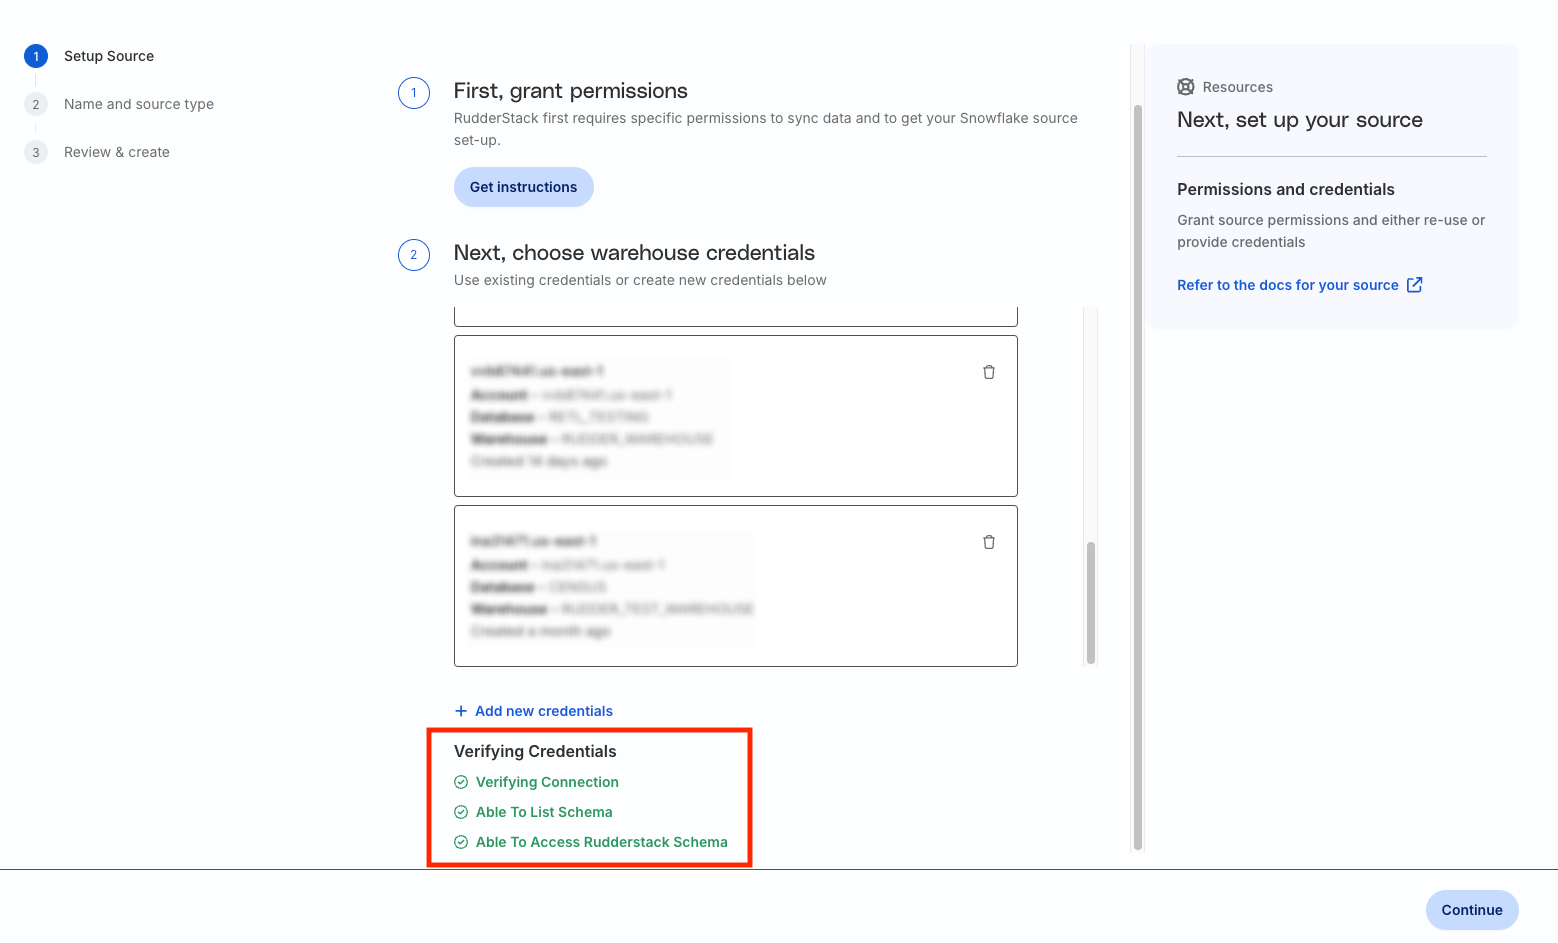
What do the three validations under Verifying Credentials imply?
Once you proceed after entering the connection credentials, you will see the following validations under the Verifying Credentials option:
These options are explained below:
Verifying Connection: Indicates that RudderStack is trying to connect to the warehouse with the information specified in the connection credentials.
If this option gives an error, it means that one or more fields specified in the connection credentials are incorrect. Verify your credentials in this case.
Able to List Schema: Checks if RudderStack is able to fetch all schema details using the provided credentials.
Able to Access RudderStack Schema: Checks if RudderStack has the required access to the _RUDDERSTACK / _rudderstack schema (depending on your warehouse). To create the schema, run all commands listed in the Permissions section of the respective Reverse ETL source documentation:
If this option gives an error, verify if you have successfully created the _RUDDERSTACK / _rudderstack schema and given RudderStack the required permissions to access it.
Questions? We're here to help.
Join the RudderStack Slack community or email us for support
This site uses cookies to improve your experience while you navigate through the website. Out of
these
cookies, the cookies that are categorized as necessary are stored on your browser as they are as
essential
for the working of basic functionalities of the website. We also use third-party cookies that
help
us
analyze and understand how you use this website. These cookies will be stored in your browser
only
with
your
consent. You also have the option to opt-out of these cookies. But opting out of some of these
cookies
may
have an effect on your browsing experience.
Necessary
Always Enabled
Necessary cookies are absolutely essential for the website to function properly. This
category only includes cookies that ensures basic functionalities and security
features of the website. These cookies do not store any personal information.
This site uses cookies to improve your experience. If you want to
learn more about cookies and why we use them, visit our cookie
policy. We'll assume you're ok with this, but you can opt-out if you wish Cookie Settings.