iOS (Swift) SDK Quickstart
3 minute read
This guide will walk you through setting up the SDK and sending your first events to RudderStack.
Prerequisites
- You must have Xcode installed on your system.
- Sign up for RudderStack.
- Set up a new iOS (Swift) source in the RudderStack dashboard and note its write keyThe write key (or source write key) is a unique identifier for your source. RudderStack uses this key to send events from a source to the specified destination. .
- You will also need the data plane URLThe data plane URL is the location where events are routed and sent to the RudderStack backend for processing. You can find this URL at the top of the Connections page in your RudderStack dashboard. associated with your RudderStack workspace.
Platform support
The iOS (Swift) SDK supports the following platforms:
| Platform | Version |
|---|---|
| iOS | 15.0+ |
| macOS | 12.0+ |
| tvOS | 15.0+ |
| watchOS | 8.0+ |
Step 1: Install iOS (Swift) SDK
RudderStack provides the following two options to integrate the RudderStack iOS (Swift) SDK into your project:
Add Swift Package Manager dependency
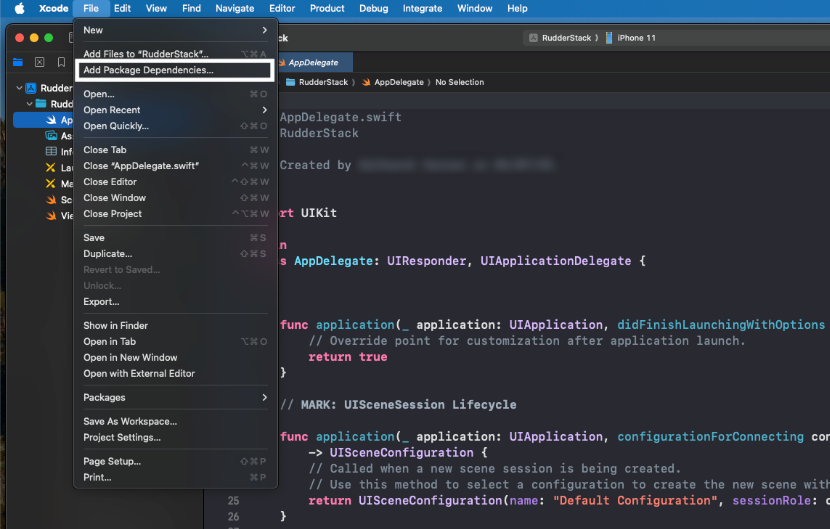
- In Xcode, select File > Add Package Dependencies….
- Enter the below package repository URL in the search bar:
https://github.com/rudderlabs/rudder-sdk-swift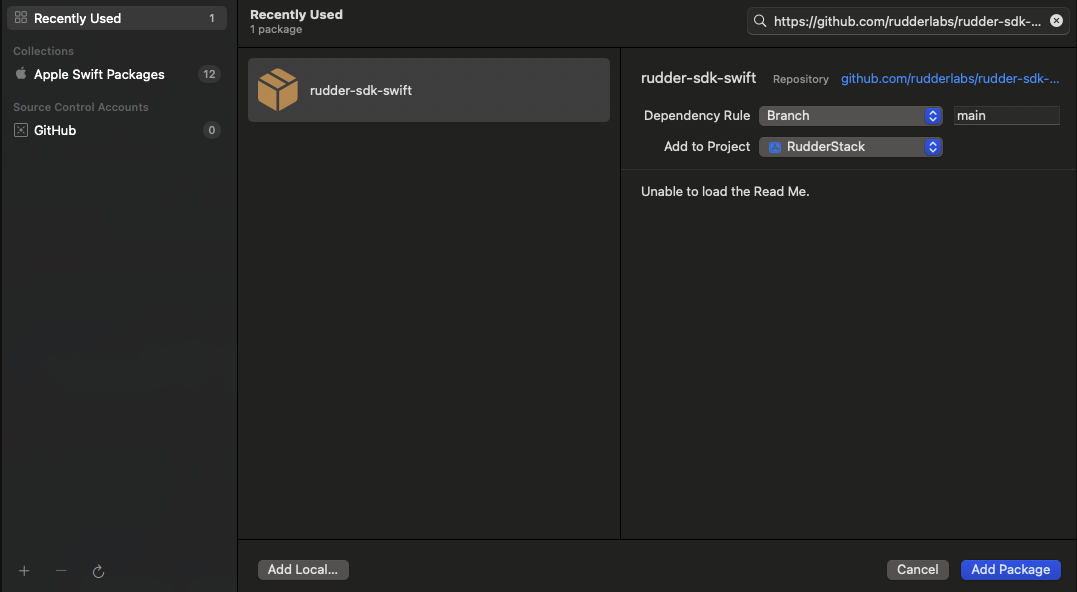
- Select the version to use (the latest version is recommended).
- Select the project to which to add the package.
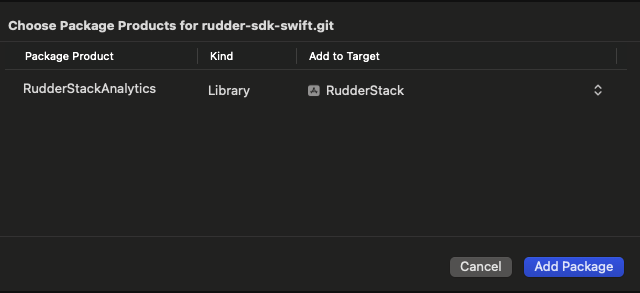
- Click Add Package.
Add to Package.swift
Alternatively, you can add the dependency to your Package.swift file, as shown:
// swift-tools-version:5.9
import PackageDescription

let package = Package(
    name: "YourApp",
    dependencies: [
        .package(url: "https://github.com/rudderlabs/rudder-sdk-swift.git", from: "1.0.0")
    ],
    targets: [
        .target(
            name: "YourApp",
            dependencies: [
                .product(name: "RudderStackAnalytics", package: "rudder-sdk-swift")
            ]),
    ]
)
Step 2: Initialize iOS (Swift) SDK
Before tracking any events, initialize the iOS (Swift) SDK, as shown:
// Import statement
import RudderStackAnalytics

// Initialize the RudderStack Analytics SDK
let config = Configuration(
    writeKey: "<WRITE_KEY>",
    dataPlaneUrl: "<DATA_PLANE_URL>"
)

let analytics = Analytics(configuration: config)// Import statement
@import RudderStackAnalytics;
// Initialize the RudderStack Analytics SDK
RSSConfigurationBuilder *builder = [[RSSConfigurationBuilder alloc]
initWithWriteKey:@"<WRITE_KEY>"
dataPlaneUrl:@"<DATA_PLANE_URL>"];
RSSAnalytics *analytics = [[RSSAnalytics alloc]
initWithConfiguration:[builder build]];Replace the WRITE_KEY and DATA_PLANE_URL parameters with the iOS (Swift) source write key and the data plane URL obtained in Prerequisites.
Step 3: Identify users
You can use the identify event to identify a user and associate them with their actions. It also enables you to record any traits about them like their name, email, etc.
You can use the identify method as follows:
self.analytics.identify(
	userId: "1hKOmRA4el9Zt1WSfVJIVo4GRlm",
	traits: [
		"name": "Alex Keener",
		"email": "alex@example.com"
	]
)[self.client identify:@"1hKOmRA4el9Zt1WSfVJIVo4GRlm"
traits:@{@"name": @"Alex Keener", @"email": @"alex@example.com"}];Step 4: Track user actions
The track call lets you record the customer events, that is, the actions that they perform, along with any properties associated with them.
A sample track call is shown:
self.analytics.track(
	name: "Order Completed",
	properties: [
		"revenue": 30.0,
		"currency": "USD"
	]
)[self.analytics track:@"Order Completed"
properties:@{@"revenue": @30.0, @"currency": @"USD"}];In the above snippet, the track method logs an event called Order Completed along with two event properties revenue and currency that provide additional context to the event.
