Looker
4 minute read
Looker is a popular Business Intelligence and data analytics platform. It allows you to explore your data for actionable, business-oriented insights.
You can now use Looker as a data source to send enriched user activities and their associated properties over a period of time to RudderStack. RudderStack then forwards this data to your specified destinations for real-time syncing of the newly created properties and actions.
Set up Looker actions
After creating your views in Looker, you need to set-up the necessary Looker actions. To do so, go to your Looker actions dashboard.
Note that:
- While RudderStack supports teams and individual workspaces in its Enterprise edition, Looker does not allow individual Action Hub configurations for different members of the same organization.
- To send the output of different looks to various RudderStack sources, you will need to host custom instances of Looker Action Hub. See the Looker documentation for more information.
Configure Looker source in RudderStack
- Go to your RudderStack dashboard and click Add Source. From the list of Event Streams sources, select Looker.
- Assign a name to your source and click Continue.
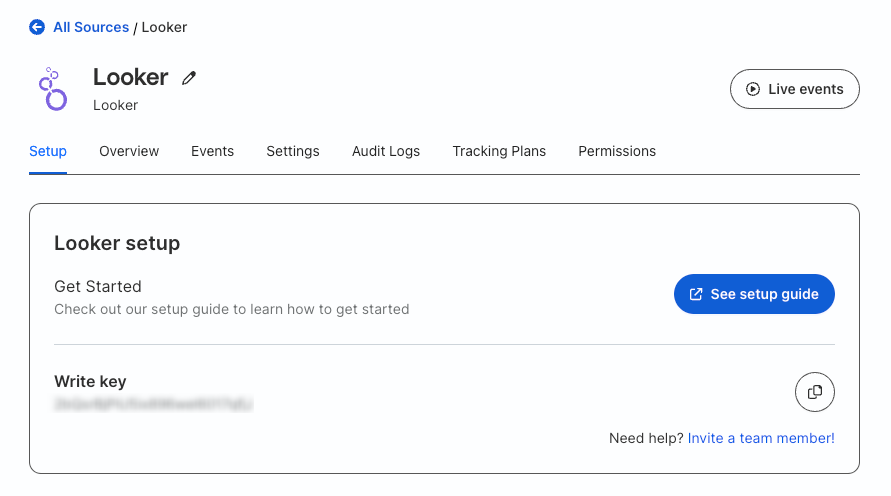
- Your Looker source is now configured. Note the source Write key:
Add RudderStack Action Hub Server
This section describes the steps required to enable RudderStack Actions in Looker.
RudderStack hosts a Looker Action Hub Server that communicates with your Looker instance.
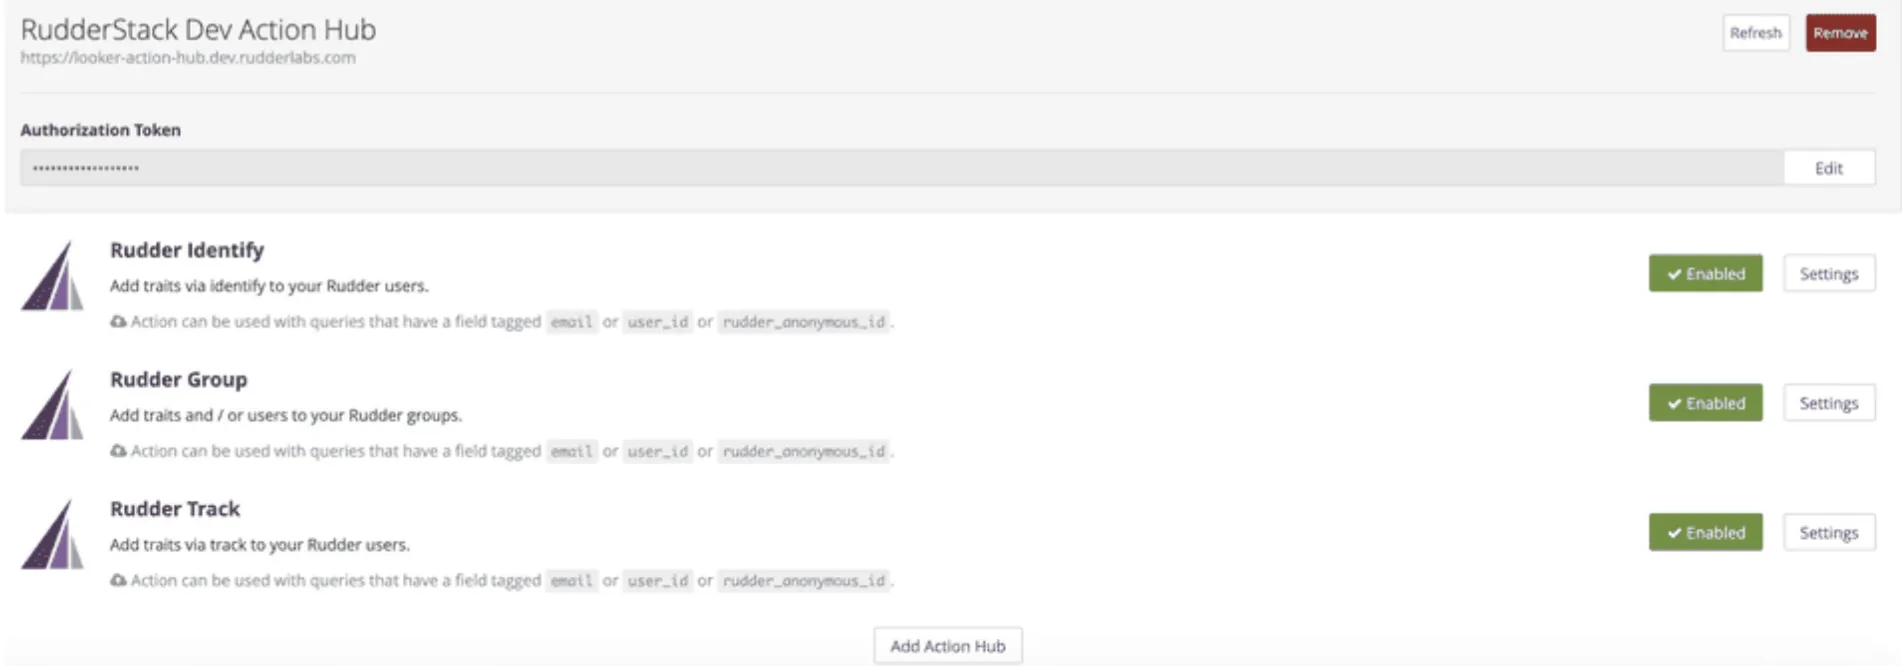
To connect the Action Hub Server to your Looker instance, click the Add Action Hub button present at the bottom of Looker Actions dashboard:

Depending on your region, enter the RudderStack Action Hub Server URL and related authorization token:
RudderStack Action Hub Server URL: https://looker-action-hub.rudderstack.com
Authorization Token:
75805209b45a55494d0c27d4eb91fbf6bc7fb1a63dfcd9260fe65daee584737b/ea4e074e71c1af9c07bf71f69c1addf7b9a30d458bd7aea4b4e60d6a6a122277b59210186edb7cf21a5ff53a29c68fb89ff5aaf5019570c8a5131484a11e2e3e- RudderStack Action Hub Server URL: https://looker-action-hub.eu.rudderstack.com
- Authorization Token:
93ceacd6ae64593995163d692888bec22f2b8032eee994cc4d071f0b2392719f/09723f97fb676bd1eeb1efdc3812761d7bdb332af5ad01f4323d30d7e90d9954ecfcb63df2f45094ff9bd1b5dce00111e91c70b8dfdecd731a266468ed0fcadcIf you encounter an error while connecting to the Action Hub after entering the server URL, click Configure Authorization and enter the Authorization Token. See FAQ for more information.
You can then start viewing the following three RudderStack actions:
| Actions | Description |
|---|---|
| Identify | Adds the traits to your RudderStack users via the identify event. |
| Group | Adds the traits or users to your RudderStack groups via the group event. |
| Track | Adds the user properties for your users via the track event. |
Configure actions
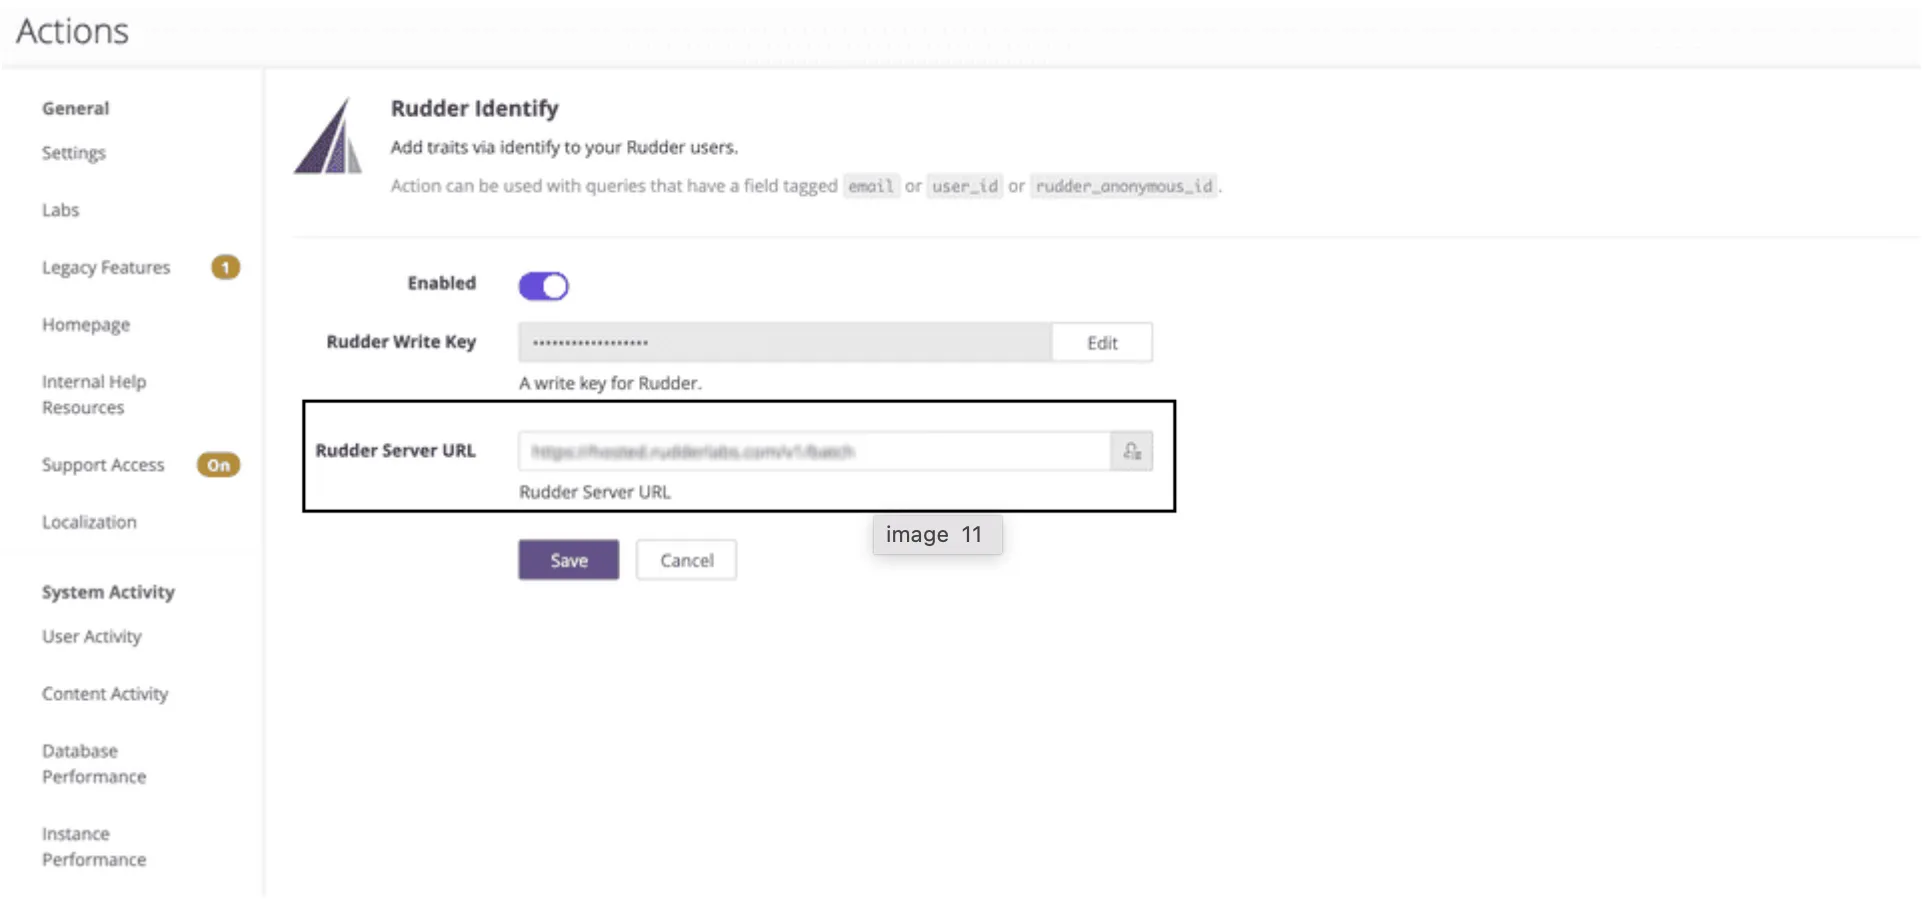
- To enable any of the above actions, click the Settings button.
- Enter the Write key obtained after setting up the Looker source in RudderStack.
- Specify the Rudder Server URL to which Looker forwards the user looks data. The URL is
https://<data_plane_url>/v1/batch, where<data_plane_url>is your data plane URLThe data plane URL is the location where events are routed and sent to the RudderStack backend for processing. You can find this URL at the top of the Connections page in your RudderStack dashboard. .
Once the connection is successful, you should start seeing the RudderStack Actions.
RudderStack Actions overview
Once configured, RudderStack Actions will start sending the query results to RudderStack.
When defining the columns for the Looker models attached to the user looks that you want to send to RudderStack, it’s important to tag the user identifier column as email or user_id or rudder_anonymous_id. Additionally, to use the RudderStack Group action, you need to tag your group identifier column as rudder_group_id.
In some specific cases, for example, Redis - theuser_idmust be present even if
Looker sends the other columns related to the user and their activities as traits or properties along with the event payload.
A sample track payload sent by the RudderStack Track action:
{
  "userId": "test@rcomp.es",
  "anonymousId": null,
  "properties": {
    "tracks_flow.event_2": "Destination_Clicked",
    "tracks_flow.event_3": [

    ],
    "tracks_flow.event_4": [

    ],
    "tracks_flow.event_5": [

    ],
    "tracks_flow.event": "User_Logged_In"
  },
  "event": "single",
  "context": {
    "library": {
      "name": "analytics-node",
      "version": "0.0.3"
    },
    "app": {
      "name": "looker/actions",
      "version": "dev"
    }
  },
  "timestamp": "2020-06-18T08:21:01.644Z",
  "type": "track",
  "_metadata": {
    "nodeVersion": "12.13.0"
  },
  "originalTimestamp": "2020-06-18T08:21:03.049Z",
  "messageId": "node-c33eb51666f6470bf4aa415c7431aba4-ffd5e198-05a1-477a-9c2c-85be30749b8b",
  "sentAt": "2020-06-18T08:21:03.050Z"
}
Note that the column names in your looks are transformed as view name.column name in the payload sent to RudderStack. If you want to change the names as per your destination, you can do so using the Transformations feature.
FAQ
I get an error while connecting to the RudderStack Action Hub. What should I do?
While connecting to the RudderStack Action Hub, you may sometimes get the following error:

To resolve this issue:
- Click Configure Authorization.

- Enter the region-specific authorization token and click Update Token.

