RudderStack Developer Machine Setup
Set up RudderStack in your development environment.
2 minute read
This guide lists the steps to set up the RudderStack data plane in your development environment.
Prerequisites
- Go 1.17 or above.
- Node.js 14.17 or above.
- PostgreSQL 11 or above.
Data plane setup
RudderStack recommends using the latest
rudder-serverandrudder-transformerversions to avoid any breaking changes to your pipelines.See the Server-Transformer Compatibility guide for more information.
- Log in to your RudderStack Open Source dashboard.
- Copy your workspace token from Settings > Workspace:
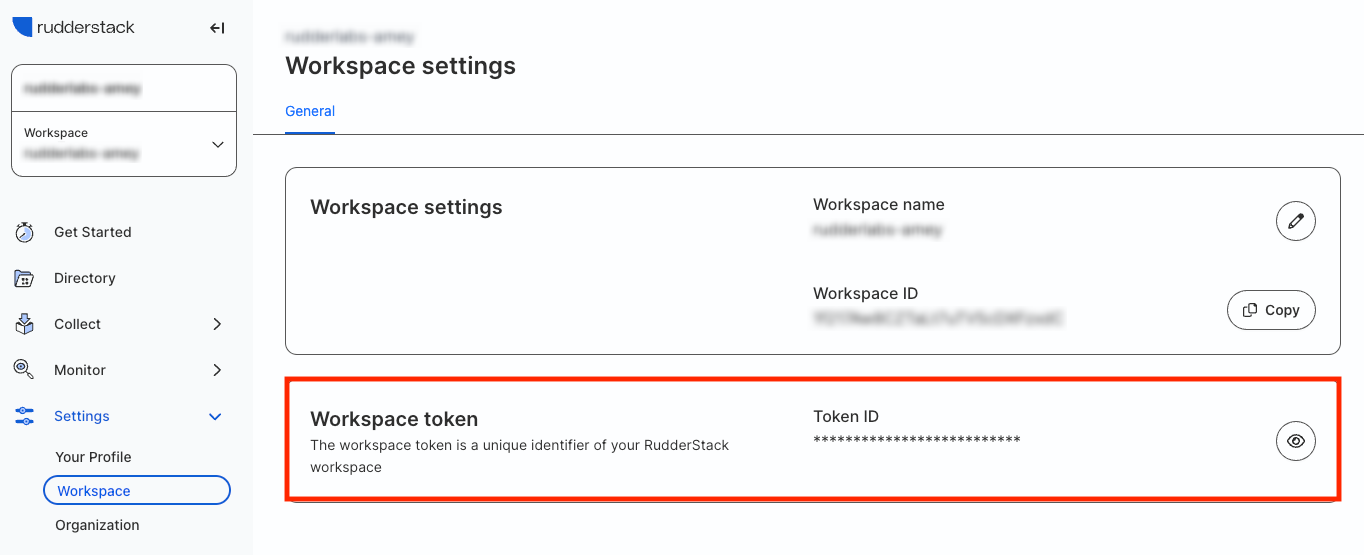
- Set up the database in your preferred directory using the following commands:
bash
createdb jobsdb
createuser --superuser rudder
psql "jobsdb" -c "alter user rudder with encrypted password 'rudder'";
psql "jobsdb" -c "grant all privileges on database jobsdb to rudder";- Clone the
rudder-serverrepository:
bash
git clone https://github.com/rudderlabs/rudder-server.git- Run the following commands to fetch the
rudder-transformerrepository.
bash
git submodule init
git submodule update- Navigate to the
rudder-transformerdirectory using thecd rudder-transformercommand. - Install the dependencies using the
npm icommand. - Start the destination transformer:
bash
node destTransformer.js- Navigate back to the main directory using the
cd rudder-servercommand. - Copy
sample.envto the main directory:
bash
cp config/sample.env .env- Update
WORKSPACE_TOKENin this file with the workspace token you copied in Step 2. - Start the RudderStack server:
bash
go run main.goSelf-hosted control plane
If you are self-hosting your control plane using Control Plane Lite, see Developer Machine Setup instructions to set up the data plane.
Verify installation
To verify if the setup is successful, follow the steps listed in Verify installation.
