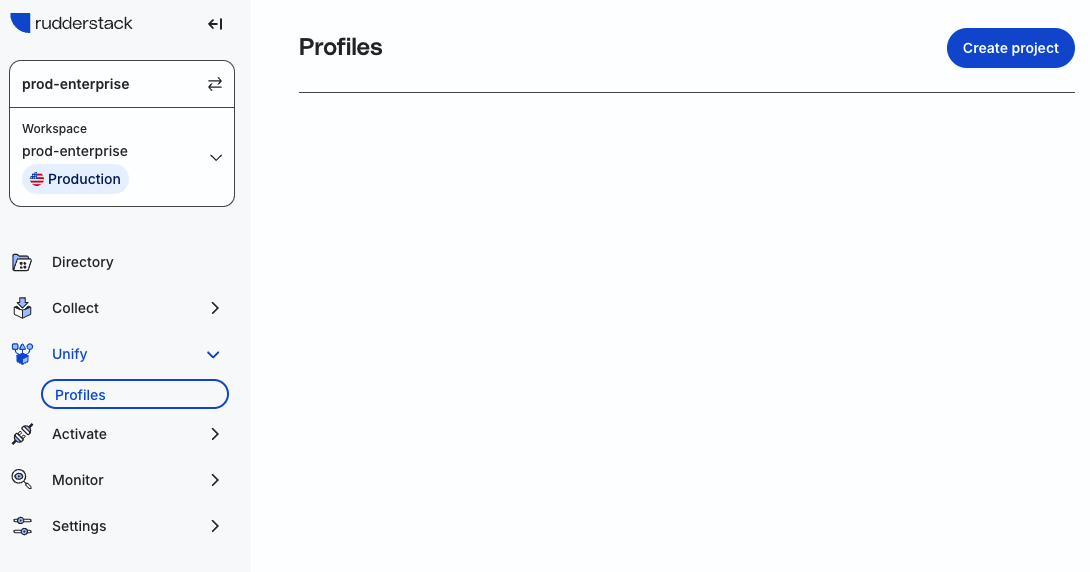
Enter the schema name for the corresponding warehouse in the Schema field where you want your Profiles project to store the outputs.
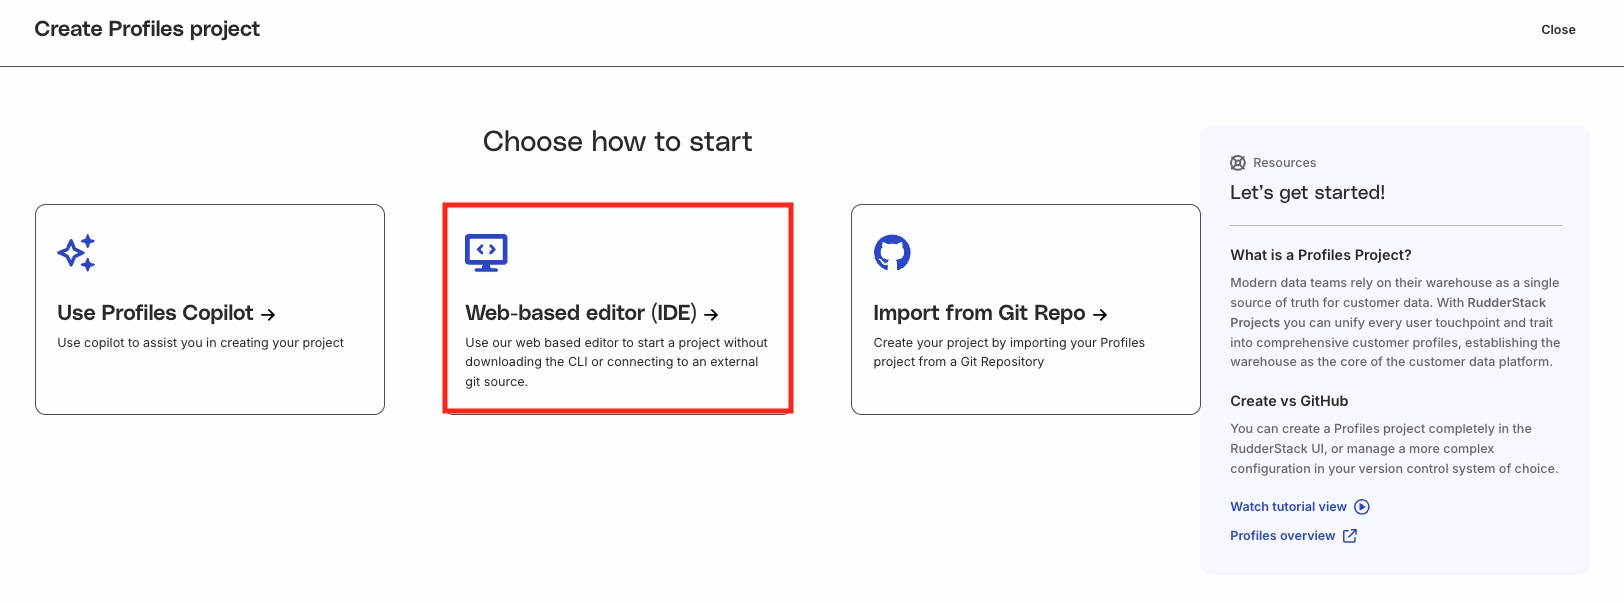
Click Create Profiles Project and select Open in editor mode.
Enter the schema name you want to use for development purposes for your editing session and click Continue.
RudderStack recommends using a development schema while editing your project so that you can modify your YAML configuration files, run your changes within the editor, and validate the outputs in a separate development schema.
This makes it convenient to test your changes in the development schema without affecting the outputs in your production schema.
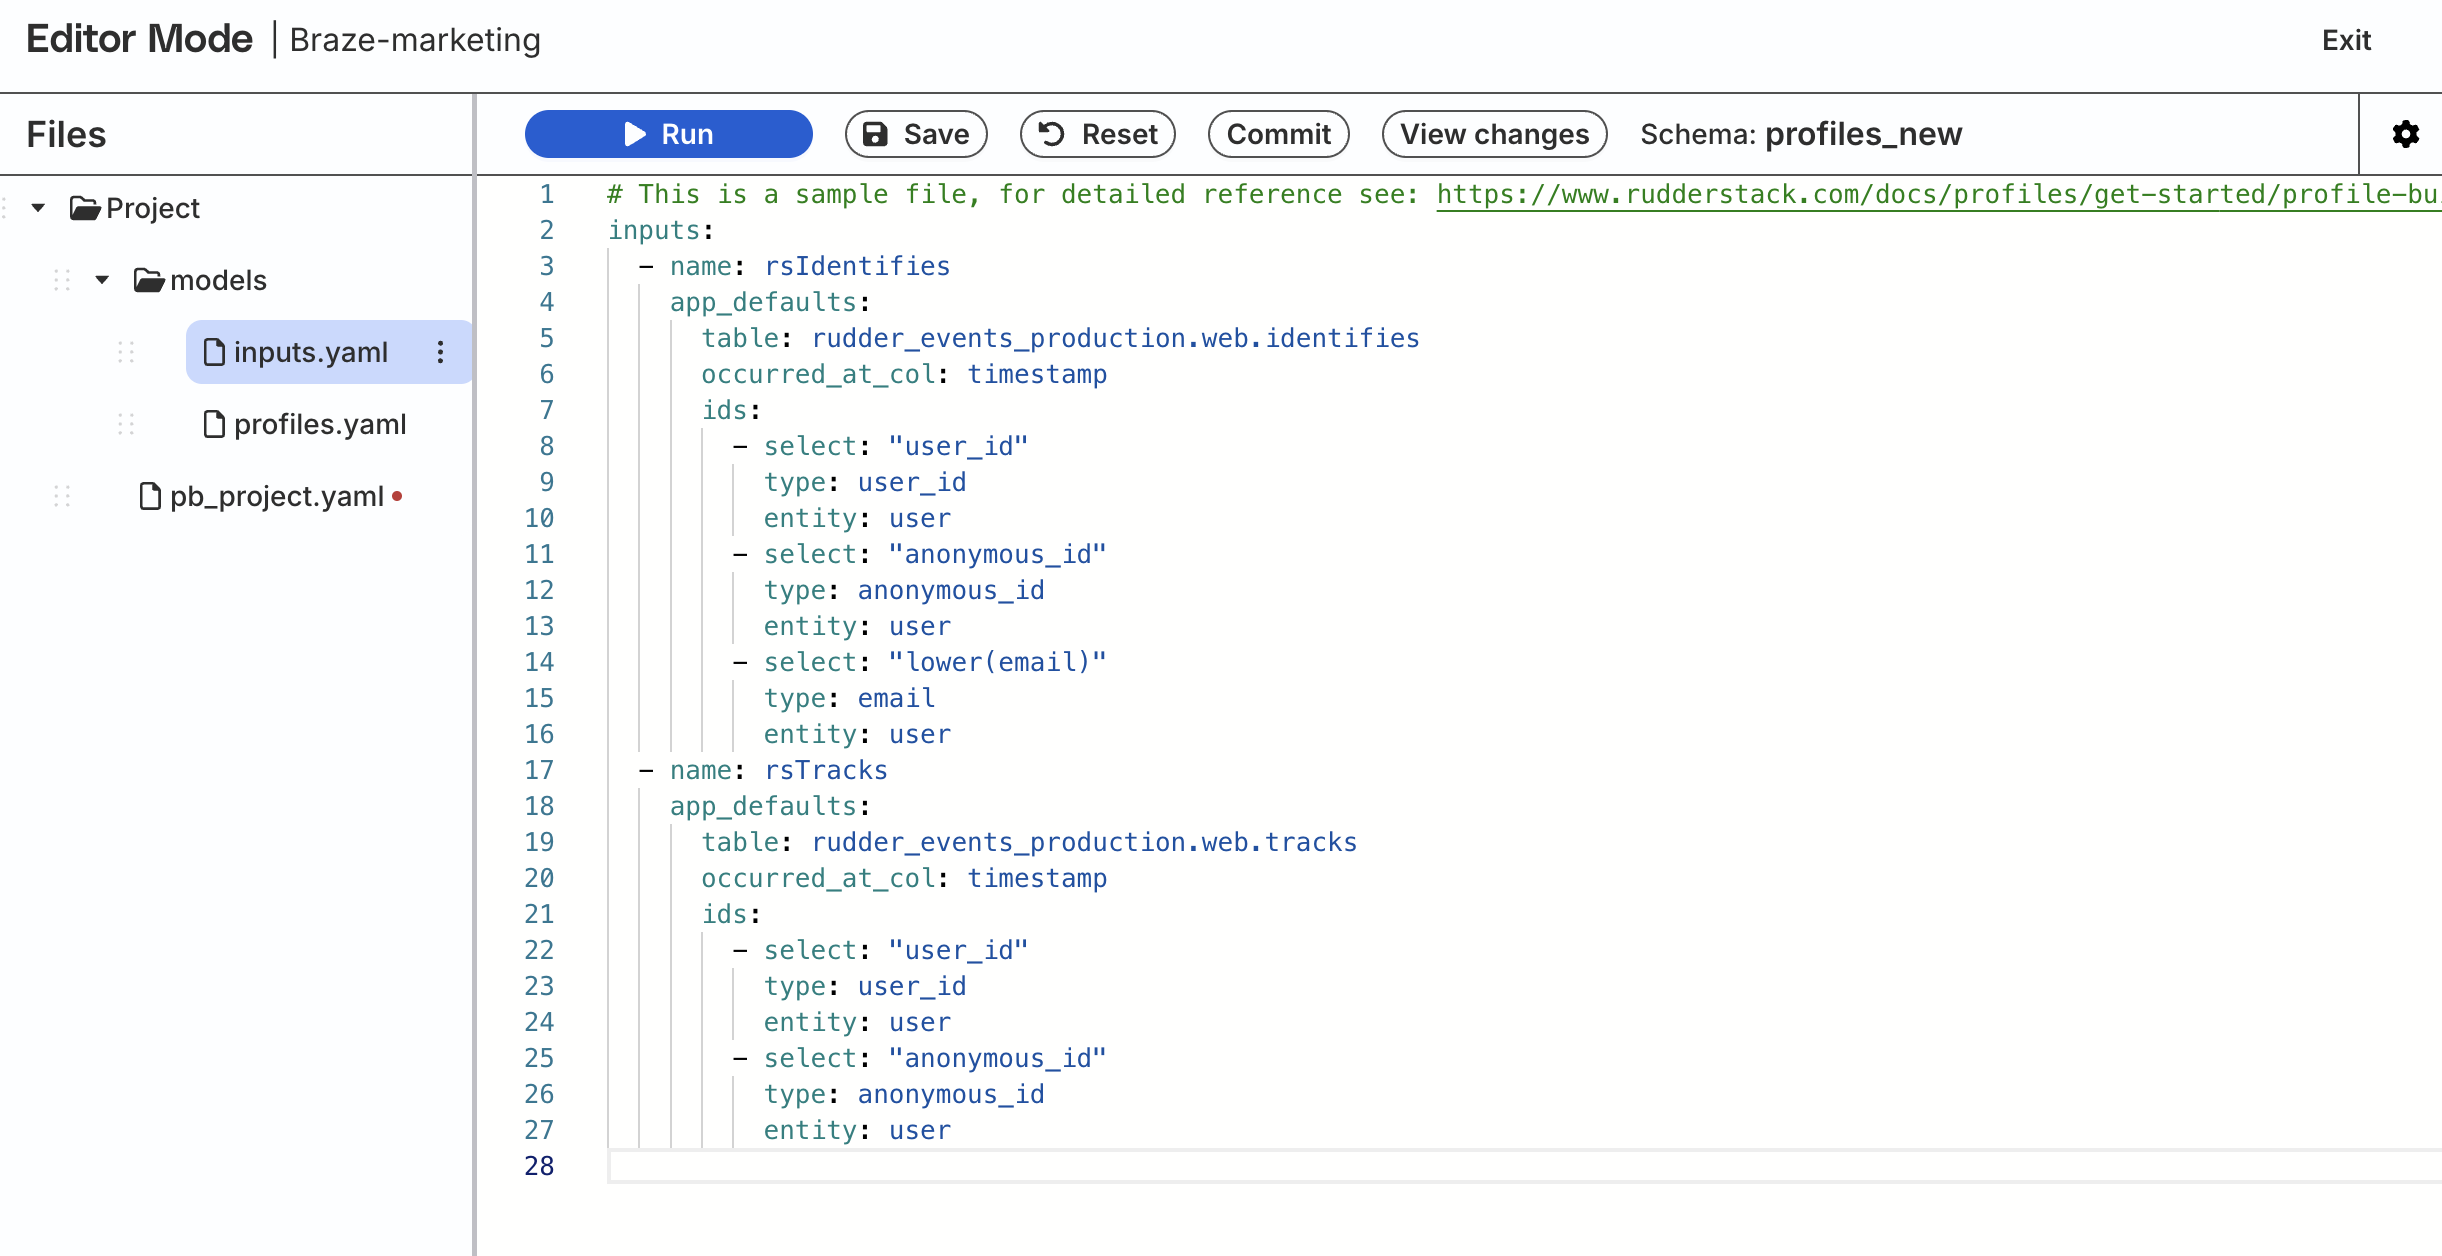
You will be able to see the following screen displaying a sample Profiles project with different YAML files:
Copy the SSH public key and click Add deploy key which will take you to your git repository’s Deploy keys section. See deploy keys section in the GitHub, GitLab, or Bitbucket documentation for more information.
Make sure your Git repository has at least one commit for successful validation.
Click Add deploy key, add a Title, paste your SSH public key, and click Add key.
Click Continue to let RudderStack verify read access.
Click Download project to download the Profiles project you set up in the dashboard.
Commit the downloaded project to your Git repository.
Once the project is committed successfully, return to the dashboard and click Convert Profiles project.
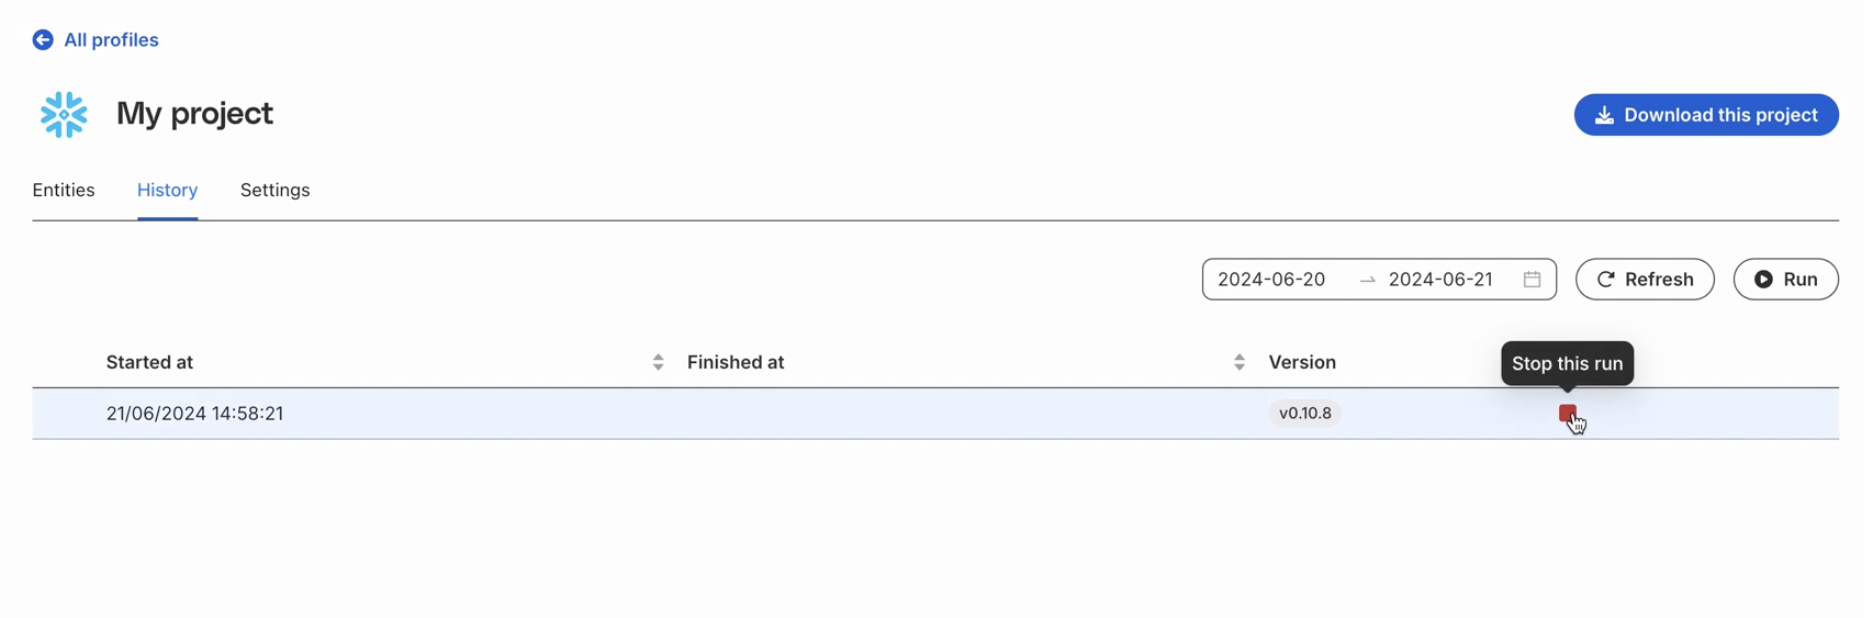
Start/Stop project run
Once created, you can:
Run your Profiles project using either of the following ways:
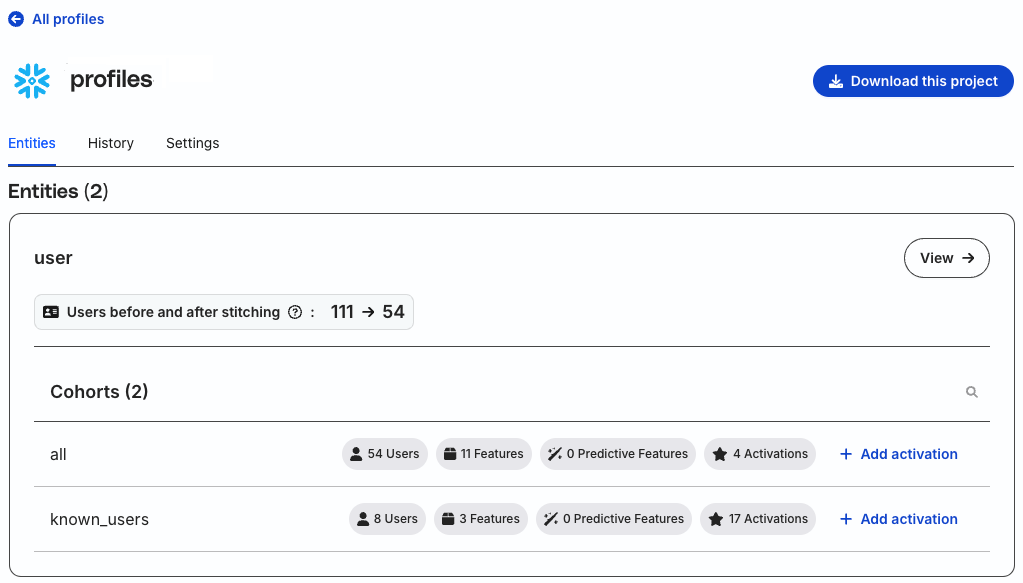
You can also view the details of a specific profile in your Profiles project:
In your Profiles project’s Entities tab, click View button across the entity for which you want to see the profile:
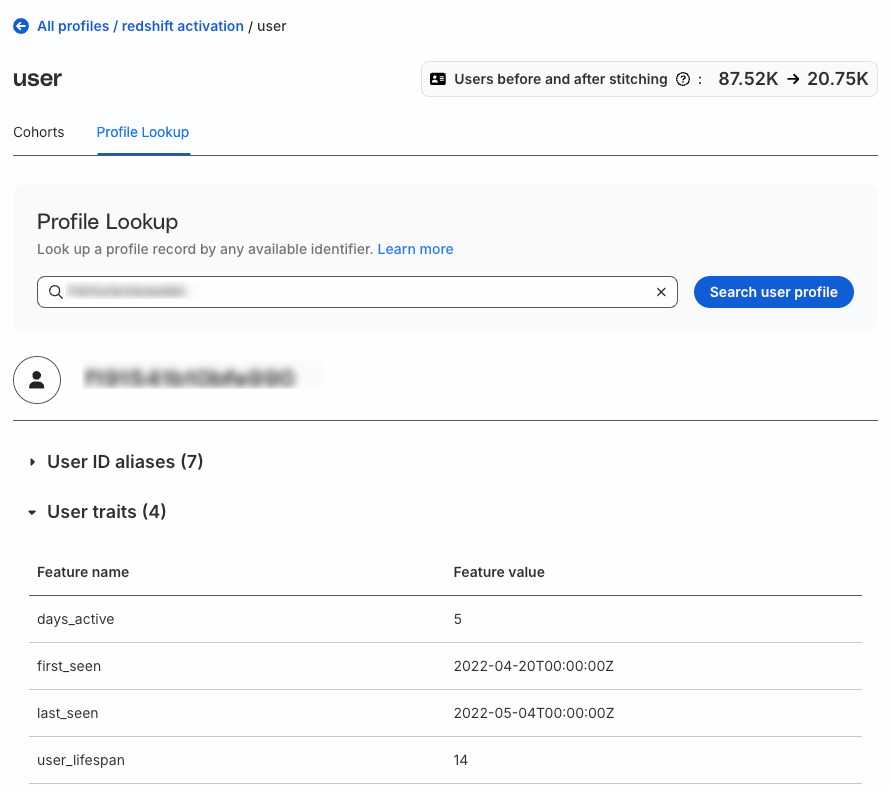
Click Profile Lookup tab to search a profile record.
Type an available unique identifier like email, phone number, user id, anonymous id, or the entity’s main_id (for example, user_main_id) and click Search user profile.
Note that:
It can take a few minutes for the data preview to show up in your profile’s History tab.
If you keep getting a blank screen, it may be because you do not have sufficient access. Make sure you have the relevant permissions with the ability to access PII. In case the problem persists, contact RudderStack support.
Questions? We're here to help.
Join the RudderStack Slack community or email us for support
This site uses cookies to improve your experience while you navigate through the website. Out of
these
cookies, the cookies that are categorized as necessary are stored on your browser as they are as
essential
for the working of basic functionalities of the website. We also use third-party cookies that
help
us
analyze and understand how you use this website. These cookies will be stored in your browser
only
with
your
consent. You also have the option to opt-out of these cookies. But opting out of some of these
cookies
may
have an effect on your browsing experience.
Necessary
Always Enabled
Necessary cookies are absolutely essential for the website to function properly. This
category only includes cookies that ensures basic functionalities and security
features of the website. These cookies do not store any personal information.
This site uses cookies to improve your experience. If you want to
learn more about cookies and why we use them, visit our cookie
policy. We'll assume you're ok with this, but you can opt-out if you wish Cookie Settings.