Rudder Lookout Quickstart Private Beta
3 minute read
Rudder Lookout is currently in Private Beta, where we work with early users and customers to test new capabilities and gather feedback before making it generally available.
Contact your Customer Success Manager if you are interested in enabling Lookout for your team.
1. Sign in with RudderStack
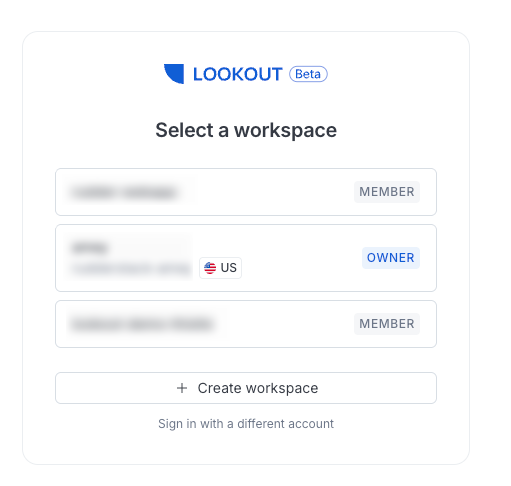
On the Lookout login page, choose Sign in with RudderStack.
Lookout shows the RudderStack workspaces you already belong to. You choose one to link, and Lookout creates a separate workspace of its own — with its own members, settings, and data. There is no access token to create or paste.
Creating a workspace is only possible when you sign in with RudderStack.
Google and email sign-in get you into a workspace a teammate has invited you to, but they can’t create one — there are no RudderStack workspaces for Lookout to link.
If you don’t have a RudderStack account, sign up for RudderStack first.
2. Pick the RudderStack workspace to link
Lookout shows the RudderStack workspaces you belong to. Choose one and give the new Lookout workspace a short, URL-friendly name — its slug.
If a teammate has already linked a Lookout workspace to that RudderStack workspace, you are offered it to join instead, so your team’s audiences and dashboards stay in one place.
3. Connect a warehouse
Your warehouse is where the customer data lives, so Lookout needs it before it can answer questions or build audiences.
Go to Settings > Connections > Warehouses, add an account, and choose your warehouse type — PostgreSQL, Snowflake, Redshift, BigQuery, Databricks, or ClickHouse.
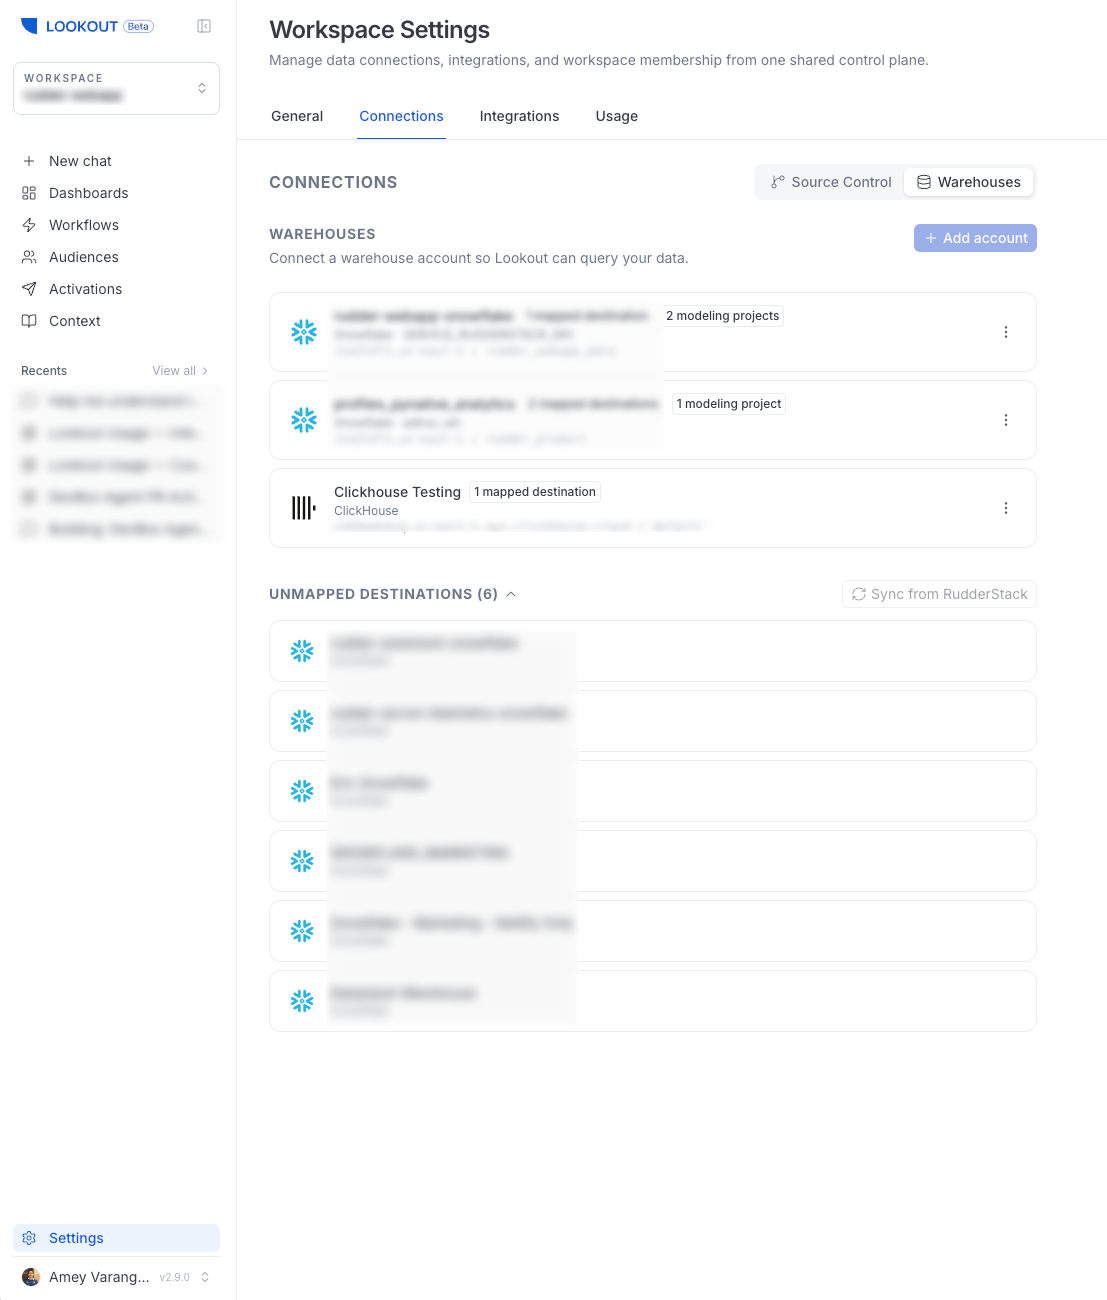
Lookout connects to your warehouse with its own service account, separate from the credentials your RudderStack workspace uses. This lets you control exactly what Lookout can access without affecting your existing pipelines.
For most warehouse types, Lookout generates a setup script that creates the service account and grants it read-only access. Copy the script and run it in your warehouse (or share it with your database admin) before testing the connection.
Warehouse access is read-only — Lookout queries your data but never writes to or alters it.
See Warehouses for more details.
4. Build your first audience
- Open a chat and describe the people you want to reach:
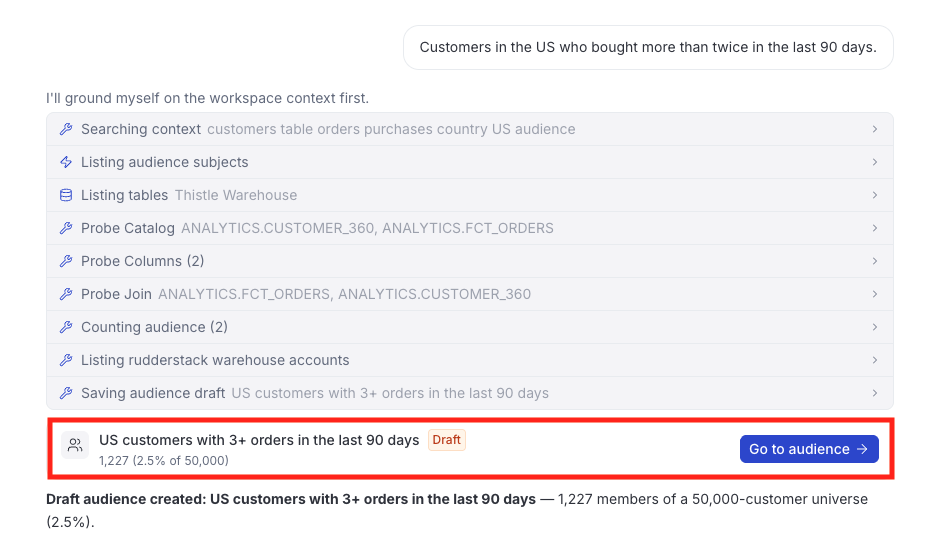
Customers in the US who bought more than twice in the last 90 days.
- The agent finds the tables that hold them, drafts the audience, and gives you a card linking to it. Click Go to audience to see the rules it wrote.
- Expand any rule to see the data behind it, update the audience definition as required, and recalculate the audience size to find out how many people match.
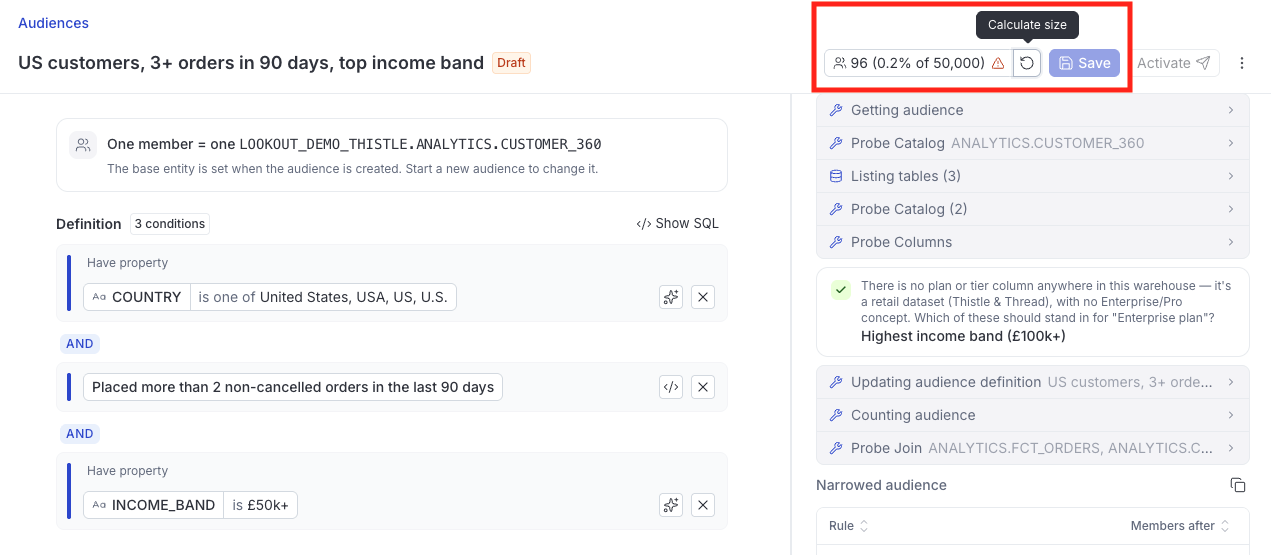
- Click Save once the number looks right.
See Build an Audience with the Agent for more details.
5. Activate it
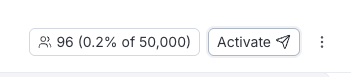
- After defining the audience conditions, click Activate.
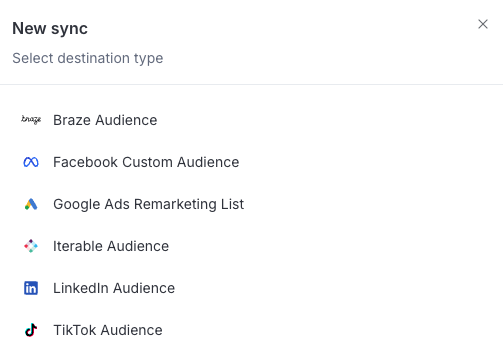
- Choose the destination and account to send to, pick the audience on the destination side, map the identifier it matches people on, and choose how often to refresh. See Sync Audiences for more details.
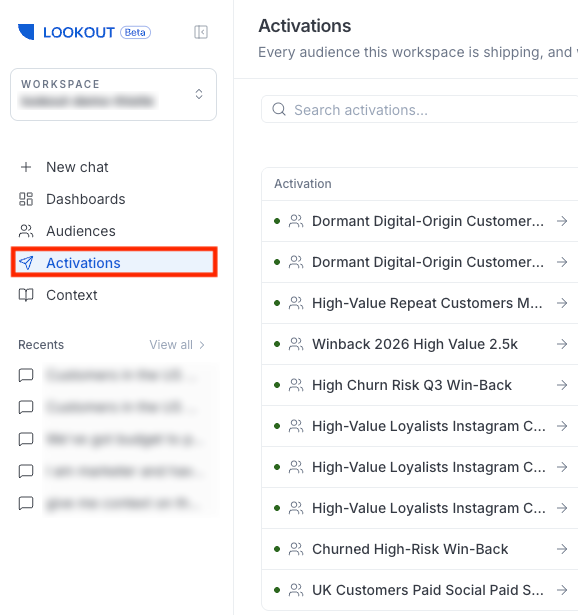
From there the audience stays in sync, and Activations in the sidebar shows you every run. See Activate an Audience for more details.
Ask questions along the way
The same chat answers questions about your data, not just audience requests:
How many signups did we get last week, by source?
The agent inspects your tables, writes read-only SQL, runs it, and renders a chart or table you can keep — or save as a dashboard that re-runs on every load.
Next steps
- Connect Your Tools, including GitHub and Slack
- Learn what else you can do in Working with Lookout
- Invite Teammates to your workspace
