How to Set Up Your First Pipeline from the Get Started Page
3 minute read
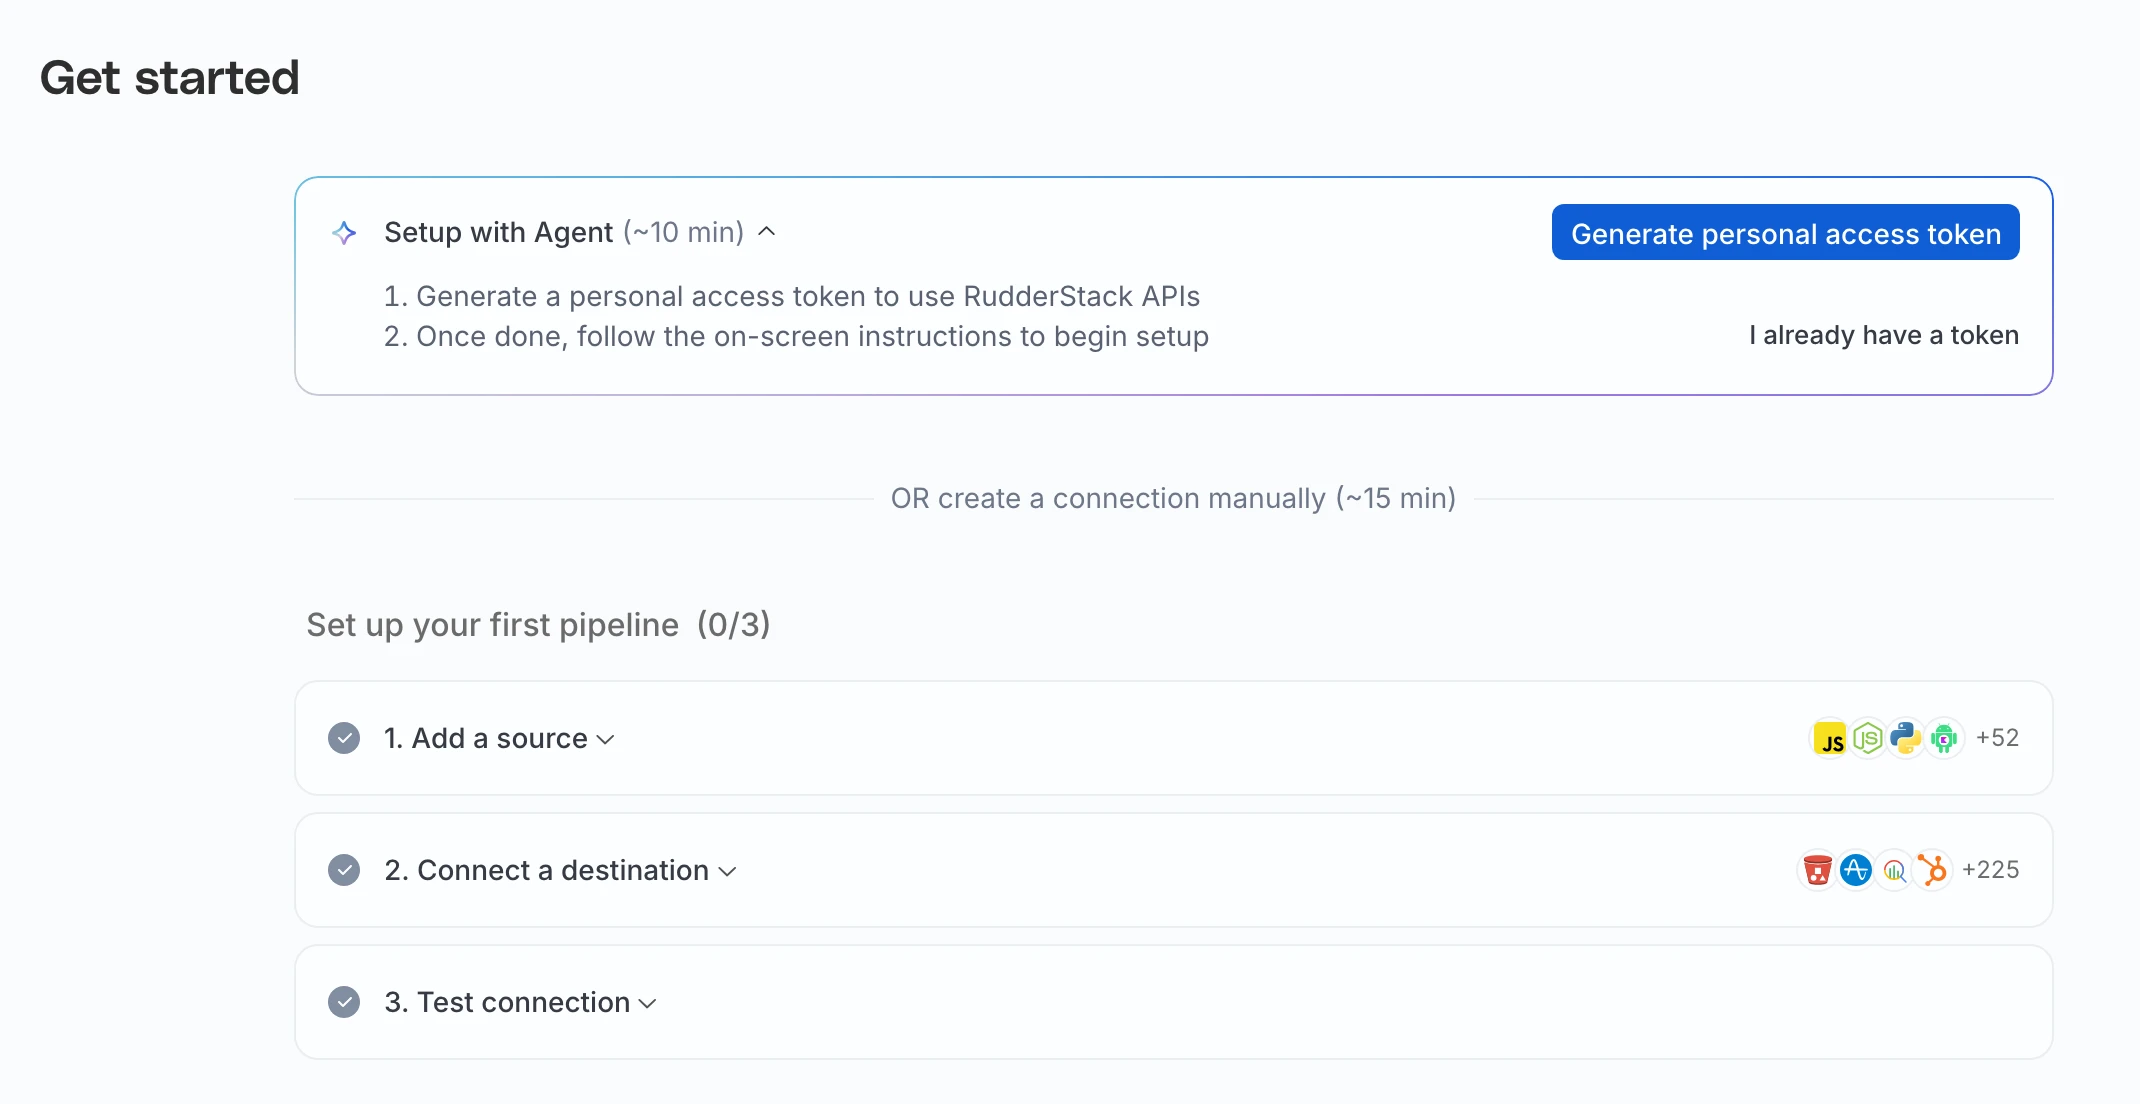
This guide shows you how to set up your first Event Stream pipeline from the Get started page of the RudderStack dashboard. You create a source, connect a destination, and watch a test event reach it without leaving the page.
Who sees the page
Get started appears in the sidebar for organization admins, in new workspaces where RudderStack has enabled the page. If you don’t see it, contact the RudderStack team. It stays until an admin clicks Finish setup, which ends the guide for everyone in the workspace. Workspaces that received events before the page was introduced don’t get it.
Set up with your coding agent
The Setup with Agent card is the first item on the page. Generate a personal access token on the card, pick your agent’s tab, and copy the commands. The steps on the page tick themselves as your agent creates the source and the destination and sends the first event.
See Set Up RudderStack with Your Coding Agent for the full walkthrough.
The card appears only on plans that include personal access tokens. It needs a role that can create a Read-Write personal access token. If your role can’t, the card asks you to contact an organization admin.
Set up manually
Add a source
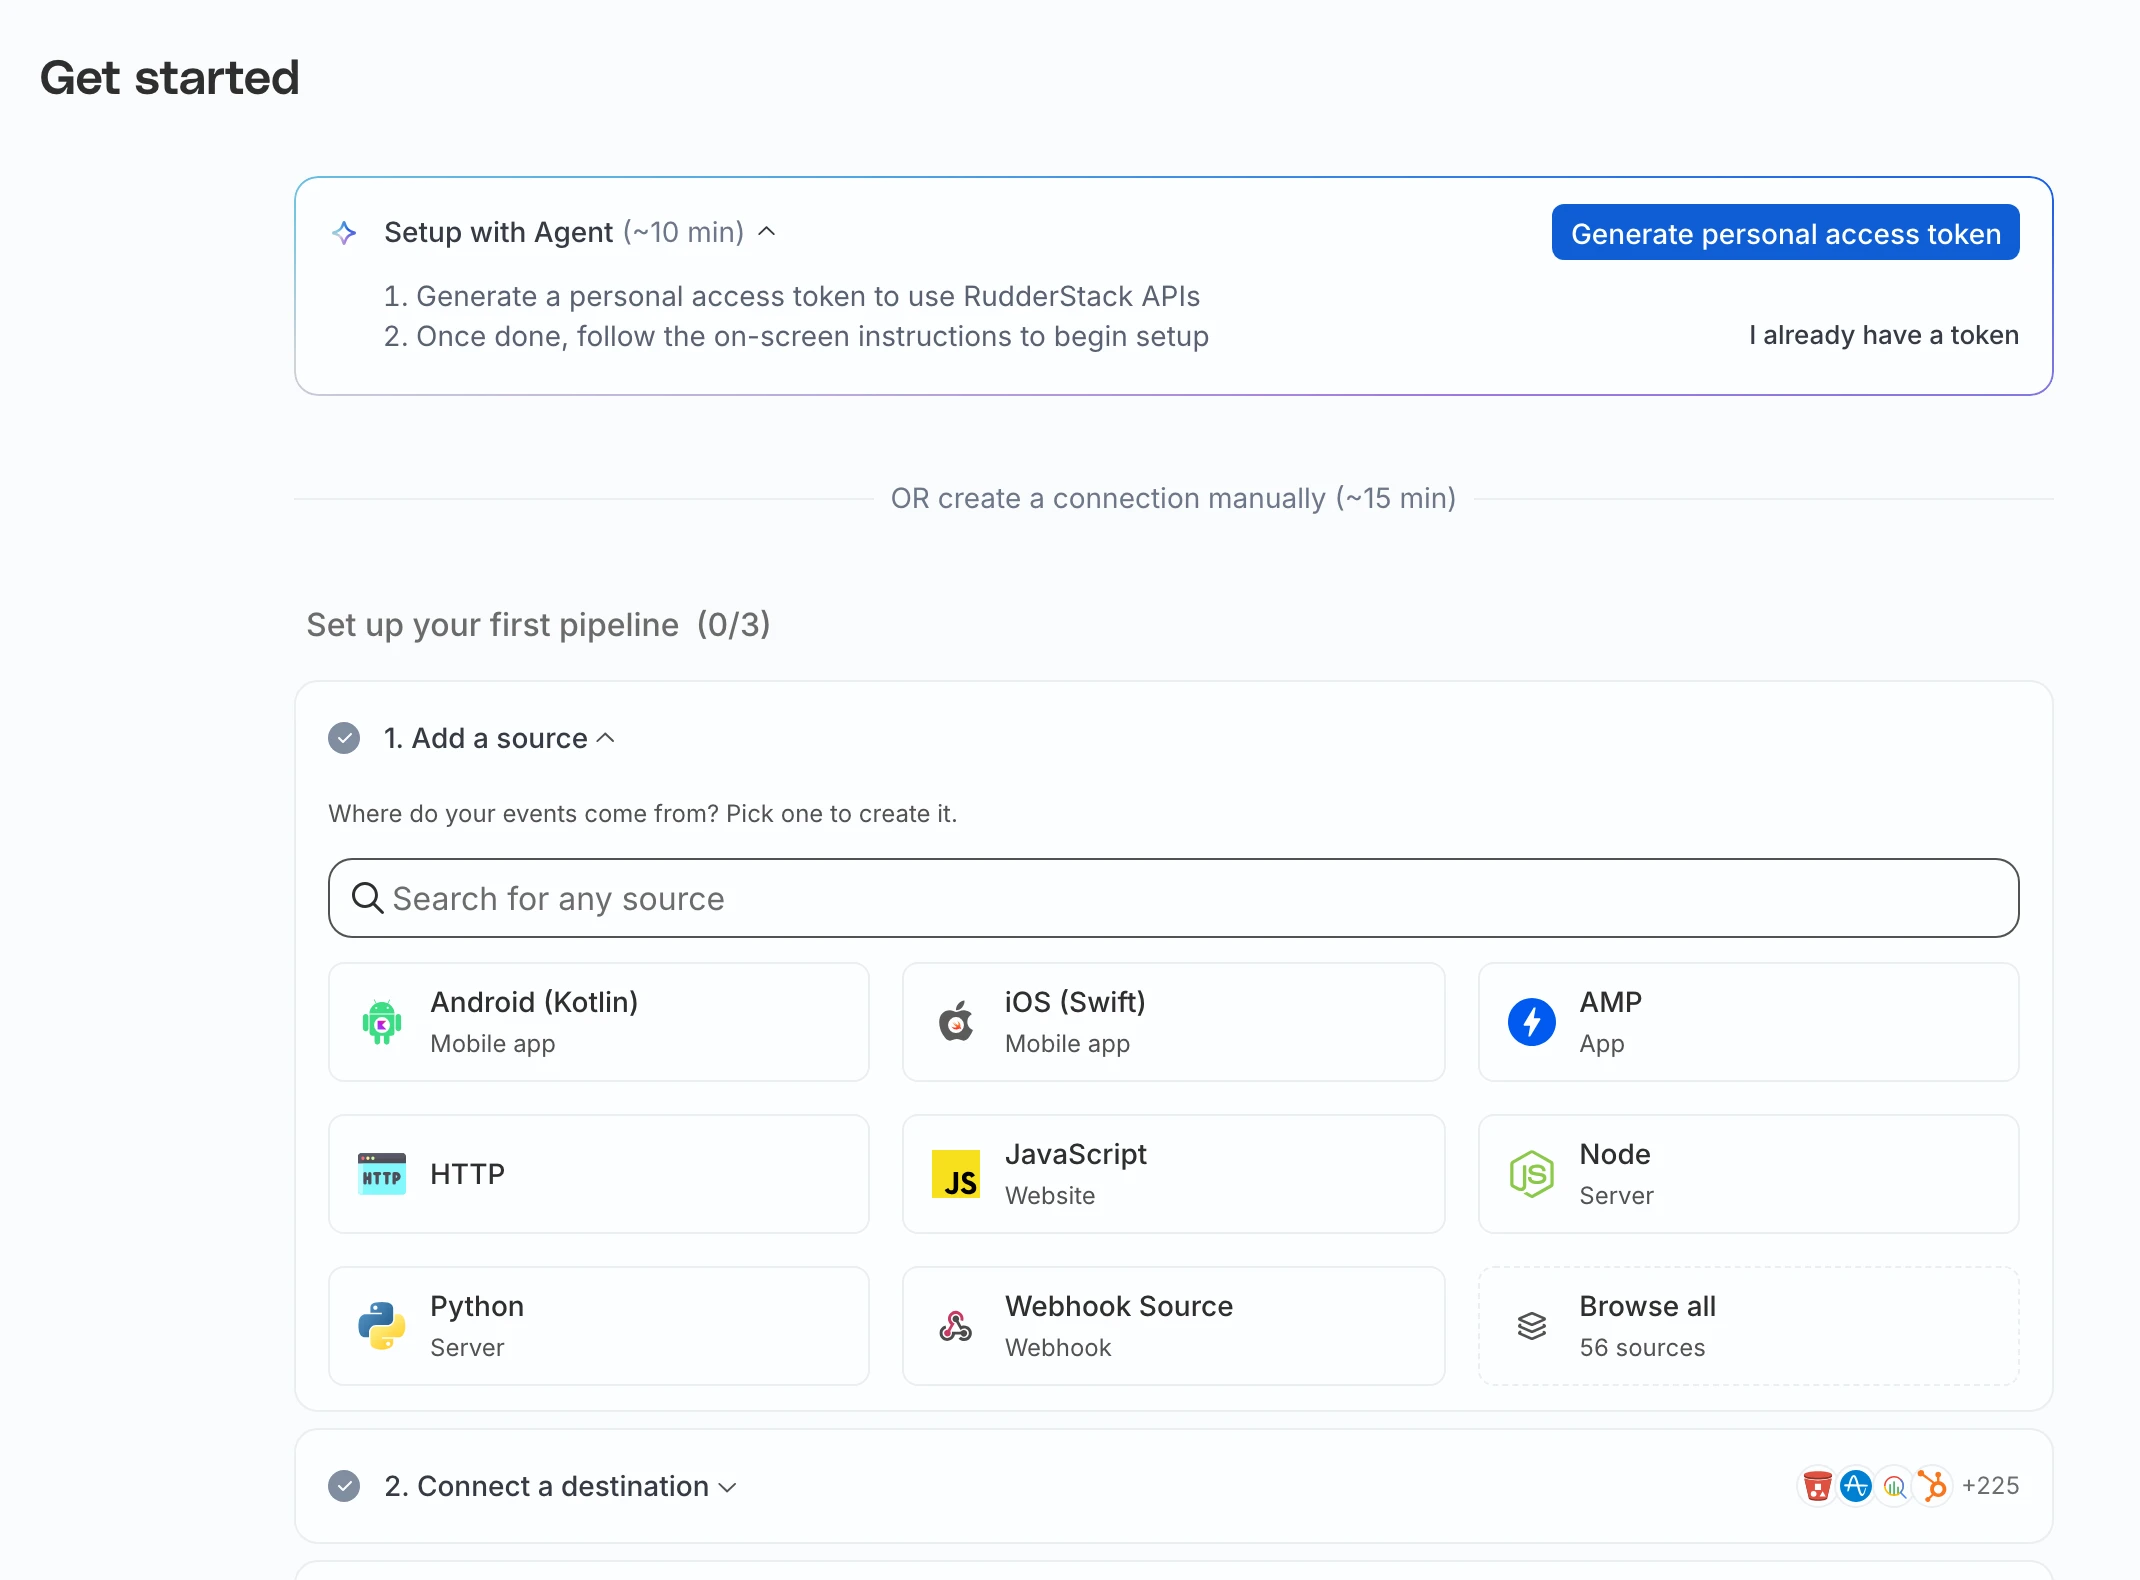
- Expand Add a source and pick where your events come from. Popular sources are listed first, and you can search every source the page offers. The page lists the Event Stream sources it can create itself. For a source that connects an account first, or a Reverse ETL source, use the Sources directory.
- Name the source and create it. A webhook source asks for its settings in a drawer first.
Connect a destination
- Under Connect a destination, pick where your events go.
- Fill in the destination’s required settings and connect it.
The page connects the destination to the source you created, so there’s no separate connection step.
Test the connection
- Under Test connection, click the button to send a test event. To send one from your app instead, copy the SDK snippet, the webhook URL, or the HTTP API request the page shows for your source.
- Watch the event move through the stages on the page, from the source to the destination. The page reports what the destination did with each event.
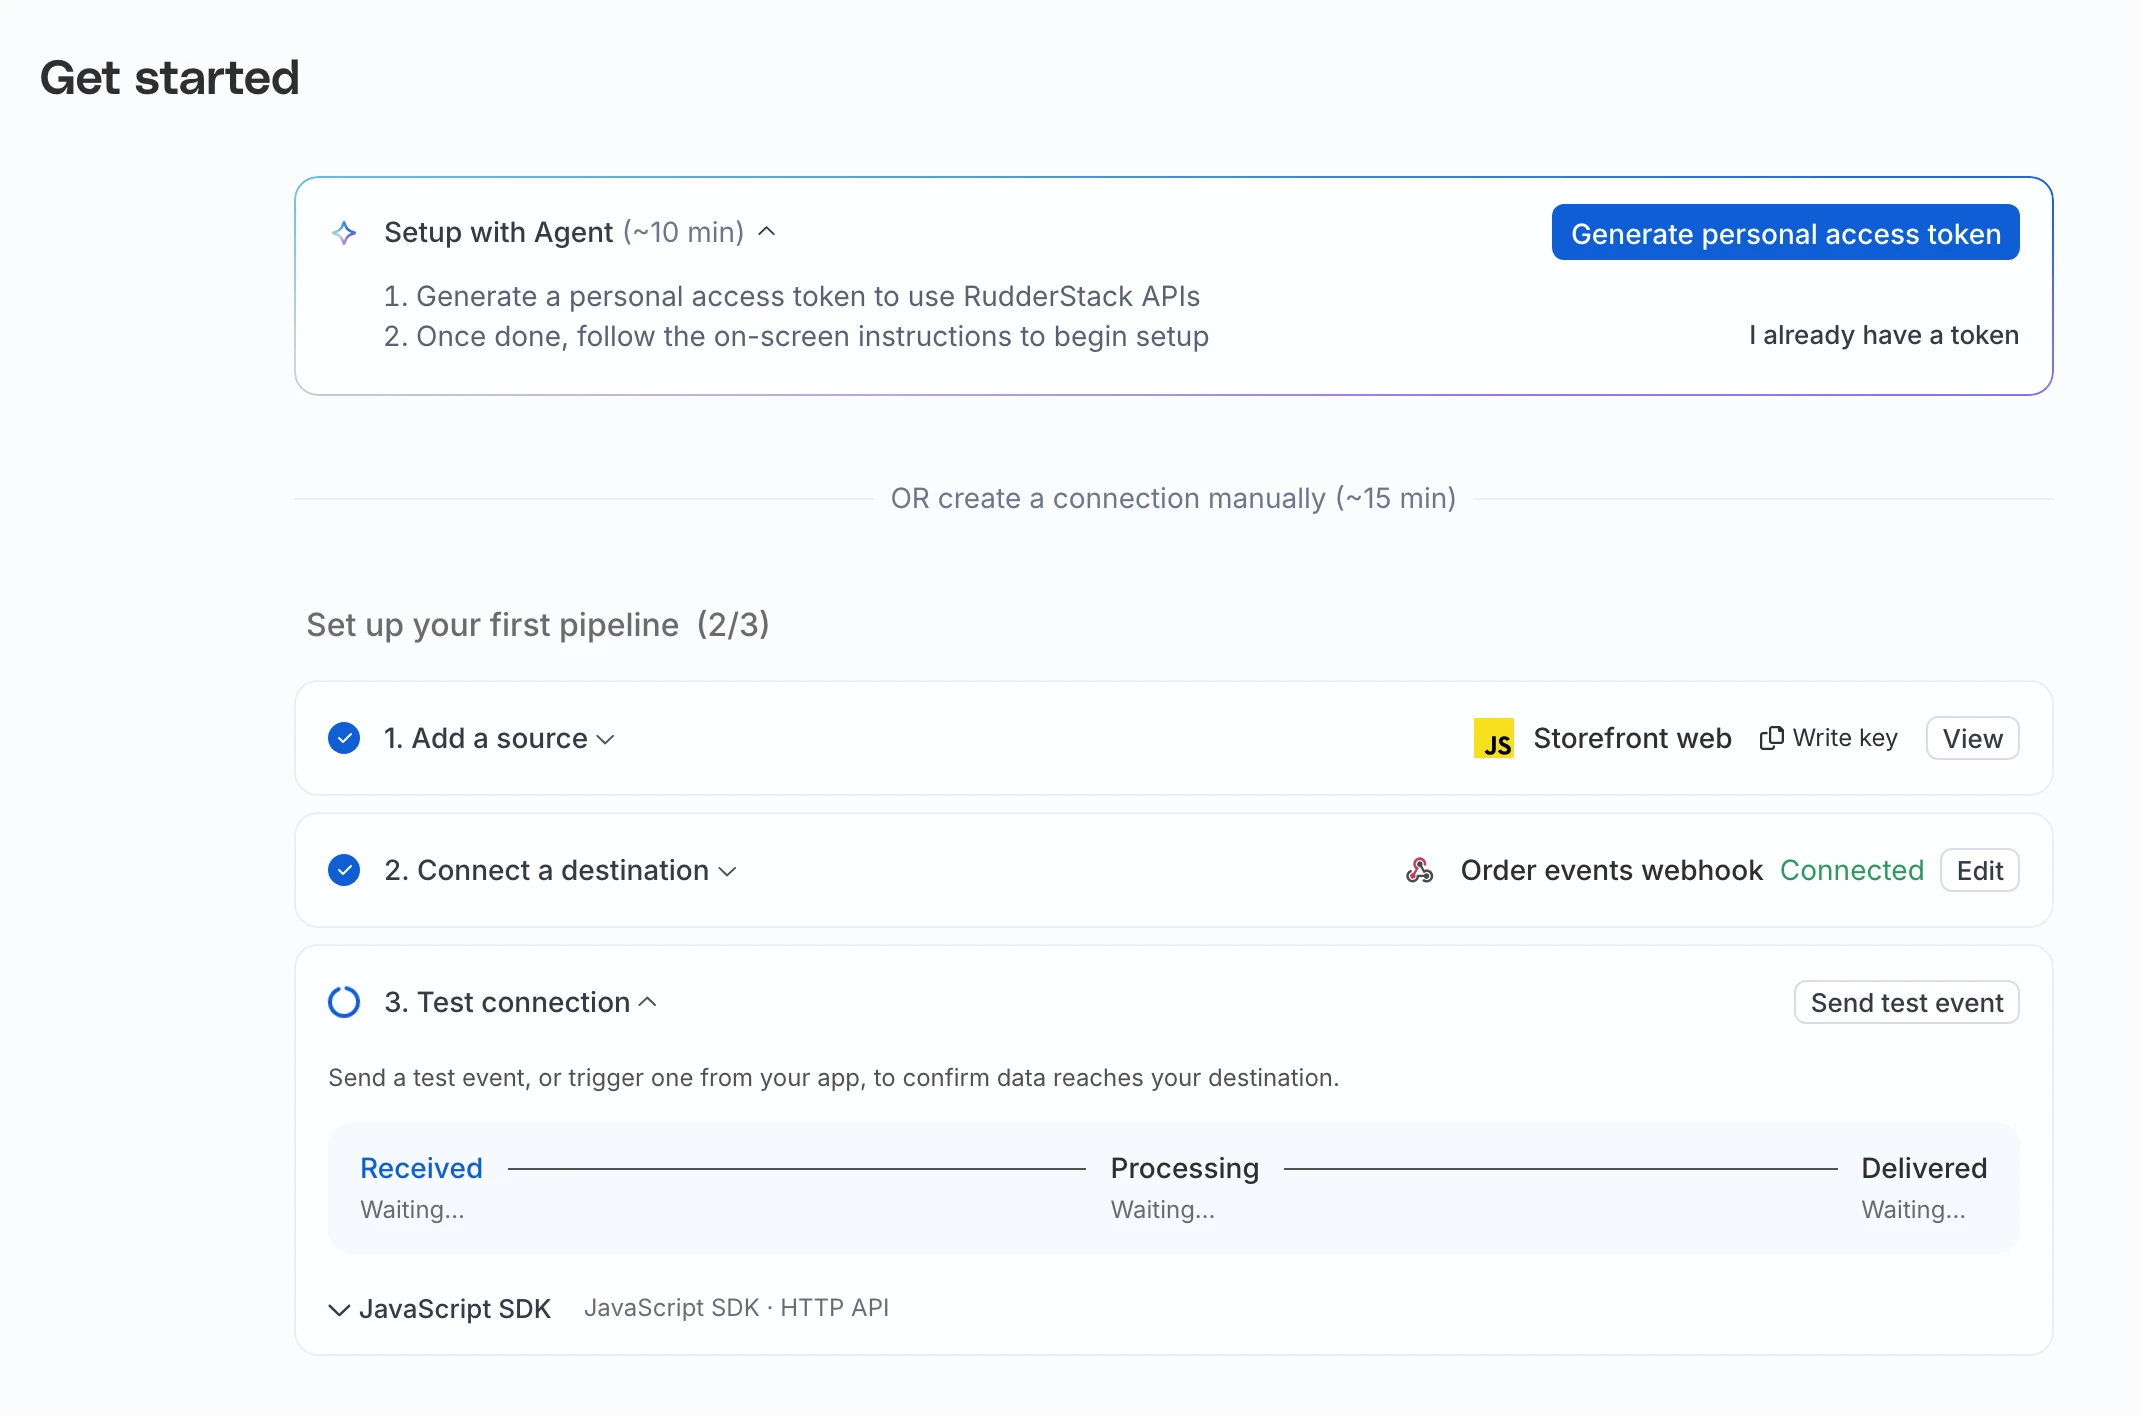
If the event doesn’t arrive, the page says why. For example, it names an event filter, a transformation, or a disabled destination that skipped the event.
To test with other resources in the workspace, click Use another source or Use another destination.
Finish the setup
When the test event is delivered, the page confirms that your first pipeline is live. Click Finish setup to end the guide. The page then suggests what to add next, such as a Tracking Plan, a transformation, alerts, or a Reverse ETL pipeline, and lets you invite your team.
See more
- Event Stream Quickstart: The same pipeline, step by step with an SDK
- Live Events: Watch events arrive at a source or a destination
