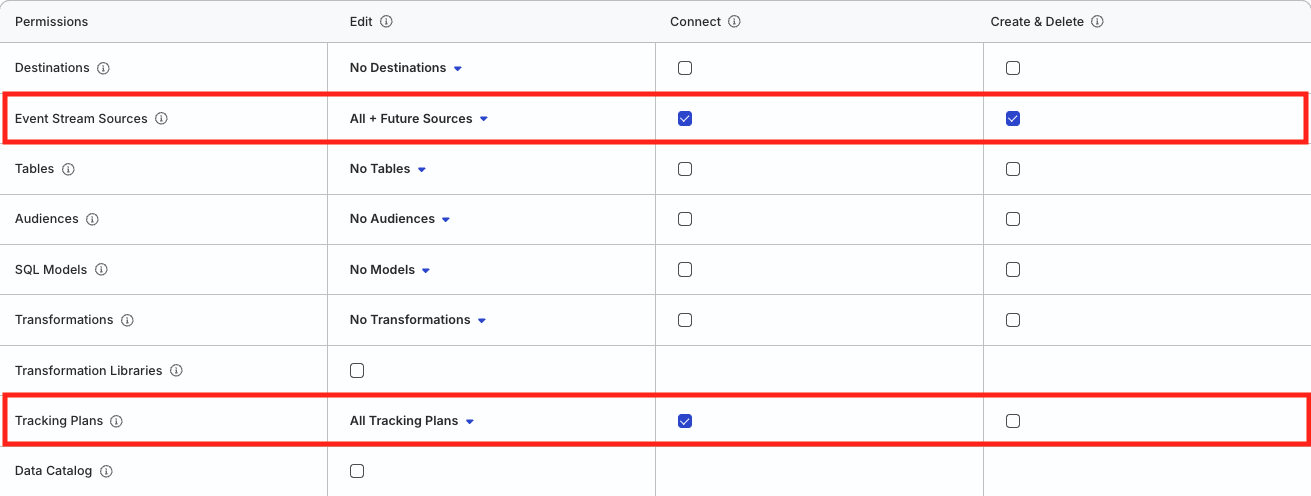
Create or delete Event Stream sources in the workspace
Event Stream Sources
Edit
Make changes to the configuration of Event Stream sources
Event Stream Sources
Connect
Connect an Event Stream source to a Tracking Plan
Tracking Plans
Edit, Connect
Connect a Tracking Plan to an Event Stream source
Click here to see how these permissions appear in the workspace policy.
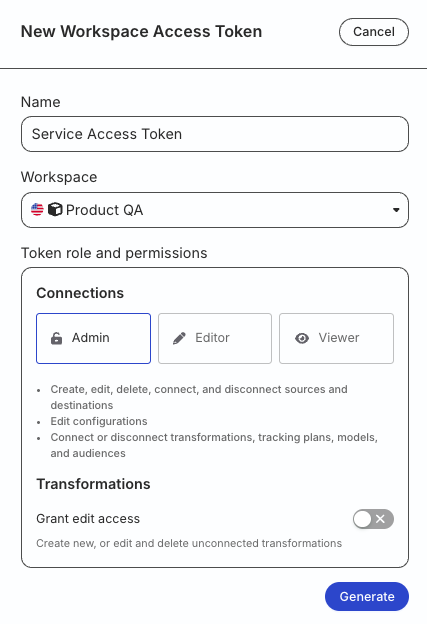
If you’re on Free or self-hosted plan, or for testing and development only: Generate a Personal Access Token with Read-Write role
Any action authenticated by a Personal Access Token will break if the user generating the token is removed from the organization or there is a breaking change to their permissions.
Run the following command and enter your access token when prompted:
rudder-cli auth login
2. Create a project directory
Create a project directory to store your source YAML files:
mkdir ~/tutorial-sources
If you are already managing Tracking Plans or Data Catalog resources via CLI, you can add source definitions to the same project directory. The CLI processes all YAML files in the directory recursively.
3. Review the YAML reference
Before defining your Event Stream source, review the Source YAML Reference to understand:
The complete YAML structure for Event Stream sources
Required and optional fields for source configuration
Governance validation settings and violation rules
Reference syntax for linking sources to Tracking Plans
Understanding the YAML reference will help you create properly structured files and avoid common validation errors when defining your sources.
4. Define an Event Stream source
Create a YAML file for your Event Stream source (~/tutorial-sources/ios-source.yaml):
This site uses cookies to improve your experience while you navigate through the website. Out of
these
cookies, the cookies that are categorized as necessary are stored on your browser as they are as
essential
for the working of basic functionalities of the website. We also use third-party cookies that
help
us
analyze and understand how you use this website. These cookies will be stored in your browser
only
with
your
consent. You also have the option to opt-out of these cookies. But opting out of some of these
cookies
may
have an effect on your browsing experience.
Necessary
Always Enabled
Necessary cookies are absolutely essential for the website to function properly. This
category only includes cookies that ensures basic functionalities and security
features of the website. These cookies do not store any personal information.
This site uses cookies to improve your experience. If you want to
learn more about cookies and why we use them, visit our cookie
policy. We'll assume you're ok with this, but you can opt-out if you wish Cookie Settings.