Zapier Destination
Send your event data from RudderStack to Zapier.
2 minute read
Zapier is a powerful automation tool that lets you automate your work across 5000+ applications.
RudderStack supports Zapier as a destination where you can seamlessly send your event data.
Connection compatibility
| Destination Information | |||
|---|---|---|---|
| |||


Get started
- In your RudderStack dashboard, set up a source.
- Go to the Overview tab of your source and select Add Destination > Create new destination.
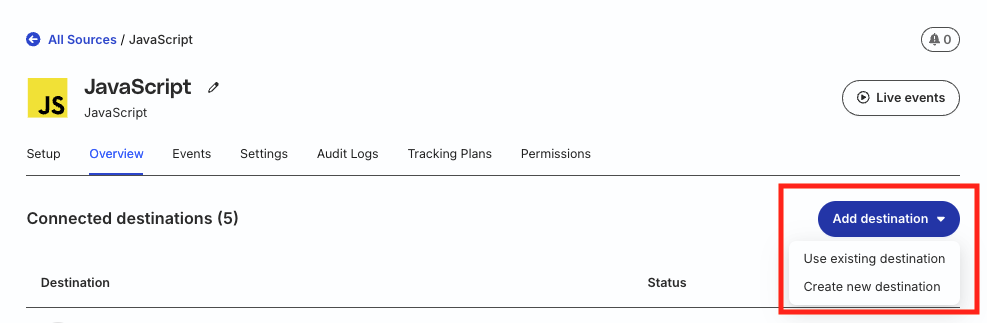
- Select Zapier from the list of destinations.
- Assign a name to the destination and click Continue.
Connection settings
| Setting | Description |
|---|---|
| Zap URL | Enter your Zap URL. |
| Mapping Track Events to a particular Zap | Use this setting to send track events with the specified Event Name to the corresponding Zap URL. |
| Mapping Page/Screen Events to a particular Zap | Use this setting to send your page/screen events with the specified Event Name to the corresponding Zap URL. |
Send events to Zapier
You can send specific track, page, or screen events to a particular Zap URL by configuring them in the dashboard settings.
Note that:
- RudderStack supports sending only
track,page, andscreenevents to Zapier. - RudderStack does not transform or map any data before sending it to Zapier. It sends the raw event payloads to the specified Zap URL as is, without any modification.
FAQ
Where can I find the Zap URL?
To get your Zap/Zapier URL, you need to first create a Zap by following these steps:
- Log in to your Zapier dashboard and click Create Zap.
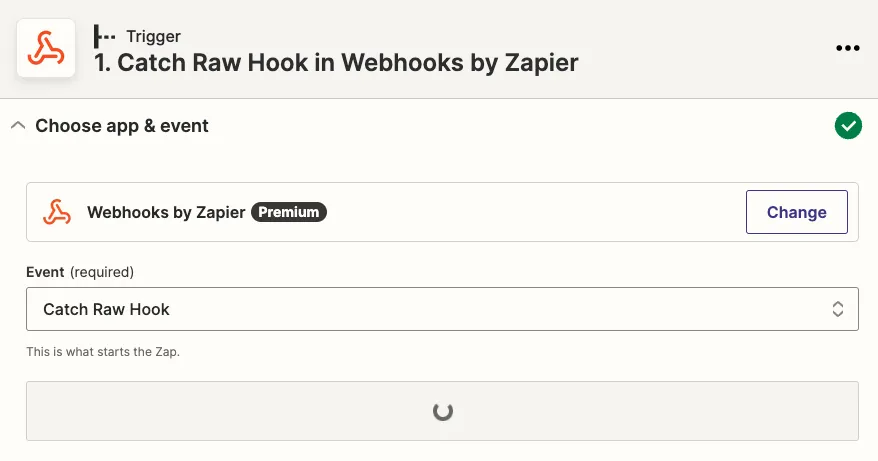
- In the App Events section, search for webhooks and select Webhooks by Zapier.
- Under Event, select the Catch Raw Hook option and click Continue.
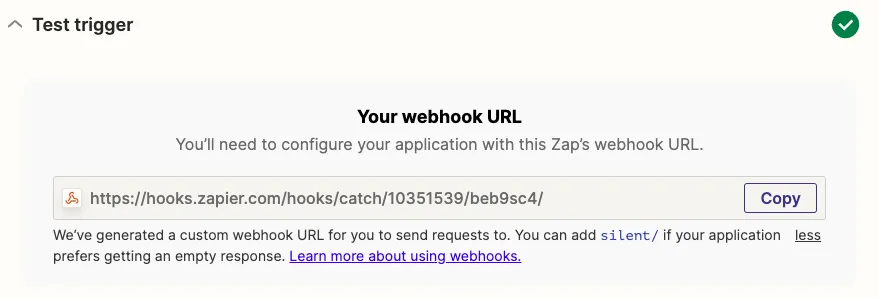
- In the Test Trigger section, you will find your Zap URL or the webhook URL where you can send all requests. Copy and use this URL to set up the Zapier destination in RudderStack.
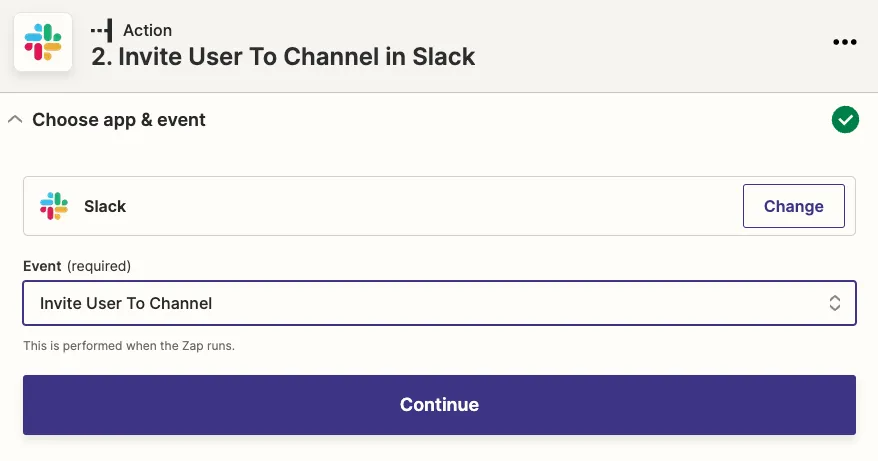
- Important: Complete the setup by connecting the trigger to an application, that is, the downstream tool where all data is sent.