Setup Guide
Set up and configure OneSignal as a destination in RudderStack.
2 minute read
This guide will help you set up OneSignal as a destination in the RudderStack dashboard. It also lists the configuration settings required to correctly send data from the supported sources to OneSignal.
Connection compatibility
| Destination Information | |||
|---|---|---|---|
| |||


Setup
- In your RudderStack dashboard, add a source. Then, from the list of destinations, select OneSignal.
- Assign a name to the destination and click Continue.
Connection settings
| Setting | Description |
|---|---|
| App ID | Enter your OneSignal App ID. |
| Event version to use | Select the OneSignal API to use. RudderStack provides the following options:
|
| Toggle on to add a device/subscription using email | Turn on this setting to add a new device to your OneSignal app using the email. |
| Toggle on to add a device/subscription using phone number | Toggle on this setting to add a new device to your OneSignal app using the phone number. |
| Toggle on to concatenate event name with properties | Turn on this setting to concatenate the event names with properties. For example, if add_to_cart is an event and brand is a property, the event will be sent as add_to_cart_brand tag. |
| Allowed Property List | Enter the properties you want to add as device tags, if present in the payload. Note: RudderStack considers the properties mentioned under this setting only for the track and group calls. |
| Consent management settings | Configure the consent management settings for the specified source by choosing the Consent management provider from the dropdown and entering the relevant consent category IDs. See Consent Management in RudderStack for more information on this feature. |
Next steps
FAQ
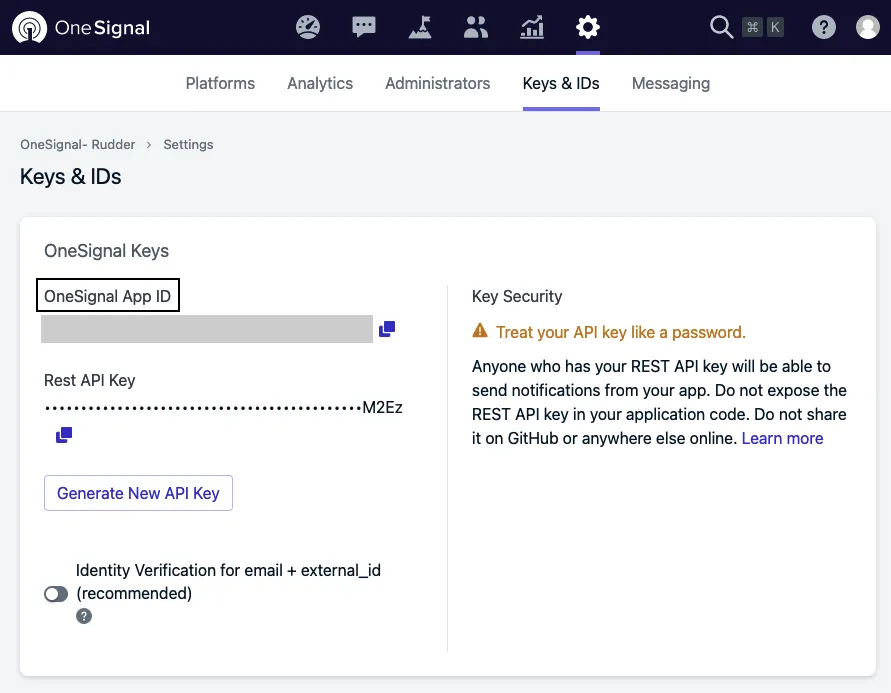
Where can I find the OneSignal App ID?
- Log in to your OneSignal dashboard.
- Go to your app’s Settings > Keys & IDs.
- You will find the OneSignal App ID: