Set up Drip

Send your event data from RudderStack to Drip.

RudderStack supports sending event data to Drip via the following connection modes:

Connection ModeWebMobileServer
Device modeSupported--
Cloud modeSupportedSupportedSupported
info
In a web device mode integration, that is, using JavaScript SDK as a source, the Drip native SDK is loaded from https://tag.getdrip.com domain. Based on your website’s content security policy, you might need to allowlist this domain to load the Drip SDK successfully.

Once you have confirmed that the source supports sending events to Drip, follow these steps:

  • From your RudderStack dashboard, add the source. From the list of destinations, select Drip.
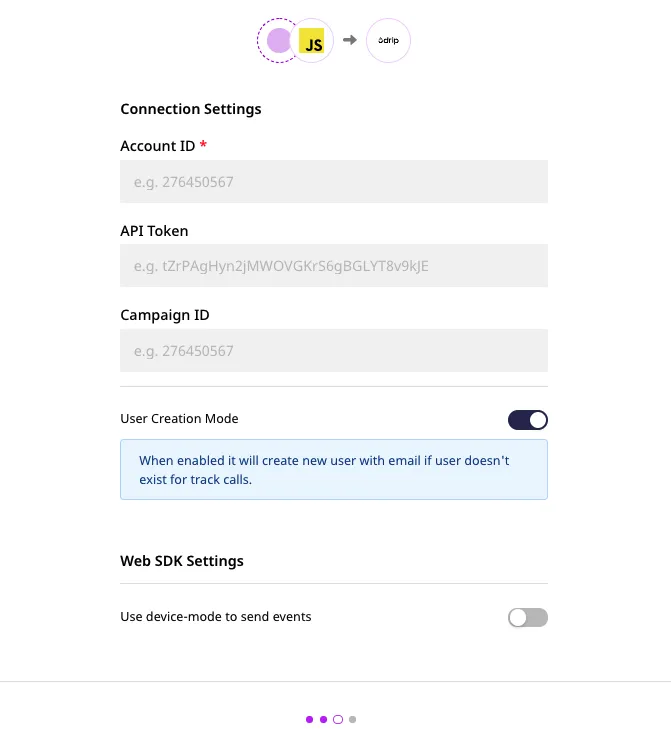
  • Give a name to the destination and click Next. You should then see the following screen:

Connection Settings for Drip

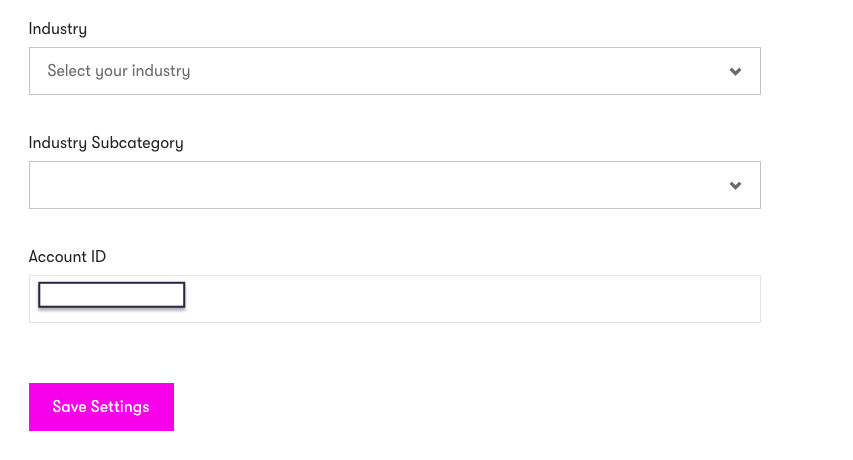
  • Next, enter your Drip Account ID. To get your Account ID, sign in to your Drip dashboard and go to Settings - Account. Scroll down to see your Account ID.
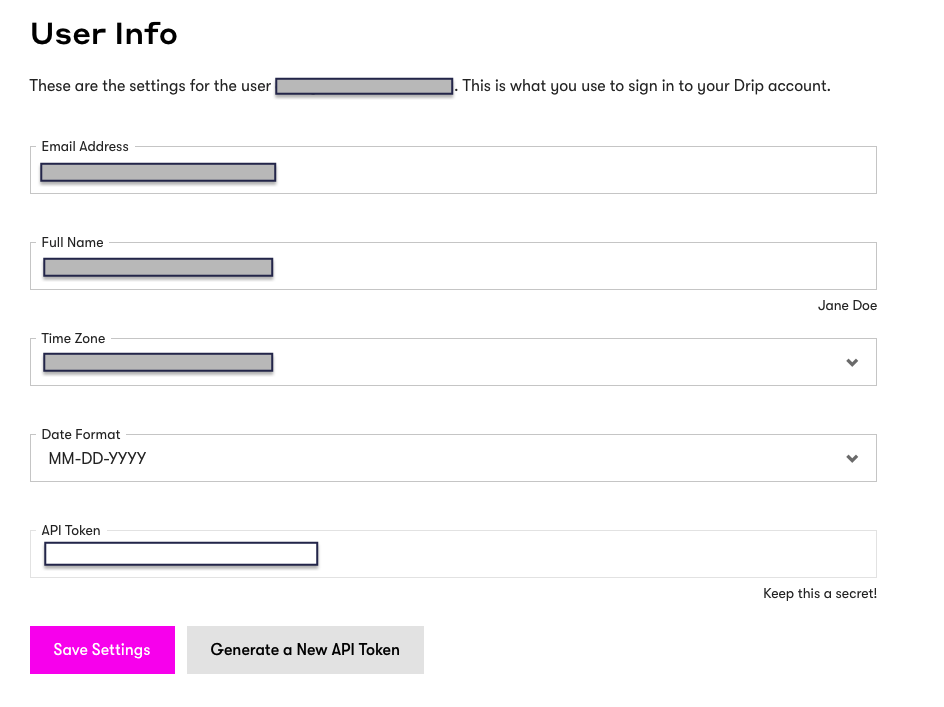
  • Enter your Drip API Token. To get your Drip API token, go to Settings - User Settings in your Drip dashboard.
info
The API token is required when using cloud mode to send your data.
  • Enter your Campaign ID. To get your campaign ID, go to Campaigns - Email Series and choose the relevant campaign. The last part of the URL is the campaign ID, e.g. https://www.getdrip.com/account_id/campaigns/campaign_id.
info
If the Campaign ID is provided, RudderStack will try to subscribe the users by default.
success
You can also send your Campaign ID via the identify call, which takes a higher precedence.
  • User Creation Mode This option lets you create the user with their email using the track call, if the user doesn’t already exist.
  • Use device-mode to send events: Enable this option to send events via the web device mode.
  • Finally, click Next. That’s it! Drip will now be enabled as a destination in RudderStack.

Questions? Contact us by email or on Slack