Connect Reverse ETL Source to Salesforce Bulk Upload Beta
4 minute read
This guide takes you through the steps to connect a Reverse ETL source to your Salesforce Bulk Upload destination.
Setup
- Set up and configure your Reverse ETL source.
- In the Overview tab of the source page, click Add destination > Create new destination. You can also select an already-configured destination here.
- From the list of destinations, select Salesforce Bulk Upload and click Continue.
- Specify a unique name to identify this destination in RudderStack.
- In the Event delivery account section, click Select to choose an existing Salesforce account from the list, then skip to Step 7.
- To add a new account, click Add account, select OAuth, and specify the following settings:
| Setting | Description |
|---|---|
| Account Name | Specify a unique account name |
| Environment type | Select the Salesforce environment type — Production or Sandbox |
| Connect account | Click Connect account, sign in to Salesforce, and give RudderStack the required permissions to access your Salesforce account. |
- Click Continue to configure the mapping settings.
Mapping settings
Under Where do you want to sync data to?, select the Salesforce object. Click Reload objects to refresh the list of available objects.
Sync mode
RudderStack supports only Upsert mode for this integration.
Cursor column settings
| Setting | Description |
|---|---|
| Use Cursor Column | Toggle on to use a cursor column for incremental syncs |
| Cursor Column | Specify the appropriate cursor column from the dropdown |
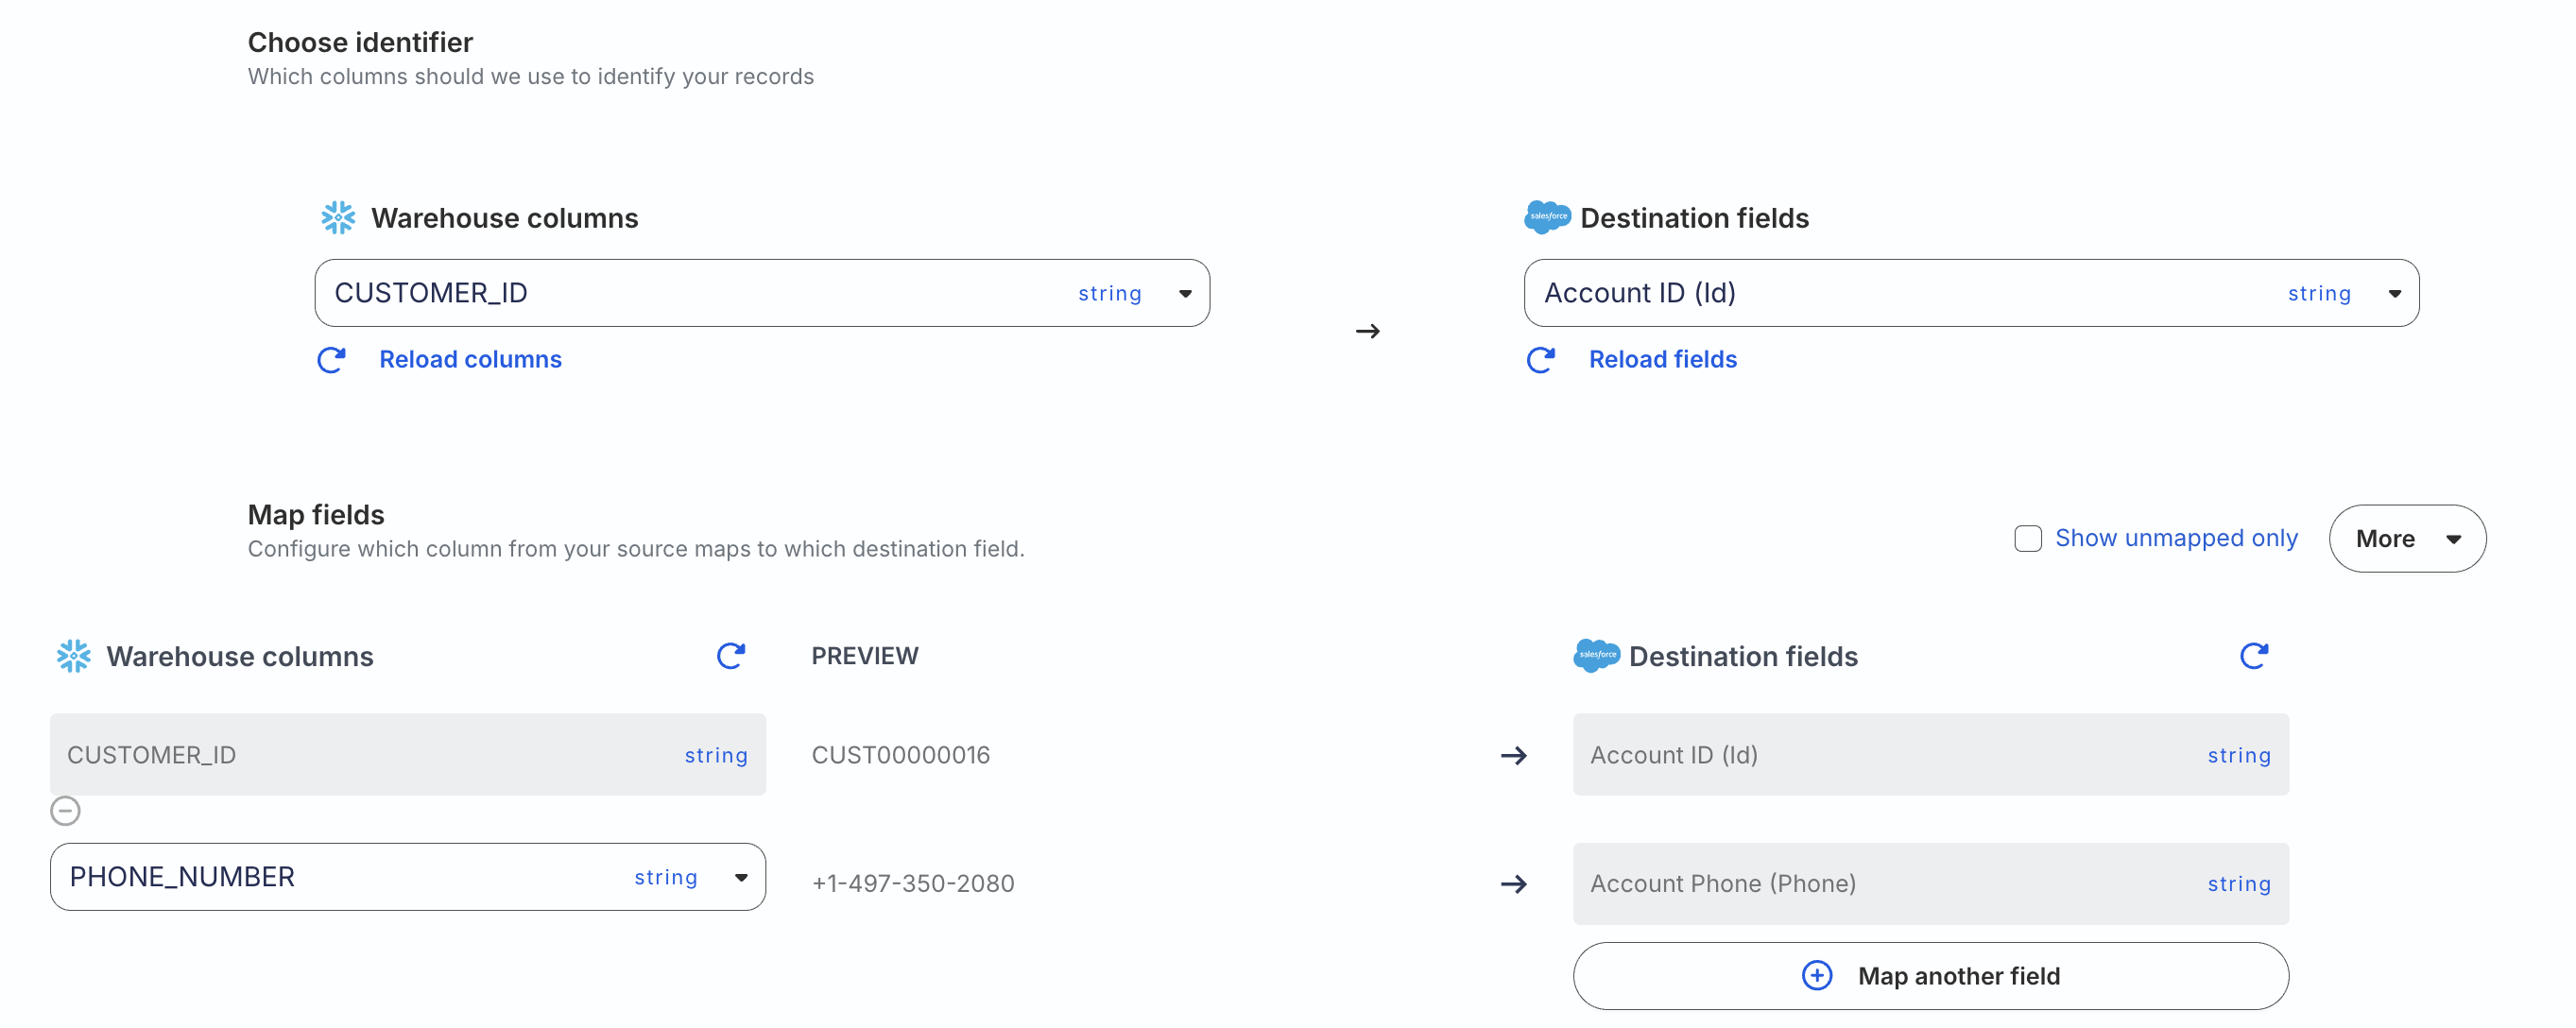
Map identifiers
| Setting | Description |
|---|---|
| Choose identifier | Select a warehouse column to uniquely identify your records and map it to the relevant Salesforce field. |
| Map field | Configure which warehouse column maps to which Salesforce field. |
Sync settings
RudderStack determines how and when to run a sync based on the sync schedule you set for your Reverse ETL connection.
| Schedule type | Description |
|---|---|
| Basic | Run syncs at a set interval, optionally starting from a specified time (UTC). If a start time is set, syncs run from that time until the end of that day. |
| CRON | Run syncs based on a specified CRON expression (in UTC). |
| Manual | Run syncs manually. |
Sync observability settings
| Setting | Description | ||||||
|---|---|---|---|---|---|---|---|
| Retain sync logs | This setting is toggled on by default and instructs RudderStack to store the sync logs in your warehouse. You can also configure the below settings:
| ||||||
| Retry failed records | This setting is toggled on by default and causes RudderStack to continually retry sending the failed records. | ||||||
| Retain and show failures | This setting is toggled off by default. Turn it on to have RudderStack write the error recorded for every failed record to a failed records table in your warehouse and show it in the sync’s failed records view. It applies from the next sync.
|
Storing sync logs, snapshot tables, and failed records may incur additional warehouse costs.
Enable sync
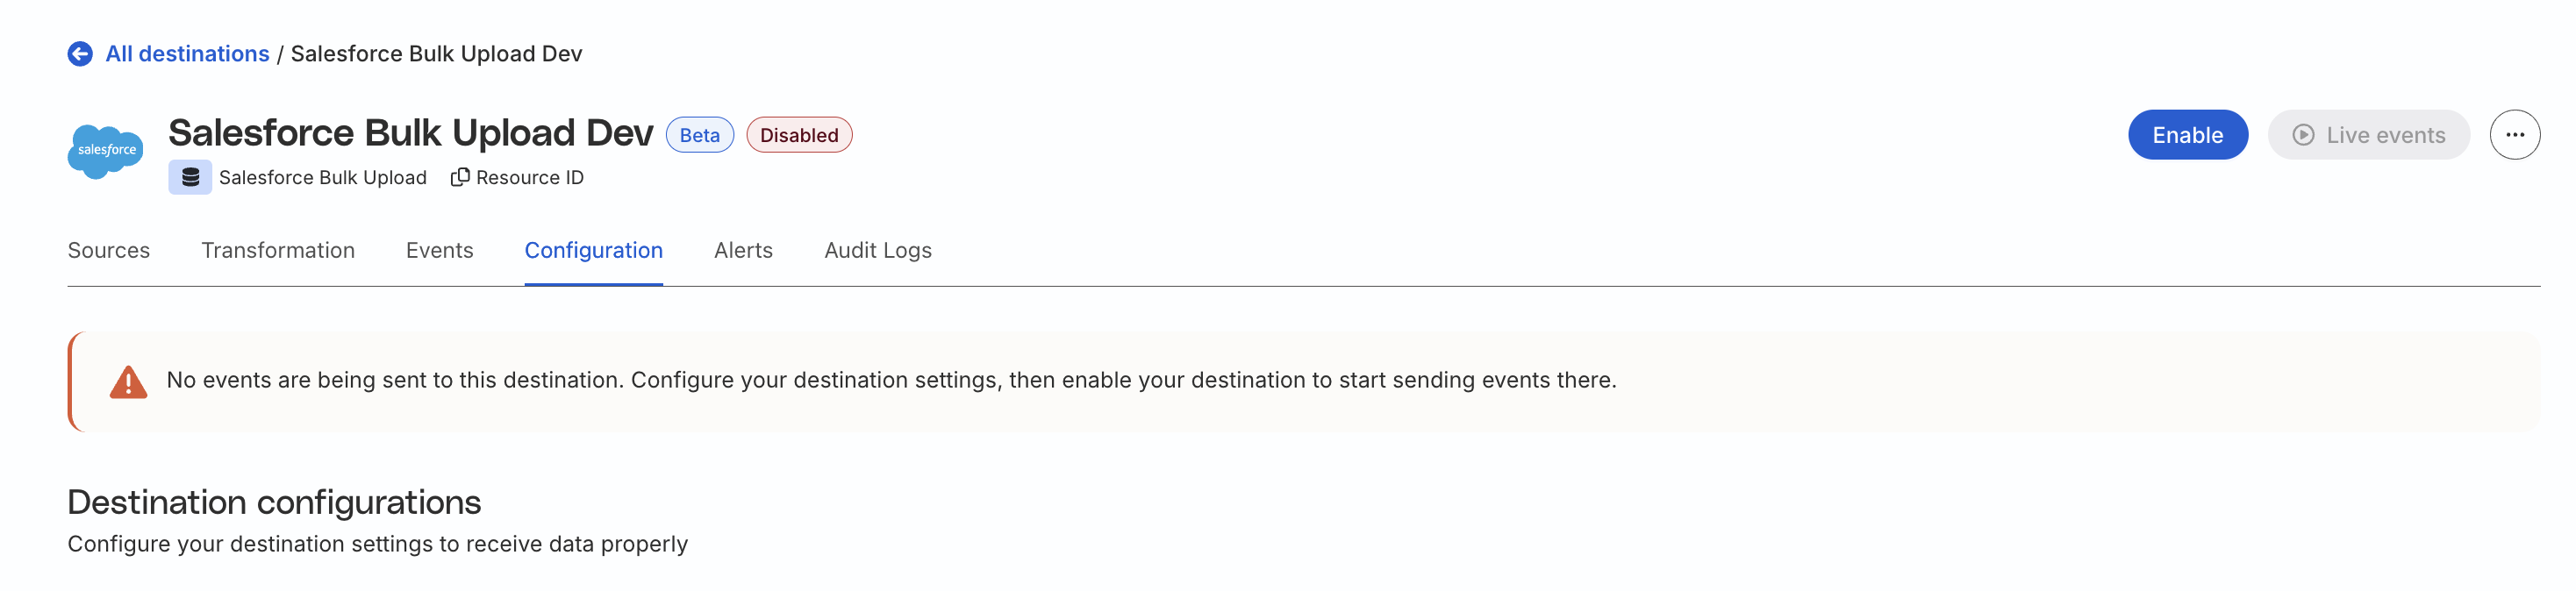
Once the setup is complete, click Enable to activate your destination and start syncing data at the specified interval.
Null value handling
Upsert syncs handle missing and null mapped values differently:
| Warehouse / synced value | CSV cell | Salesforce behavior on update |
|---|---|---|
Explicit null | #N/A | Clears the field |
| Field absent from the synced data | Empty | Leaves the existing value unchanged |
Salesforce Bulk API ignores empty cells on update and only clears a field when the cell is#N/A. See Valid CSV Record Rows.
FAQ
Why can’t I add a Reverse ETL source from the destination page?
The Reverse ETL feature supports only source-driven pipeline configuration. It means that you must configure a Reverse ETL source in RudderStack and then connect it to a new or existing destination. Note that this destination should not be connected to any other source.
See Reverse ETL FAQ for more information.
