Send your event data from RudderStack to Google Ads Enhanced Conversions.
10 minute read
Tip:Choose the right Google Ads destination
RudderStack offers two Google Ads destinations that can support enhanced conversions:
Use this destination to send events in cloud mode (server-to-server integration) using the Google Ads API
Use the Google Ads (gtag.js) destination if you’re sending events in web device mode and want to enable enhanced conversions for your setup
Google Ads Enhanced Conversions lets you improve your conversion measurement accuracy by securely sending first-party conversion data from your website to Google.
RudderStack supports Google Ads Enhanced Conversions as a destination to which you can send your audience list.
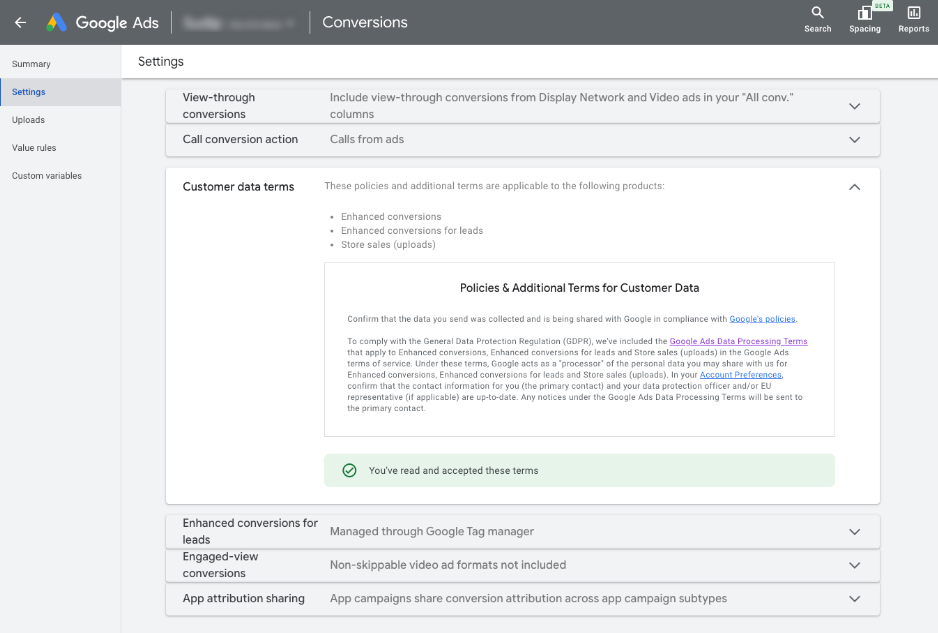
Accept the Google Ads data terms to receive the enhanced conversions events successfully. To accept the terms:
Log in to your Google Ads dashboard.
Go to Conversions > Settings > Customer Data Terms.
Carefully read and accept the customer data terms.
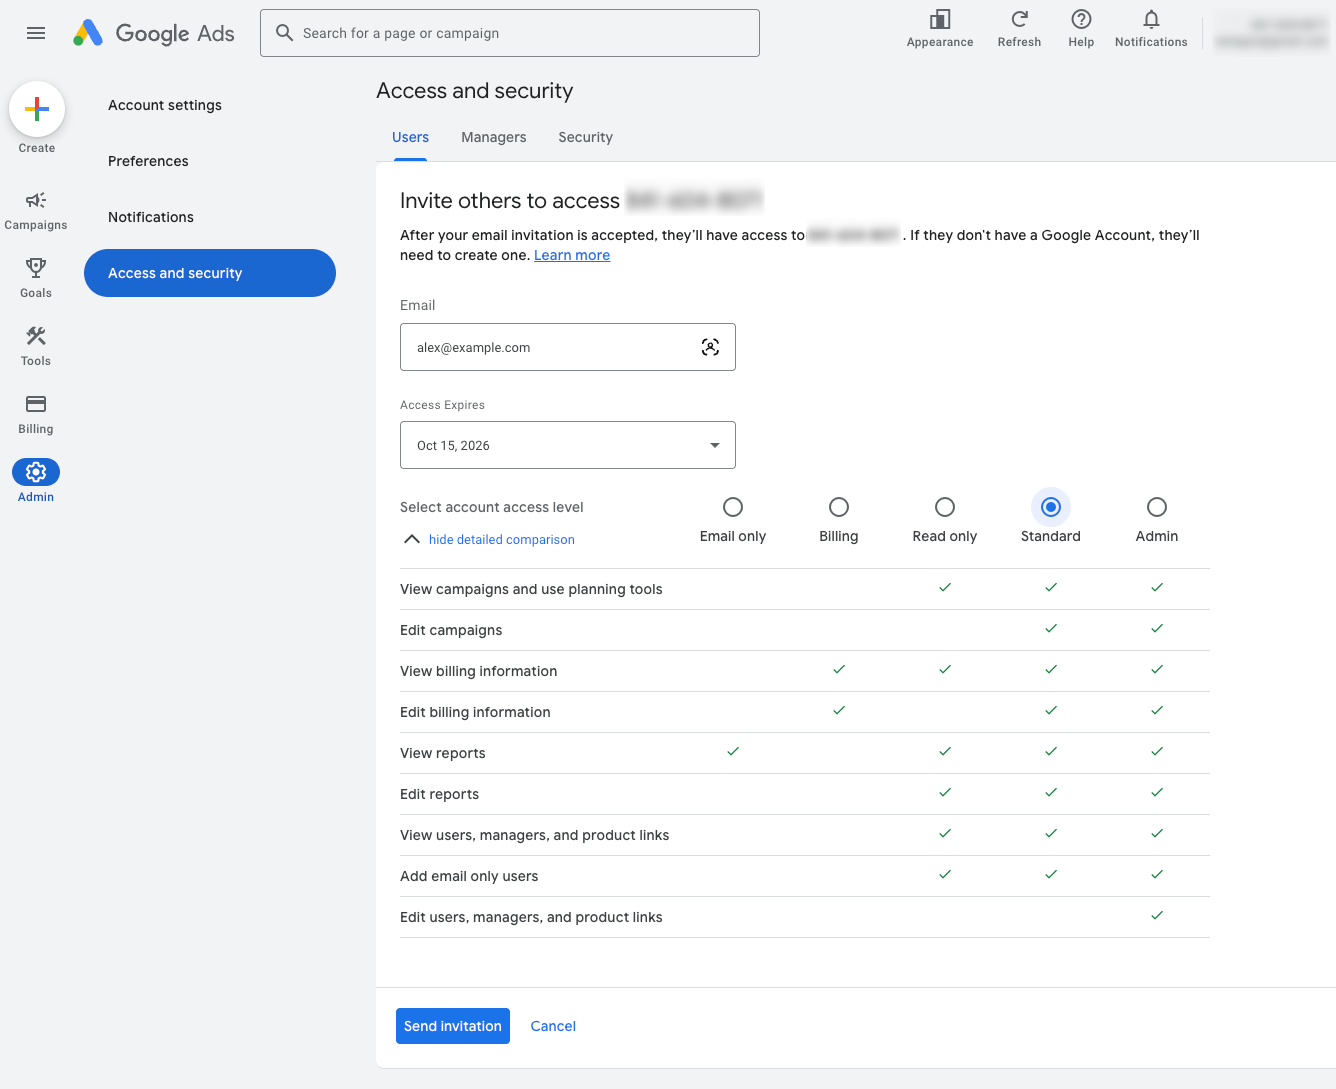
Google Ads permissions
This integration relies on the authorizing Google Ads user’s underlying permissions and must be at least Standard or Admin.
If you authorize the integration without the Standard or Admin permissions, the API calls will fail and a “RudderStack Admin” user will disable the integration. If you encounter an entry in your audit logs from a Rudder Admin/admin@rudderstack.com user, it means that RudderStack disabled the integration on account of insufficient user permissions.
To avoid this, ensure that the authorizing user has the Standard permissions, at minimum.
Get started
Once you have confirmed that the source platform supports sending events to Google Ads Enhanced Conversions, follow these steps:
From your RudderStack dashboard, add the source. Then, from the list of destinations, select Google Ads Enhanced Conversions.
Assign a name to your destination and click Continue.
Connection settings
To successfully configure Google Ads Enhanced Conversions as a destination, first authenticate your account by following the below steps:
Click Create Account in the Account Settings section.
From the modal, click the Sign in with Google button.
Choose the required account and grant RudderStack the required permissions.
Click Save to use the specified account:
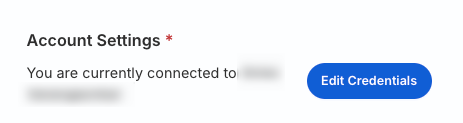
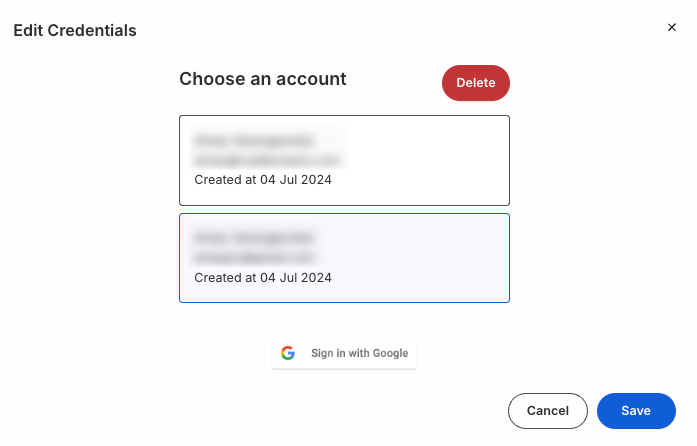
In case you have authenticated multiple accounts, you can click Edit Credentials to select or delete any other authenticated account:
RudderStack gives an error if you try to delete an account used by any other connection set up for the same destination.
Next, configure the following settings:
Customer ID: Enter the ID associated with your Google Ads account. You can find it by clicking the Help option in your dashboard. For more information on obtaining the customer ID, refer to the Google Ads Help Center page.
Subaccount: Enable this setting if you are using a Google Ads subaccount. For more information on subaccounts, refer to the Google Ads Help Center page.
Login Customer ID: Enter the customer ID of the manager account (associated with the subaccount). This field is required only when you toggle on Subaccount and the authenticated Google account does not have direct access to the Customer ID — see the FAQ for more information.
List of Conversion: Enter the list of events on which you want to perform enhanced conversions. RudderStack will discard any events that are not specified in this list.
Hashing Required: This setting is enabled by default and hash encrypts the user identifiers like email, phone number, first name, last name, and street address using the SHA256 encryption method.
Track
The track call lets you record and send the conversion events along with any properties associated with them. RudderStack uses the ConversionAdjustment method to send the track events to Google Ads.
You must create the conversion actions in Google Ads before sending the associated conversion events from RudderStack. Also, the conversion names should match in Rudderstack (List of Conversion dashboard setting) and Google Ads dashboards.
orderId is a required field to send a track call successfully.
Supported mappings
The following table details the mapping of the fields specified in the RudderStack dashboard and Google Ads Enhanced Conversions, along with the relevant guidelines:
RudderStack field
Google Ads Enhanced Conversions field
Guidelines
gclid
gclid
This is the Google click ID associated with the original conversion.
conversionDateTime
conversionDateTime
The datetime at which the conversion for the adjustment occurred. You must specify the timezone in the format `yyyy-mm-dd hh:mm:ss+
adjustedValue
adjustedValue
The value of the conversion after restatement. To change the value of a conversion from 100 to 75, for example, you should report an adjusted value of 75.
currencyCode
currencyCode
Use the ISO 4217 3-character currency code, e.g. USD/EUR.
orderId
orderId
If a conversion was reported with a specific order ID, then that order ID must be used as the identifier.
adjustmentDateTime
adjustmentDateTime
The datetime at which the adjustment occurred. You must specify the timezone in the format `yyyy-mm-dd hh:mm:ss+
userAgent
userAgent
User agent should only be specified in enhancements with the user identifiers and it should match the user agent of the request that sent the original conversion. This is so that the conversion and the enhancement both are either attributed as same or cross-device.
email
hashedEmail
Include a domain name for all email addresses. Remove any spaces in between the addresses.
phone
hashedPhone
Format the phone number using the E.164 format. Include the country code as well.
firstName
hashedFirstName
Do not include any prefixes (e.g., Mrs.).
lastName
hashedLastName
Do not include any suffixes (e.g., Sr.).
city
city
This field accepts any string.
state
state
This field accepts any string.
country / countryCode
countryCode
Use the ISO two-letter/three-letter country codes. Include the country code even if all your users belong to the same country.
postalCode
postalCode
Both the US and international zip and postal codes are allowed. For the US, 5 digit codes followed by 4 digit extensions are also allowed. For the rest of the countries, do not include the postal code extensions.
FAQ
What are the account permissions required for this integration?
For the integration to be successful, make sure the customer account used for OAuth verification adheres to Google’s Customer Match policy and has Standard or higher (Administrative) access level permissions. For more information on the access level permissions, refer to this Google Ads support page.
Can I set up the Enhanced Conversions and Remarketing Lists destinations using the same Google Ads account?
Yes, you can. Both the integrations are the sub-features of Google Ads. Hence, you can use the same Google Ads account to configure both the destinations in RudderStack.
Where can I find my Google Ads customer ID?
The Google Ads customer ID is a unique number used to identify your Google Ads account. To get this ID:
My account uses cross-account conversion tracking. What should I enter in the Customer ID field?
If your account uses cross-account conversion tracking, make sure to enter the manager account’s Customer ID, not the child account’s.
Under cross-account conversion tracking, the conversion actions live on the manager account, and the Google Ads API requires conversion uploads to be sent to that manager.
Even though you may think of the child account as the destination for conversions, the attribution to the child happens automatically inside Google Ads — you don’t need to specify the child anywhere in the destination configuration
A common misconfiguration is setting the Customer ID field to the child account and the Login Customer ID field to the manager — this fails with errors like INVALID_CUSTOMER_ID or CUSTOMER_NOT_ACCEPTED_CUSTOMER_DATA_TERMS. To avoid this issue, use the following setup:
Setting
Notes
Customer ID
Manager account ID (the conversion tracking owner)
Login Customer ID
Same manager ID — leave empty if the authenticated Google account has direct access to the manager
To confirm which account owns conversion tracking for a given child, sign in to the child account in the Google Ads dashboard and go to Tools > Conversions. If a banner indicates conversions are managed by a manager, specify that manager’s ID in the Customer ID field.
How do I know which Customer ID and Login Customer ID combination applies to my setup?
Setup
Customer ID
Login Customer ID
Standalone account, direct OAuth access
The account itself
Leave empty
Standalone account, OAuth access via a manager
The account itself
The manager
Child account under cross-account conversion tracking
The manager (conversion tracking owner)
The manager, or leave empty if direct access
Why am I getting the USER_PERMISSION_DENIED, INVALID_CUSTOMER_ID, or CUSTOMER_NOT_ACCEPTED_CUSTOMER_DATA_TERMS errors?
These errors usually mean the Customer ID or Manager Account ID (Login Customer ID setting in the dashboard) is misconfigured:
Error
Notes
USER_PERMISSION_DENIED
The authenticated Google account doesn’t have permission to act on the Customer ID. Verify the Login Customer ID is correct, and that this manager is linked to the Customer ID in Google Ads.
INVALID_CUSTOMER_ID
Either the Customer ID is wrong, or the Login Customer ID isn’t authorized to access it. Under cross-account conversion tracking, this often means the Customer ID was set to a child account when it should be the manager.
CUSTOMER_NOT_ACCEPTED_CUSTOMER_DATA_TERMS
Customer data terms haven’t been accepted on the account that owns conversion tracking. If cross-account tracking is in use, the terms must be accepted on the manager account, not the child.
Why am I getting a 400 Bad Request error message while configuring the destination?
If you get a 400 Bad Request error while configuring the destination, make sure your customer account is allowlisted and configured to have Standard or Administrative access levels in Google Ads.
See the above FAQ for steps on setting the access level permissions for the account.
Questions? We're here to help.
Join the RudderStack Slack community or email us for support
This site uses cookies to improve your experience while you navigate through the website. Out of
these
cookies, the cookies that are categorized as necessary are stored on your browser as they are as
essential
for the working of basic functionalities of the website. We also use third-party cookies that
help
us
analyze and understand how you use this website. These cookies will be stored in your browser
only
with
your
consent. You also have the option to opt-out of these cookies. But opting out of some of these
cookies
may
have an effect on your browsing experience.
Necessary
Always Enabled
Necessary cookies are absolutely essential for the website to function properly. This
category only includes cookies that ensures basic functionalities and security
features of the website. These cookies do not store any personal information.
This site uses cookies to improve your experience. If you want to
learn more about cookies and why we use them, visit our cookie
policy. We'll assume you're ok with this, but you can opt-out if you wish Cookie Settings.