Data Catalog Properties
7 minute read
This guide walks you through creating and managing your properties in the Data Catalog.
Required permissions
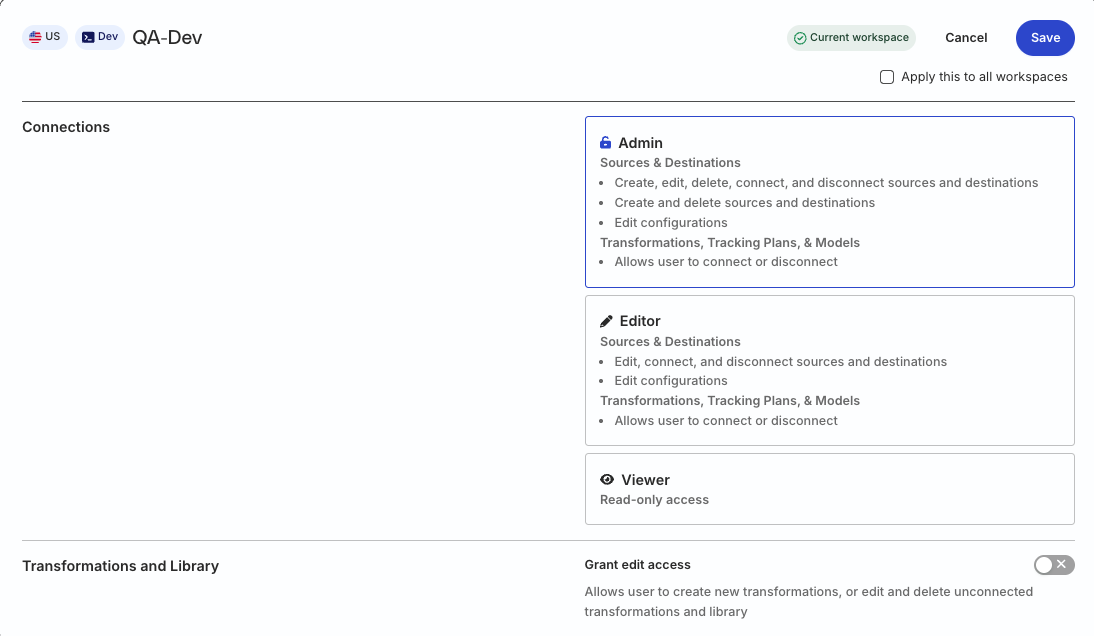
- Admins have full access to manage event properties in the Data Catalog.
- Members must have the following permission in their workspace policy:
| Resource | Permission | Description |
|---|---|---|
| Data Catalog | Edit | Make changes to the configuration of Data Catalog |
Click here to see how these permissions appear in the workspace policy.

Permissions for legacy RBAC system
In the legacy Permissions Management (RBAC) system:
- Org Admins have full access to manage the Data Catalog
- Members must have the Connections Admin role in their workspace policy to manage the Data Catalog
Add property
RudderStack provides two ways of creating and adding properties to your Data Catalog:
In Data Catalog
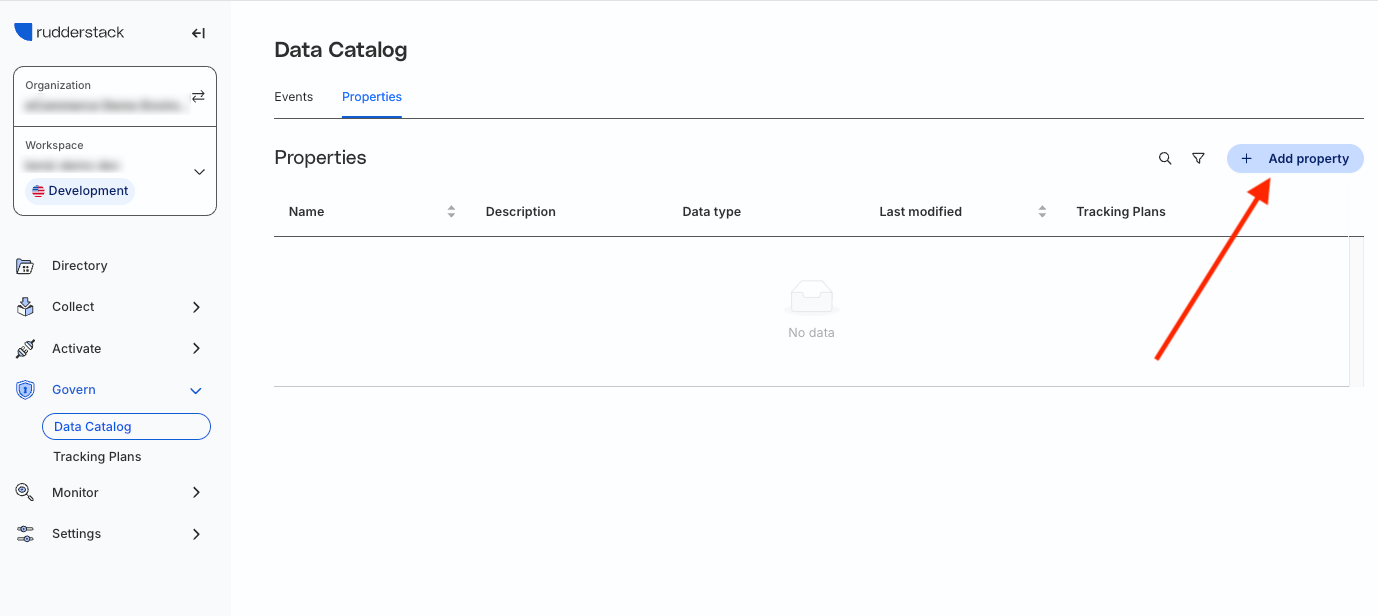
- Log in to the RudderStack dashboard and go to Govern > Data Catalog option in the left sidebar.
- Go to the Properties tab, click Add property.
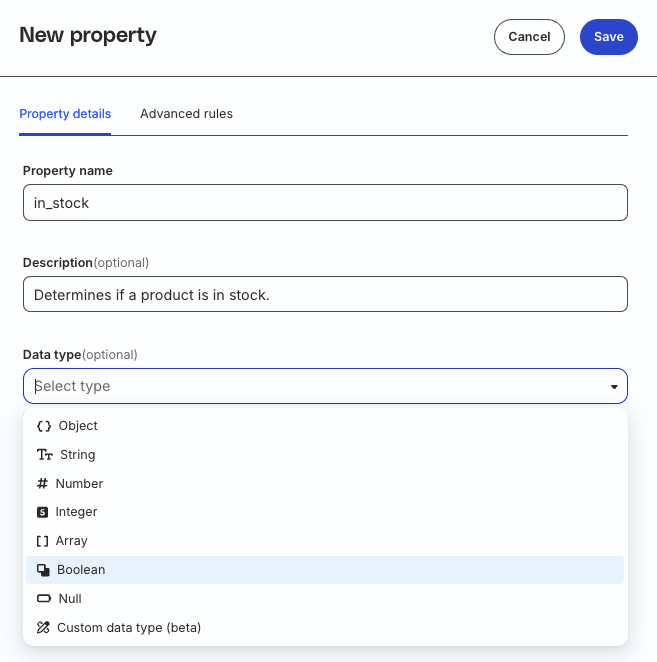
- In the Property details tab, specify the property name and description.
Note that:
You cannot set a blank property name - it must be at least 1 character long.
RudderStack supports all the UTF-8 characters in property names.
The property name can start with a letter, number, or special character. Some examples of valid property names:
test_property1test_property@1Ttest property
Choose the data type for your property from the dropdown. You can also:
- Choose multiple data types as per your requirement.
- Leave this field empty to accept any data type.
- Select a custom data type for the property.
- If you choose Array from the dropdown, select the data type of its elements in the Array of field . For example, if you choose String, RudderStack accepts only string elements for that array.
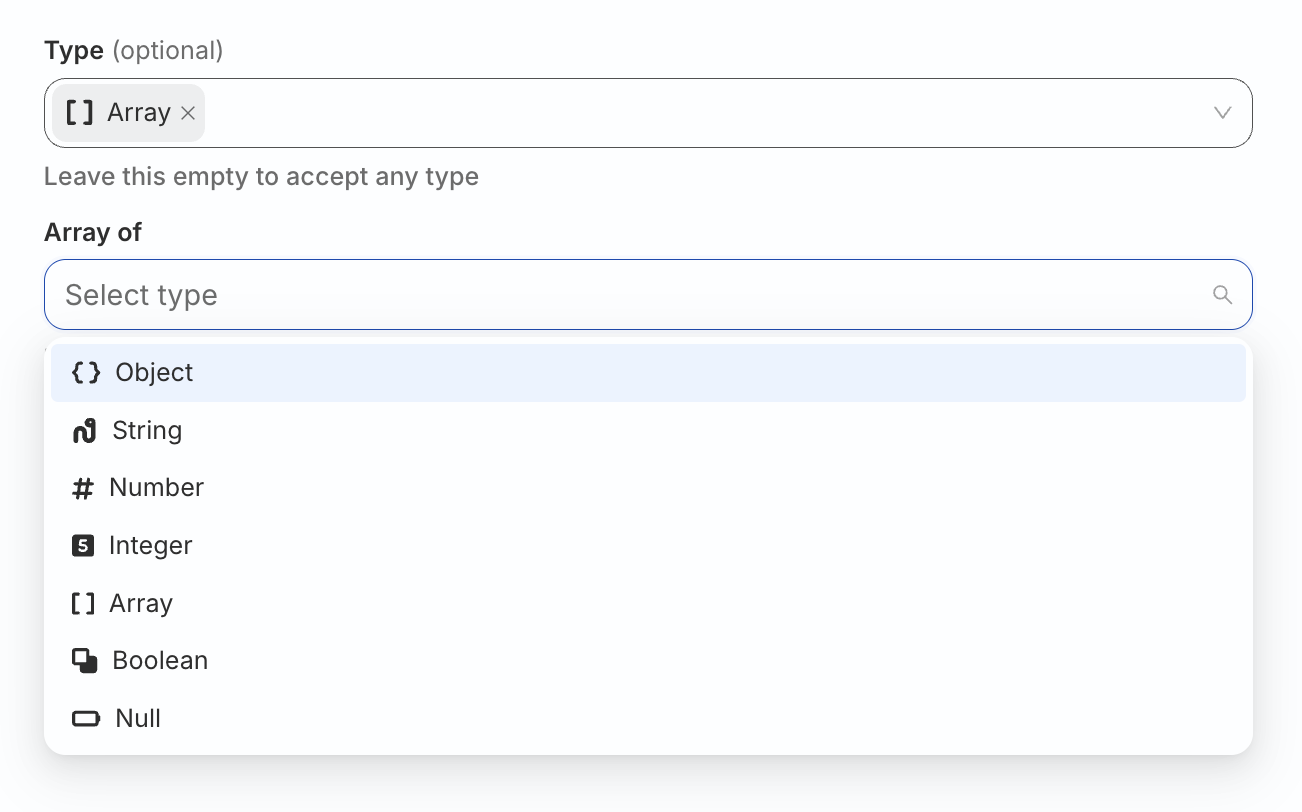
- Click Save to save the changes and add the new property to your Data Catalog.
While editing a tracking plan
You can also create a new property while adding a new event schema or updating an existing event schema for your tracking plan.
- Go to Govern > Tracking Plans to see all the tracking plans in your workspace. Then, click a tracking plan.
- Click the meatballs menu (
...) next to an event and click Edit event schema. - Click the Add properties button.
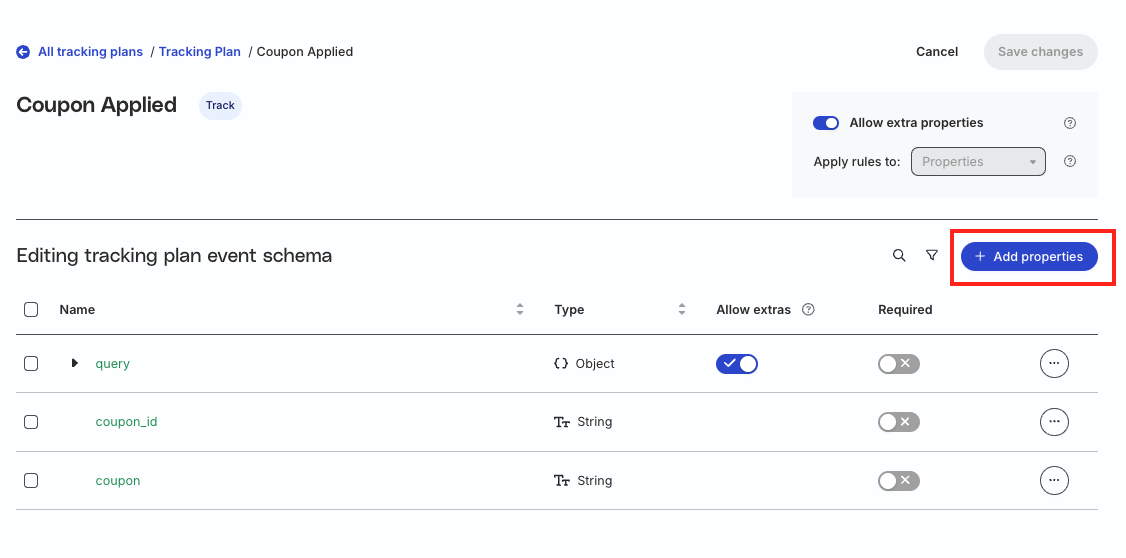
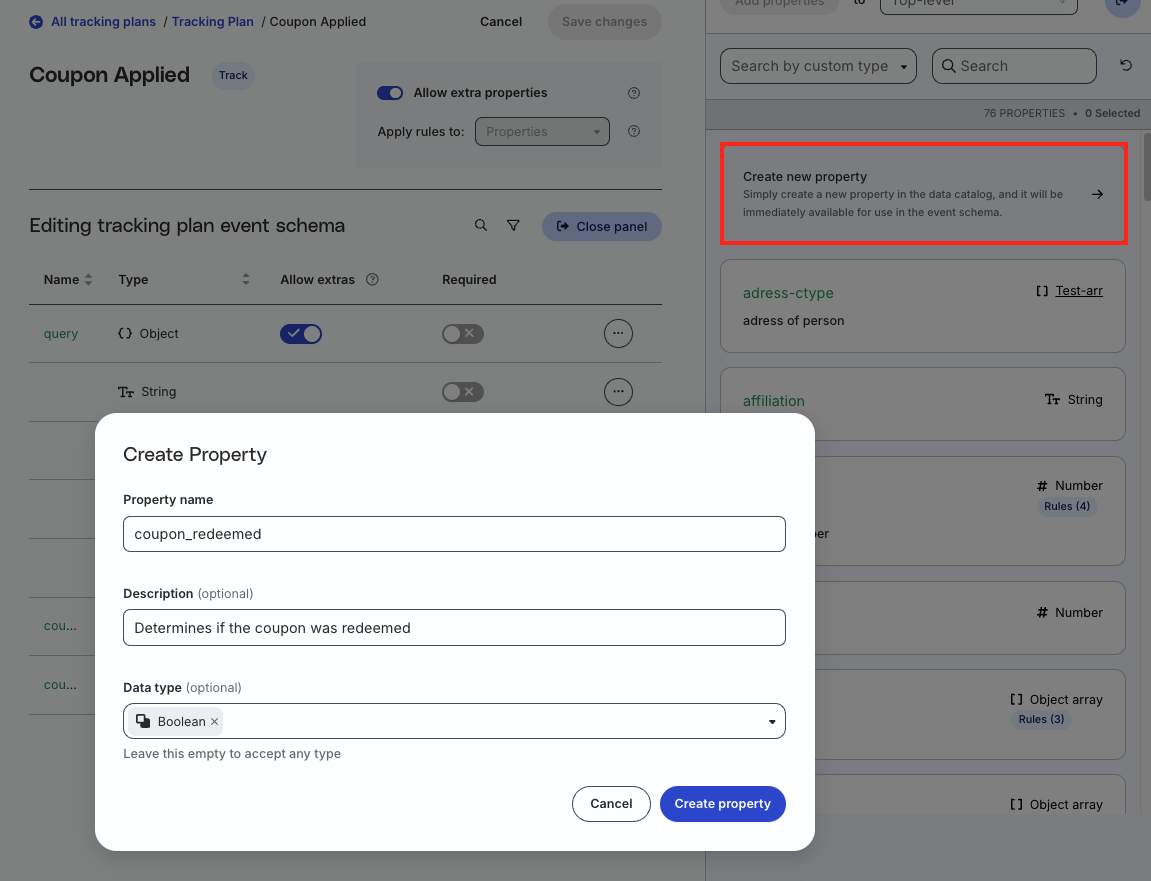
- In the right panel, click Create new property.
- Specify the property name, description, and data type.
- Click Create property.
Add multiple properties with the same name
You can create multiple properties with the same name as long as:
- They have a different data type, OR
- In case of arrays, they have different Array of values. For example, if you create a property called
test_propertyof the array data type and the Array of field set to String, as shown:
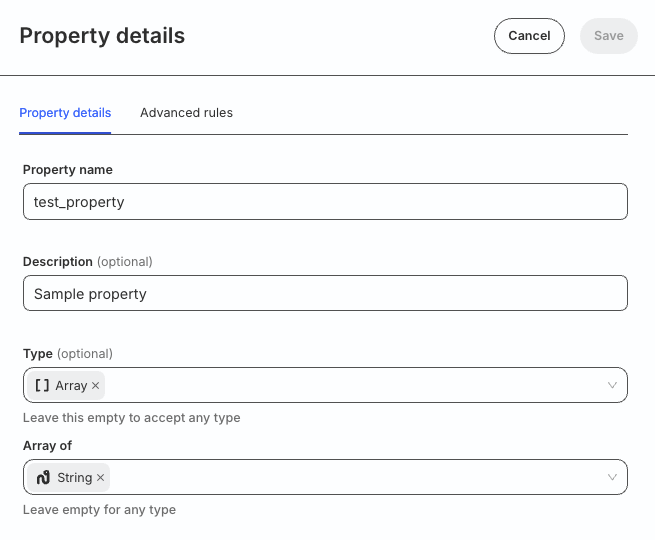
In that case:
- You can create another property called
test_propertywith a different data type, for example, Integer. - You can create another property called
test_propertywith an array data type and a different Array of field setting, for example, Boolean and String. - You cannot create another property called
test_propertywith an array data type and the Array of field set to String.
Property details
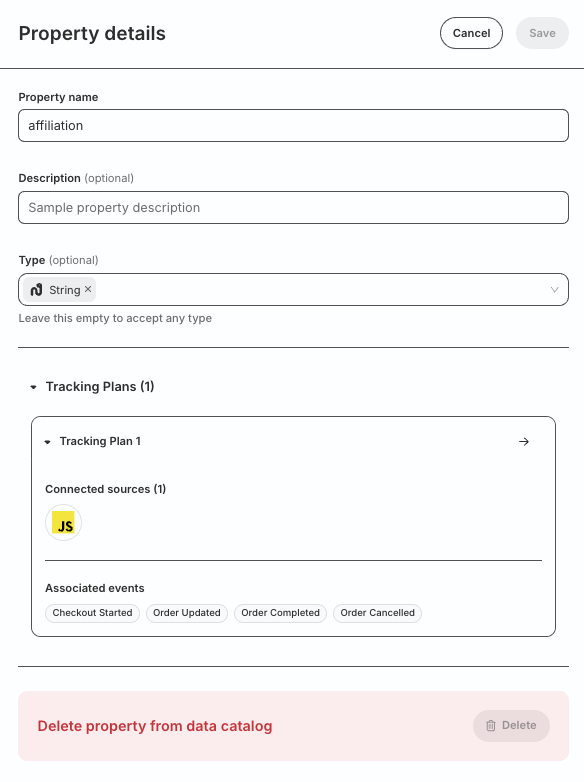
Once created, you can click the property to see the following information:
- Property details like name, description, and data type. You can also make any changes to these details - make sure to click Save for any changes to take effect.
- Connections to tracking plans, along with the connected sources and associated events (only visible after you map the property to an event while creating a tracking plan).
- Delete property from Data Catalog. Note that you cannot delete any property from the catalog if it is already a part of any tracking plan.
Set advanced rules for a property
While adding or editing a property, use the Advanced rules tab to add rules that define how RudderStack should capture a property.
You can set advanced rules for properties of all the data types except Object and Null.
You can define the following advanced rules for the property depending on its data type:
- Enum: Define the acceptable values for the property.
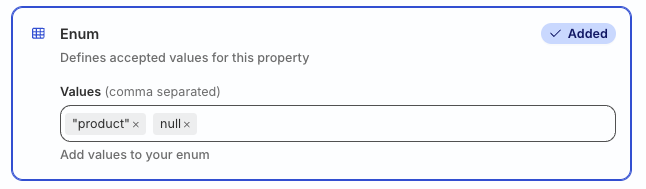
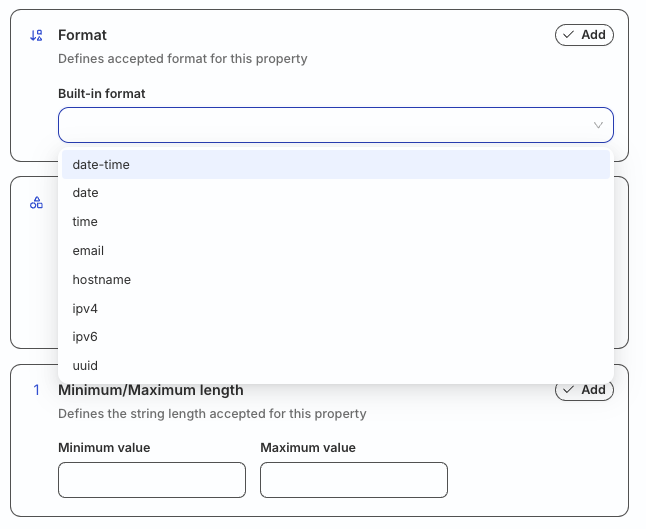
Format: Define the acceptable format in which the property values should be captured. RudderStack supports the below formats:
- date-time
- date
- time
- hostname
- ipv4
- ipv6
- uuid
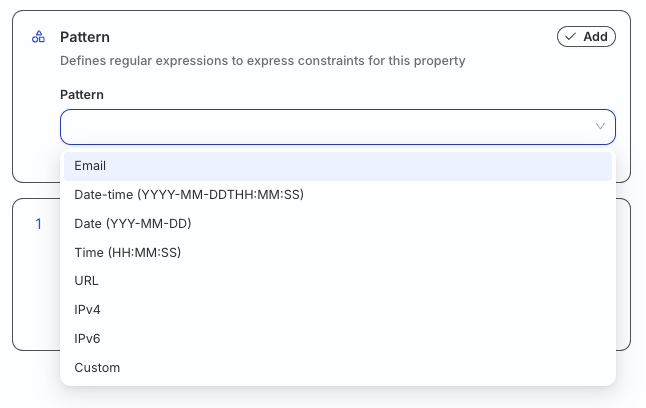
Pattern: Define the property constraints using regular expressions. RudderStack supports the below patterns:
- Date-time (
YYYY-MM-DDTHH:MM:SS) - Date (
YYYY-MM-DD) - Time (
HH:MM:SS) - URL
- IPv4
- IPv6
- Custom (define a custom pattern)
- Minimum/maximum length: Define the acceptable string length for the property.
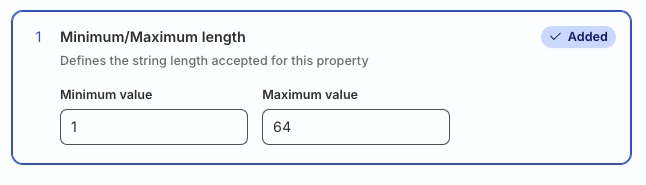
- Enum: Define the acceptable values for the property.
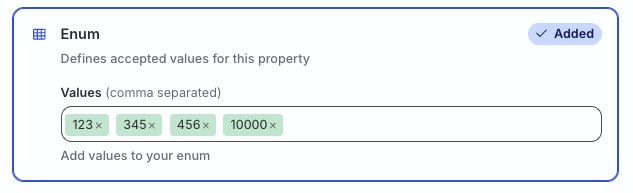
- Minimum/Maximum: Define the range acceptable for the property.
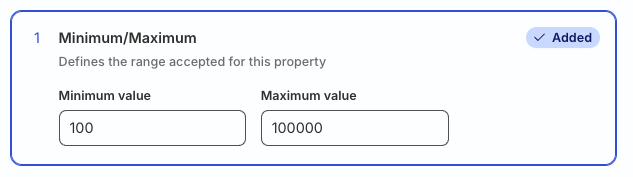
- Exclusive Minimum/Maximum: Define the exclusive range acceptable for the property.
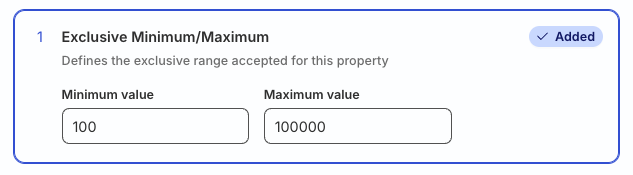
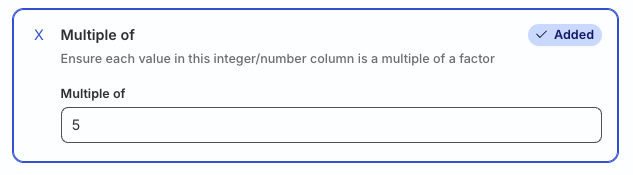
- Multiple Of: Define a number whose multiples are the only acceptable values for this property.
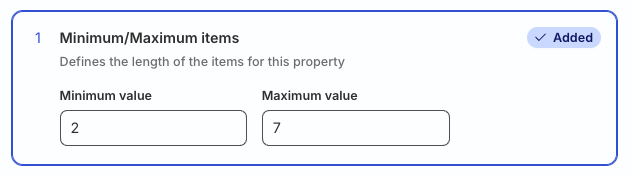
- Minimum/Maximum items: Define the minimum and maximum number of items acceptable for this property.
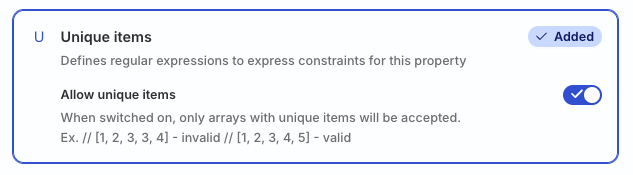
- Unique items: Specify whether RudderStack should accept arrays with only unique items. To do so, turn on the Allow unique items toggle.
- Enum: Define the acceptable values for the property.
Custom data types
The Custom data types feature is in Private Beta, where we work with early users and customers to test new features and get feedback before making them generally available.
Reach out to Customer Success if you are interested in enabling this feature for your workspace.
You can use the Custom Data Types tab to set predefined rules and later apply them to multiple event properties as per your requirement. With this approach, you can avoid setting the same set of advanced rules to each property individually.
This section highlights the steps for adding a custom type in your Data Catalog and then defining a new property to use that custom type.
Define custom types
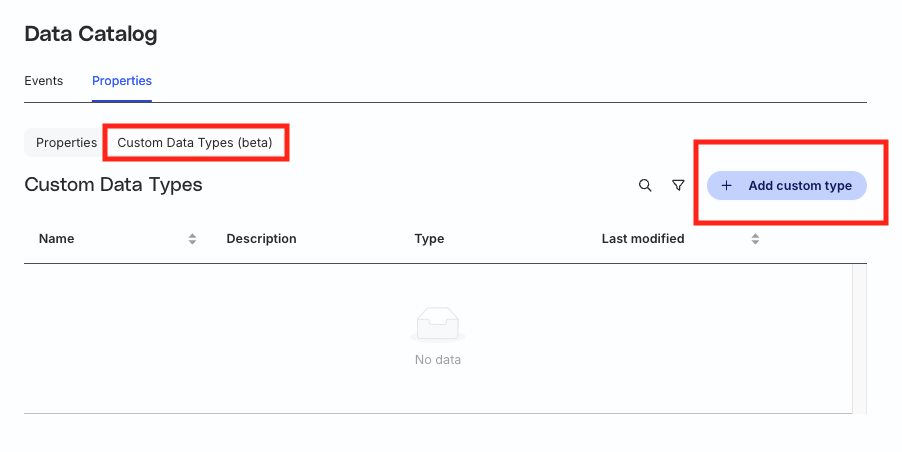
- Go to the Properties tab of the Data Catalog and click the Custom Data Types (beta) tab. Then, click Add custom type.
- Specify the name, description, and data type under Type details:
The custom type name must be between 2 and 65 characters long. Also, it must start with a capital letter and contain only letters, numbers, underscores and dashes. Spaces are not allowed.
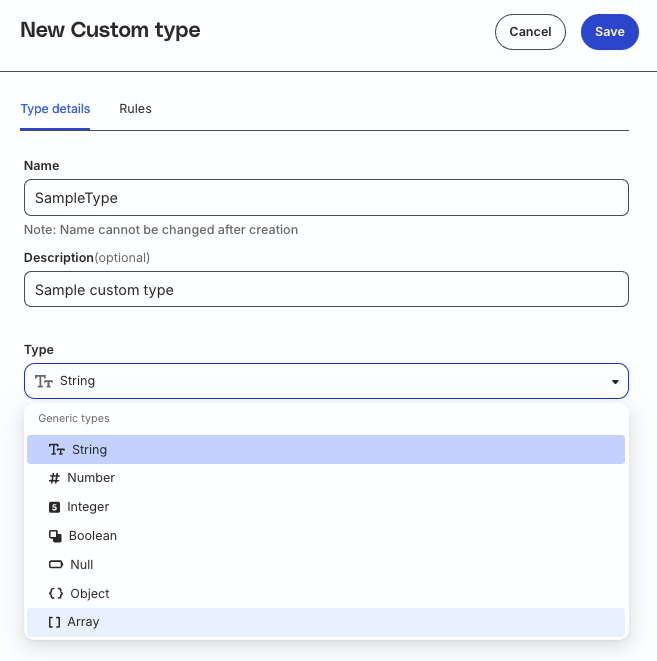
- Go to the Rules tab and define the rules for the data type selected above. An example for a string is shown below:
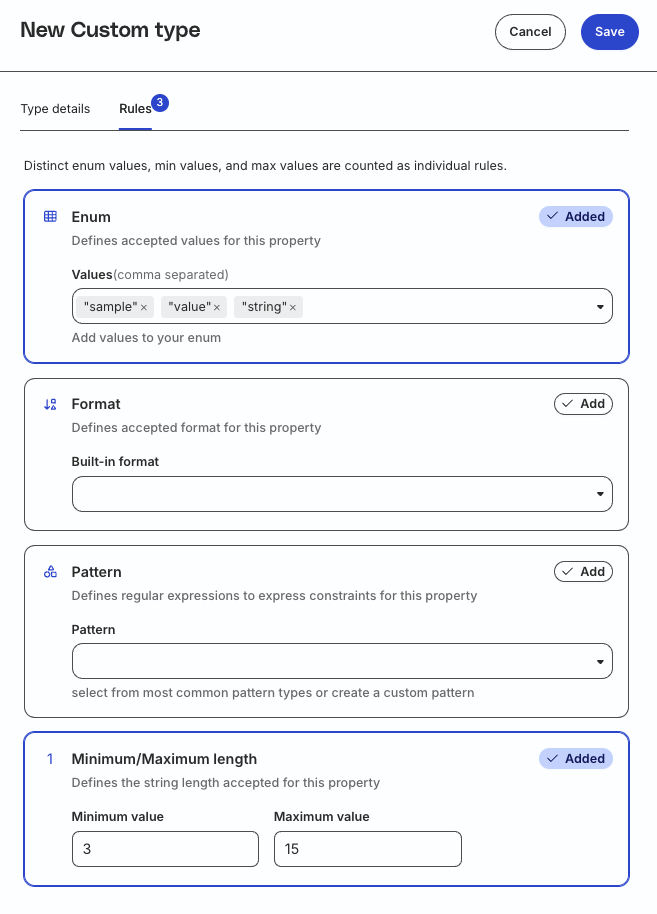
- Click Save to save the changes.
Examples
This section highlights some specific use cases of creating new custom types in your Data Catalog.
Create a custom type that is an array of other custom types
You can create a custom type that is an array of another custom type, that is, it accepts only a list of that custom type.
- Specify the name and description (optional) of the custom type.
- Under Type, select Array.
- Under Array of, select Custom data type (beta).
- Select the required Custom data type.
- Specify the rules for this new array custom type, as required.
The following image highlights a custom type named ArrayCustomType that is an array of another custom type StringCustomType.
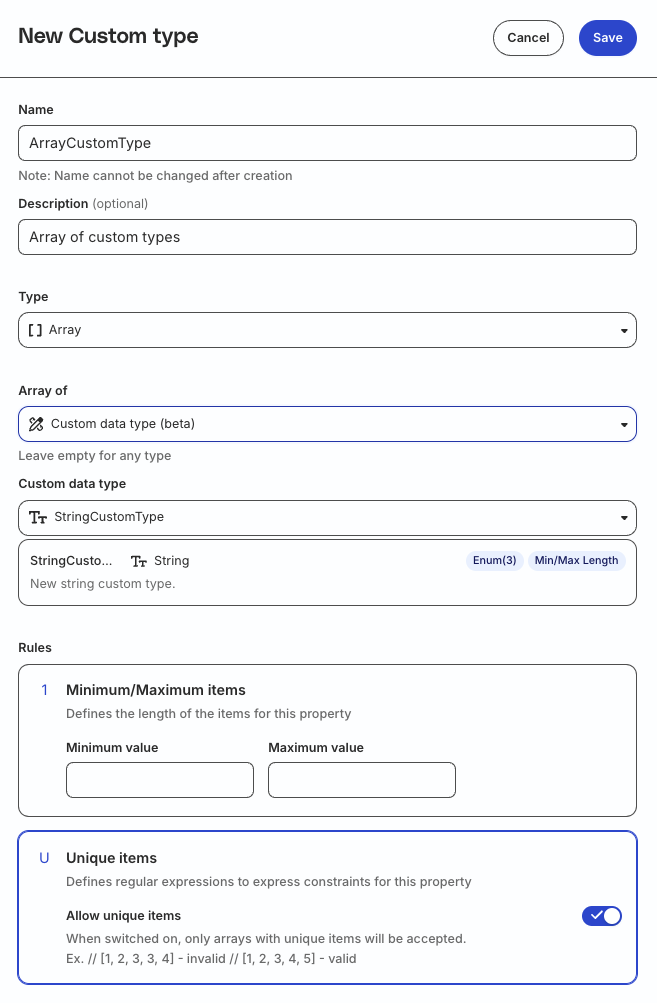
Note that you can specify only one custom type in the Array of field, as seen in the above image.
Create an object custom type that accepts specific properties
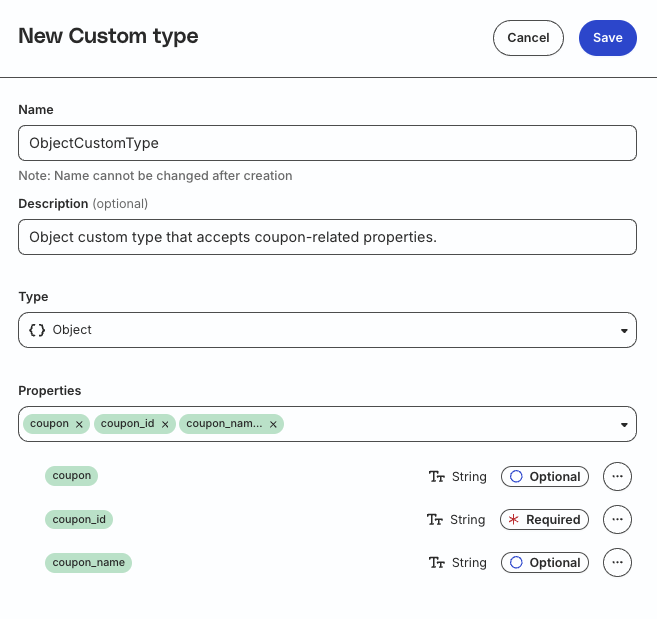
You can create a custom data type of object type that only accepts specific properties present in your Data Catalog:
- Specify the name and description (optional) of the custom type.
- Under Type, select Object.
- Select the required properties present in your Data Catalog in the Properties field.
- Mark the properties as Optional or Required, as per your requirement.
Create new properties using custom types
- In the Properties tab of the Data Catalog, click Add property.
- Enter the property name and description.
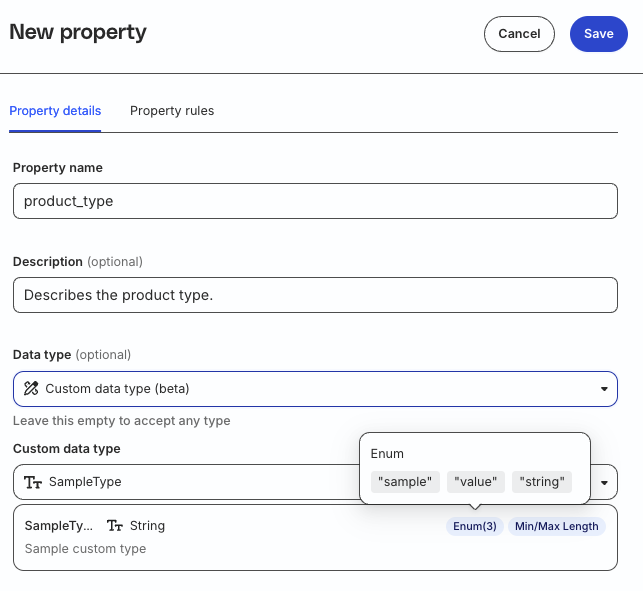
- Under Data type, select Custom data type (beta). Then, select the custom data type defined in Step 1 above.
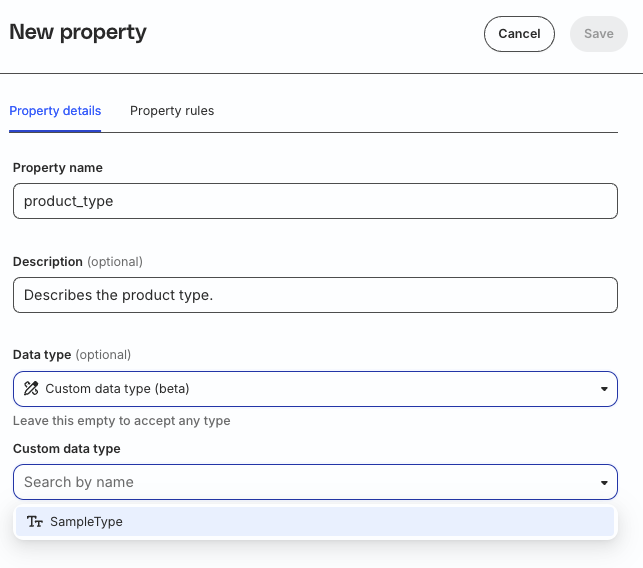
Once you select the custom data type, the property automatically inherits all the rules that you defined while creating the custom data type.
Create a property that accepts an array of a custom type
You can create a new property that accepts an array of a custom data type.
- Specify the property name and description (optional).
- Choose Data type as Array.
- Set the Array of field to Custom data type (beta).
- Select the required Custom data type.
- Set the Property rules, as required.
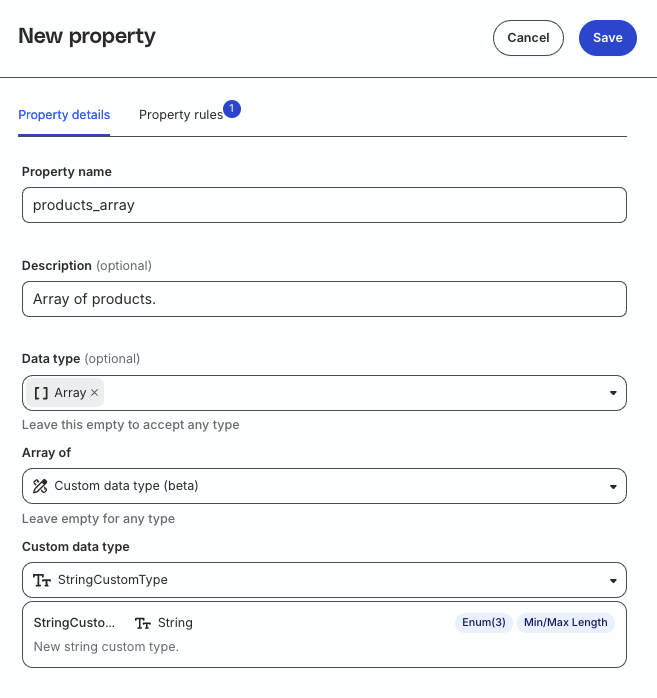
The following image highlights a new property called products_array that is an array of a custom type StringCustomType: