You are viewing documentation for an older version.

Activate Profiles Data
2 minute read
Once you create cohorts and run the project successfully, you can use the Profiles Activations feature to sync your target customer data to the downstream marketing tools like Braze, Mailchimp, etc. This will help you make informed decisions, run personalized marketing campaigns, and enhance the overall customer experience across multiple platforms.
Prerequisites
Import the Profiles project from your Git repository and run it.
For the warehouse used for your Profiles project, you must create the RudderStack schema and grant permissions to it. See the detailed steps for each warehouse:
Add activations
Once you have your Profiles project available in the RudderStack dashboard, you can view the cohorts data after the first successful run.
Follow these steps to add an activation for a cohort:
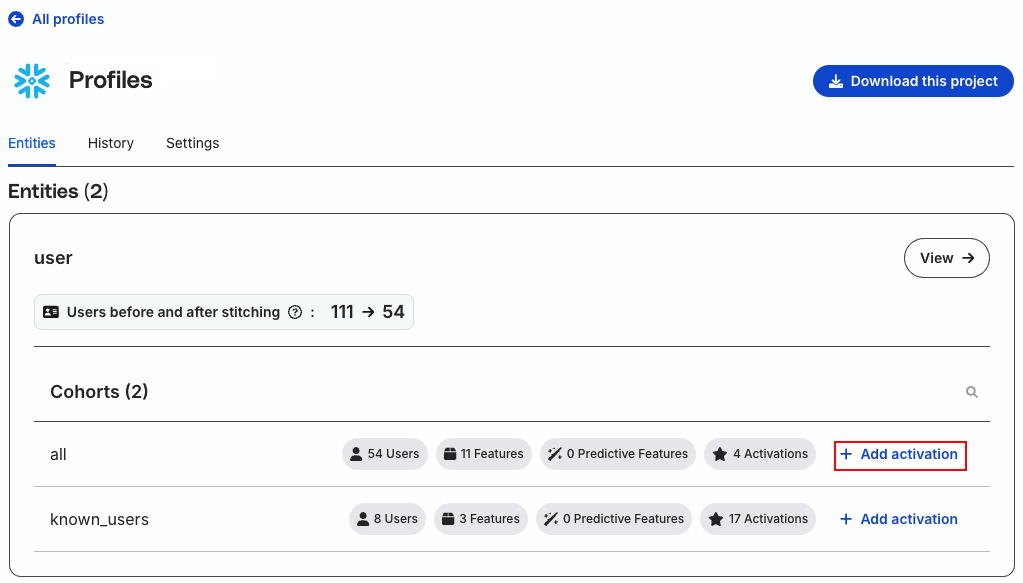
- Click Add activation next to the cohort for which you want to send data to the downstream destination.
- Configure the following settings in the Create Activation window:
| Setting | Description |
|---|---|
| Activation name | Assign a name to uniquely identify the activation. |
| Select identifier | Select the type of ID you want to use for the activation from the dropdown menu. |
| Select your activation type | Choose a table or audience as your source. |
- Click Continue to verify your credentials.
- Review the details and click Create activation.
- Choose from Use existing destination or Set up a new destination to connect your activation to the destination.
- Configure the destination-specific settings.
- Click Turn on the connection to enable the connection.
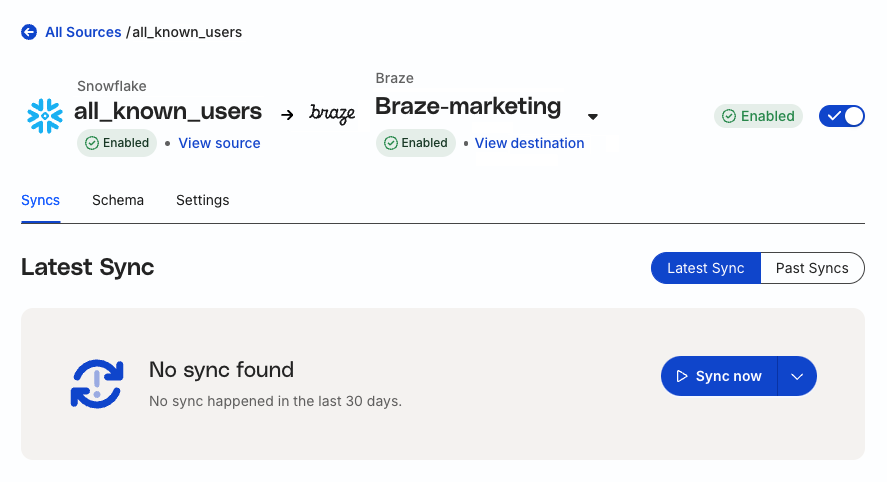
You can view your Activations in the list of Sources in the RudderStack dashboard.
View/modify activations
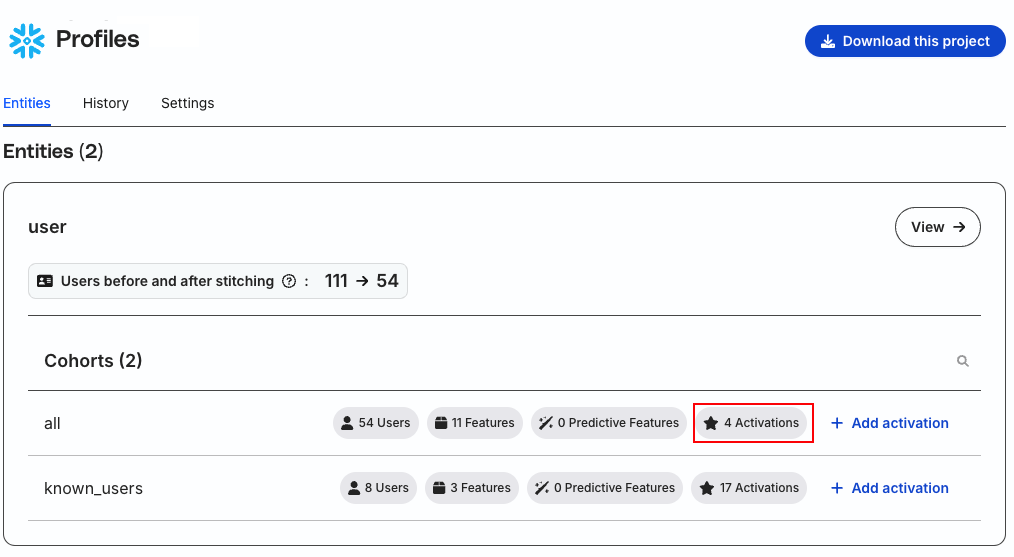
- Click [n] Activations next to your cohort:
- Click the Activations tab to view the detailed list of all the connected activations:
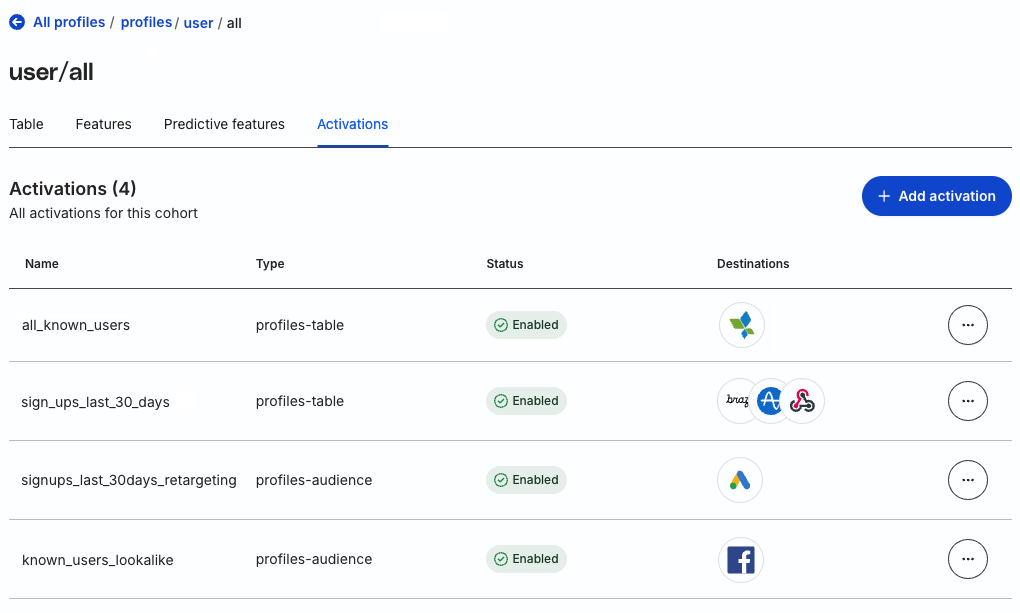
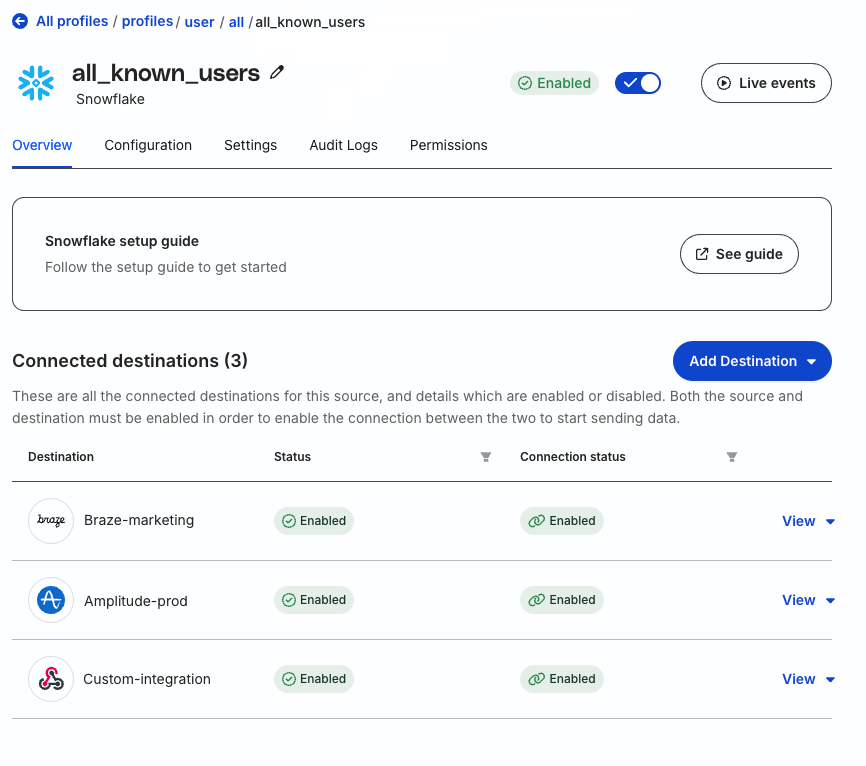
- Click on the activation name. It will take you to the source overview page:
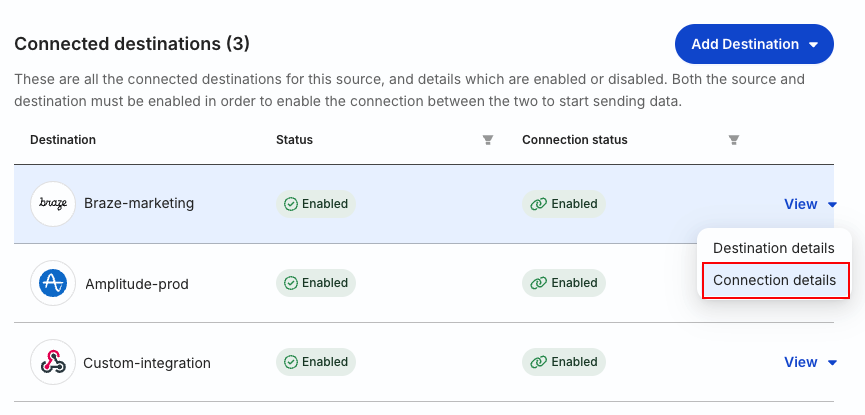
- Click the Connection details next to the destination.
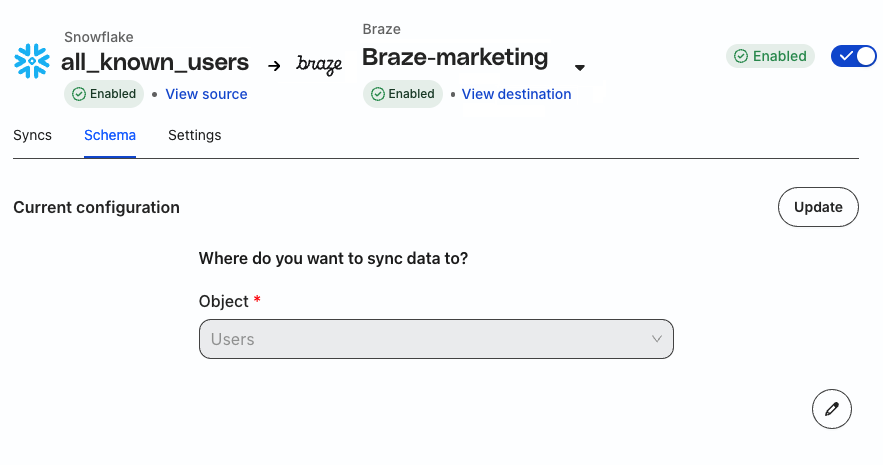
- Edit the Schema or Settings in the relevant tabs: