# How to Set Up RudderStack with Your Coding Agent
> Use the rudder-setup skill to have your AI coding agent create a source, a destination, and a connection, instrument your app, and confirm a delivered event.
This guide shows you how to set up RudderStack from inside your app's repository with an AI coding agent. The agent follows the `rudder-setup` skill, and the setup is done when one real event from your app reaches the destination you chose.
## Prerequisites
- [ ] A RudderStack workspace and a role that can create a Read-Write [personal access token](https://www.rudderstack.com/docs/access-management/personal-access-tokens/) for it.
- [ ] A coding agent: Claude Code, Codex, Cursor, GitHub Copilot in VS Code, or another agent that can run shell commands.
- [ ] `git` and `jq` installed on your machine.
- [ ] Node.js 22.20 or later, if you use Cursor, GitHub Copilot, or the **Prompt** tab with an agent other than Claude Code or Codex. The Skills CLI needs it.
- [ ] The repository of the app that will send events. If you have no app yet, see [Run the setup without an app](#run-the-setup-without-an-app).
You don't need to install the Rudder CLI yourself. The skill installs the latest release in `~/.local/bin` when it's missing.
## How the setup works
Three RudderStack tools work together during the setup:
| Tool | Role in the setup |
|---|---|
| `rudder-setup` skill | The instructions your agent follows, in nine steps |
| [Rudder CLI](https://www.rudderstack.com/docs/rudder-cli/) | Validates the pipeline's YAML specs and applies them to your workspace. It signs in with your personal access token. |
| [RudderStack MCP server](https://www.rudderstack.com/docs/ai-features/rudderstack-mcp/) | Reads the source's write key and the destination's delivery counts. It signs in through your browser with OAuth, not with the token. |
You make three decisions. The agent proposes the events to track, asks where the events go, and shows a dry run before it changes your workspace. It waits for your answer each time.
## Generate a personal access token
1. Log in to the [RudderStack dashboard](https://app.rudderstack.com/) and go to **Get started**.
2. In the **Setup with Agent** card, generate a personal access token. The dashboard shows the token once and fills it into the commands on the card.
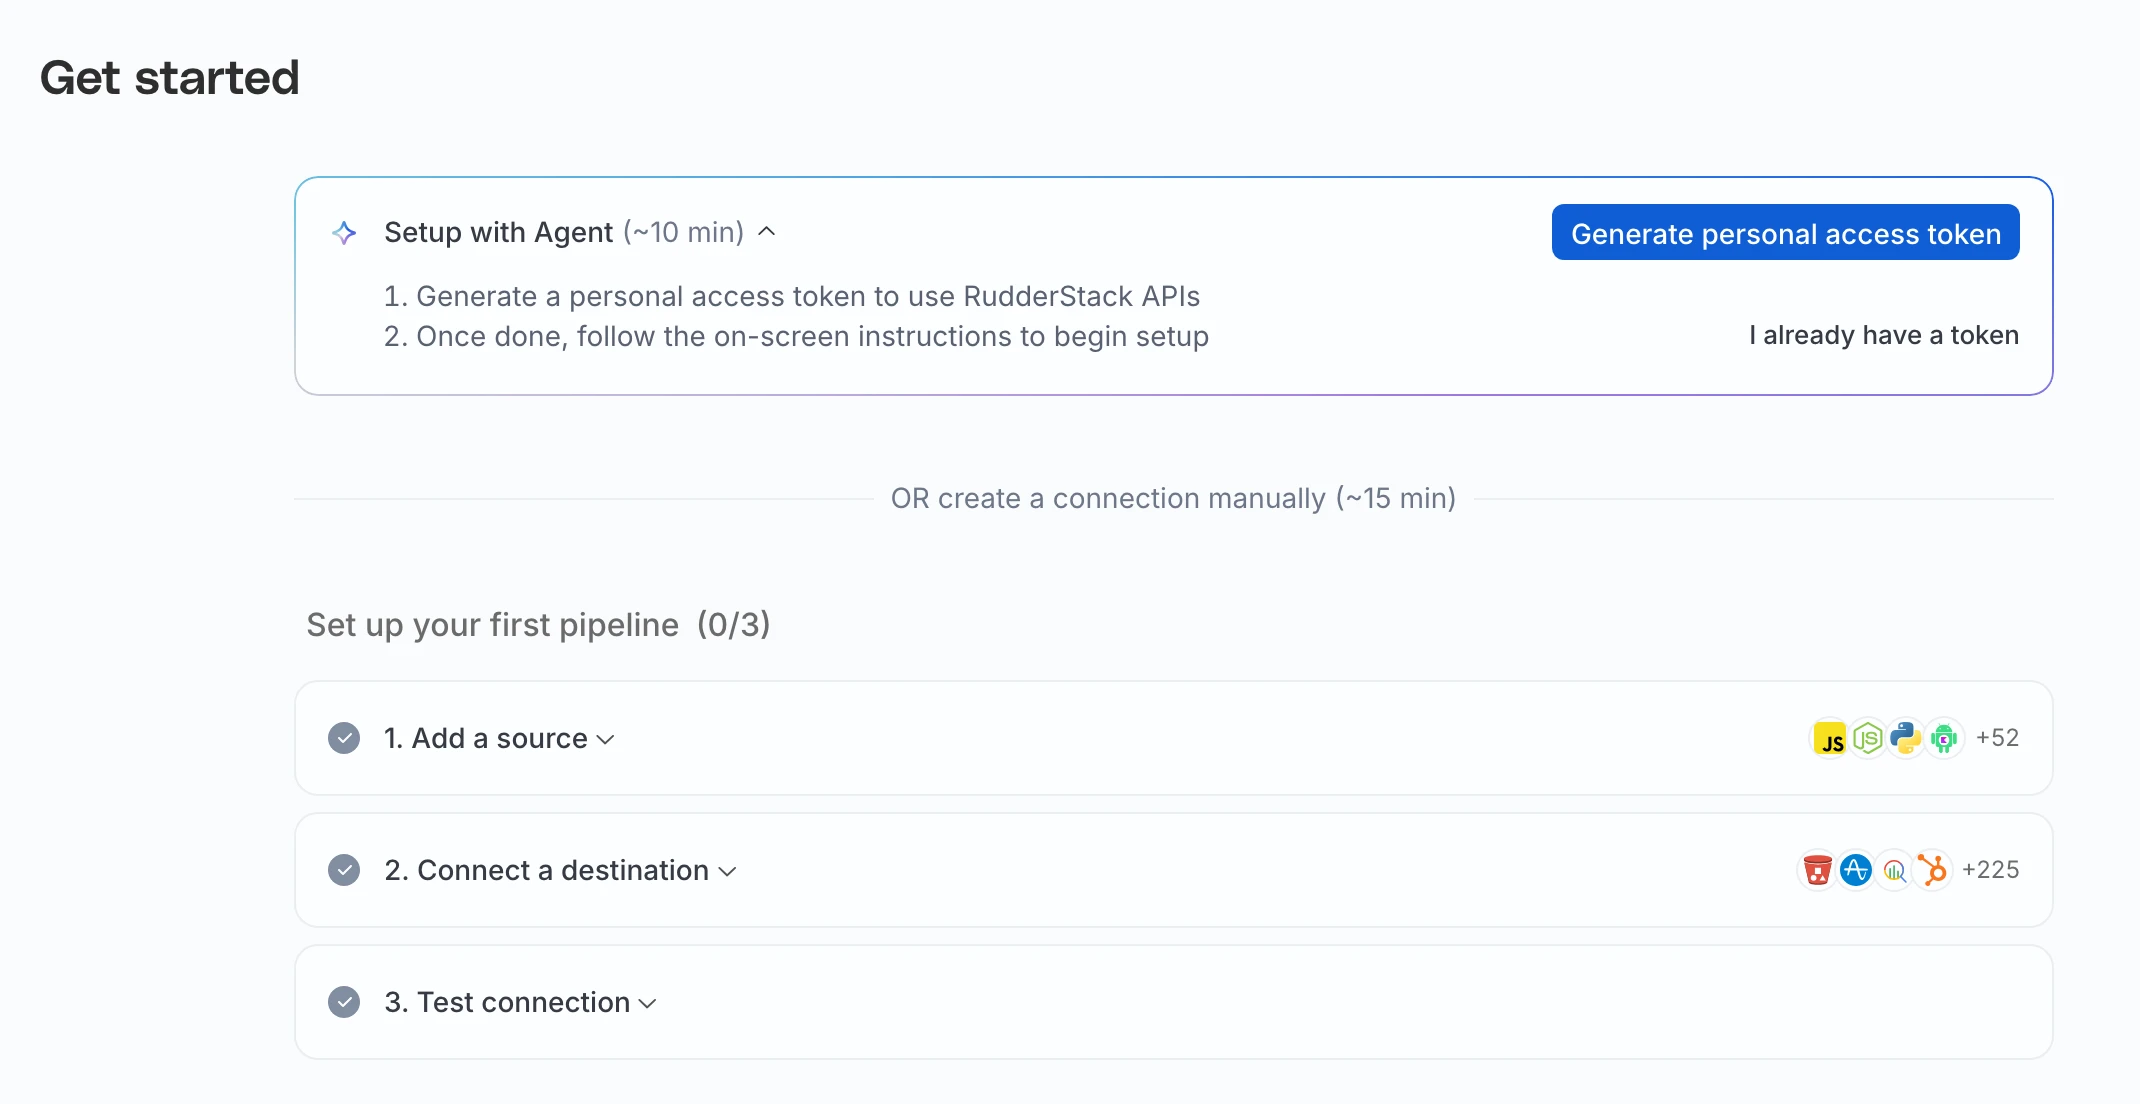
If you already have a Read-Write token for the workspace, click **I already have a token**. The commands then show `` where your token goes.
**Warning:** Never paste the token into your agent's chat. The agent reads it from the `RUDDERSTACK_ACCESS_TOKEN` environment variable of the terminal it starts in.
## Start the setup in your agent
The card has one tab for each agent. The commands below are the same ones the card copies, with a placeholder for the token.
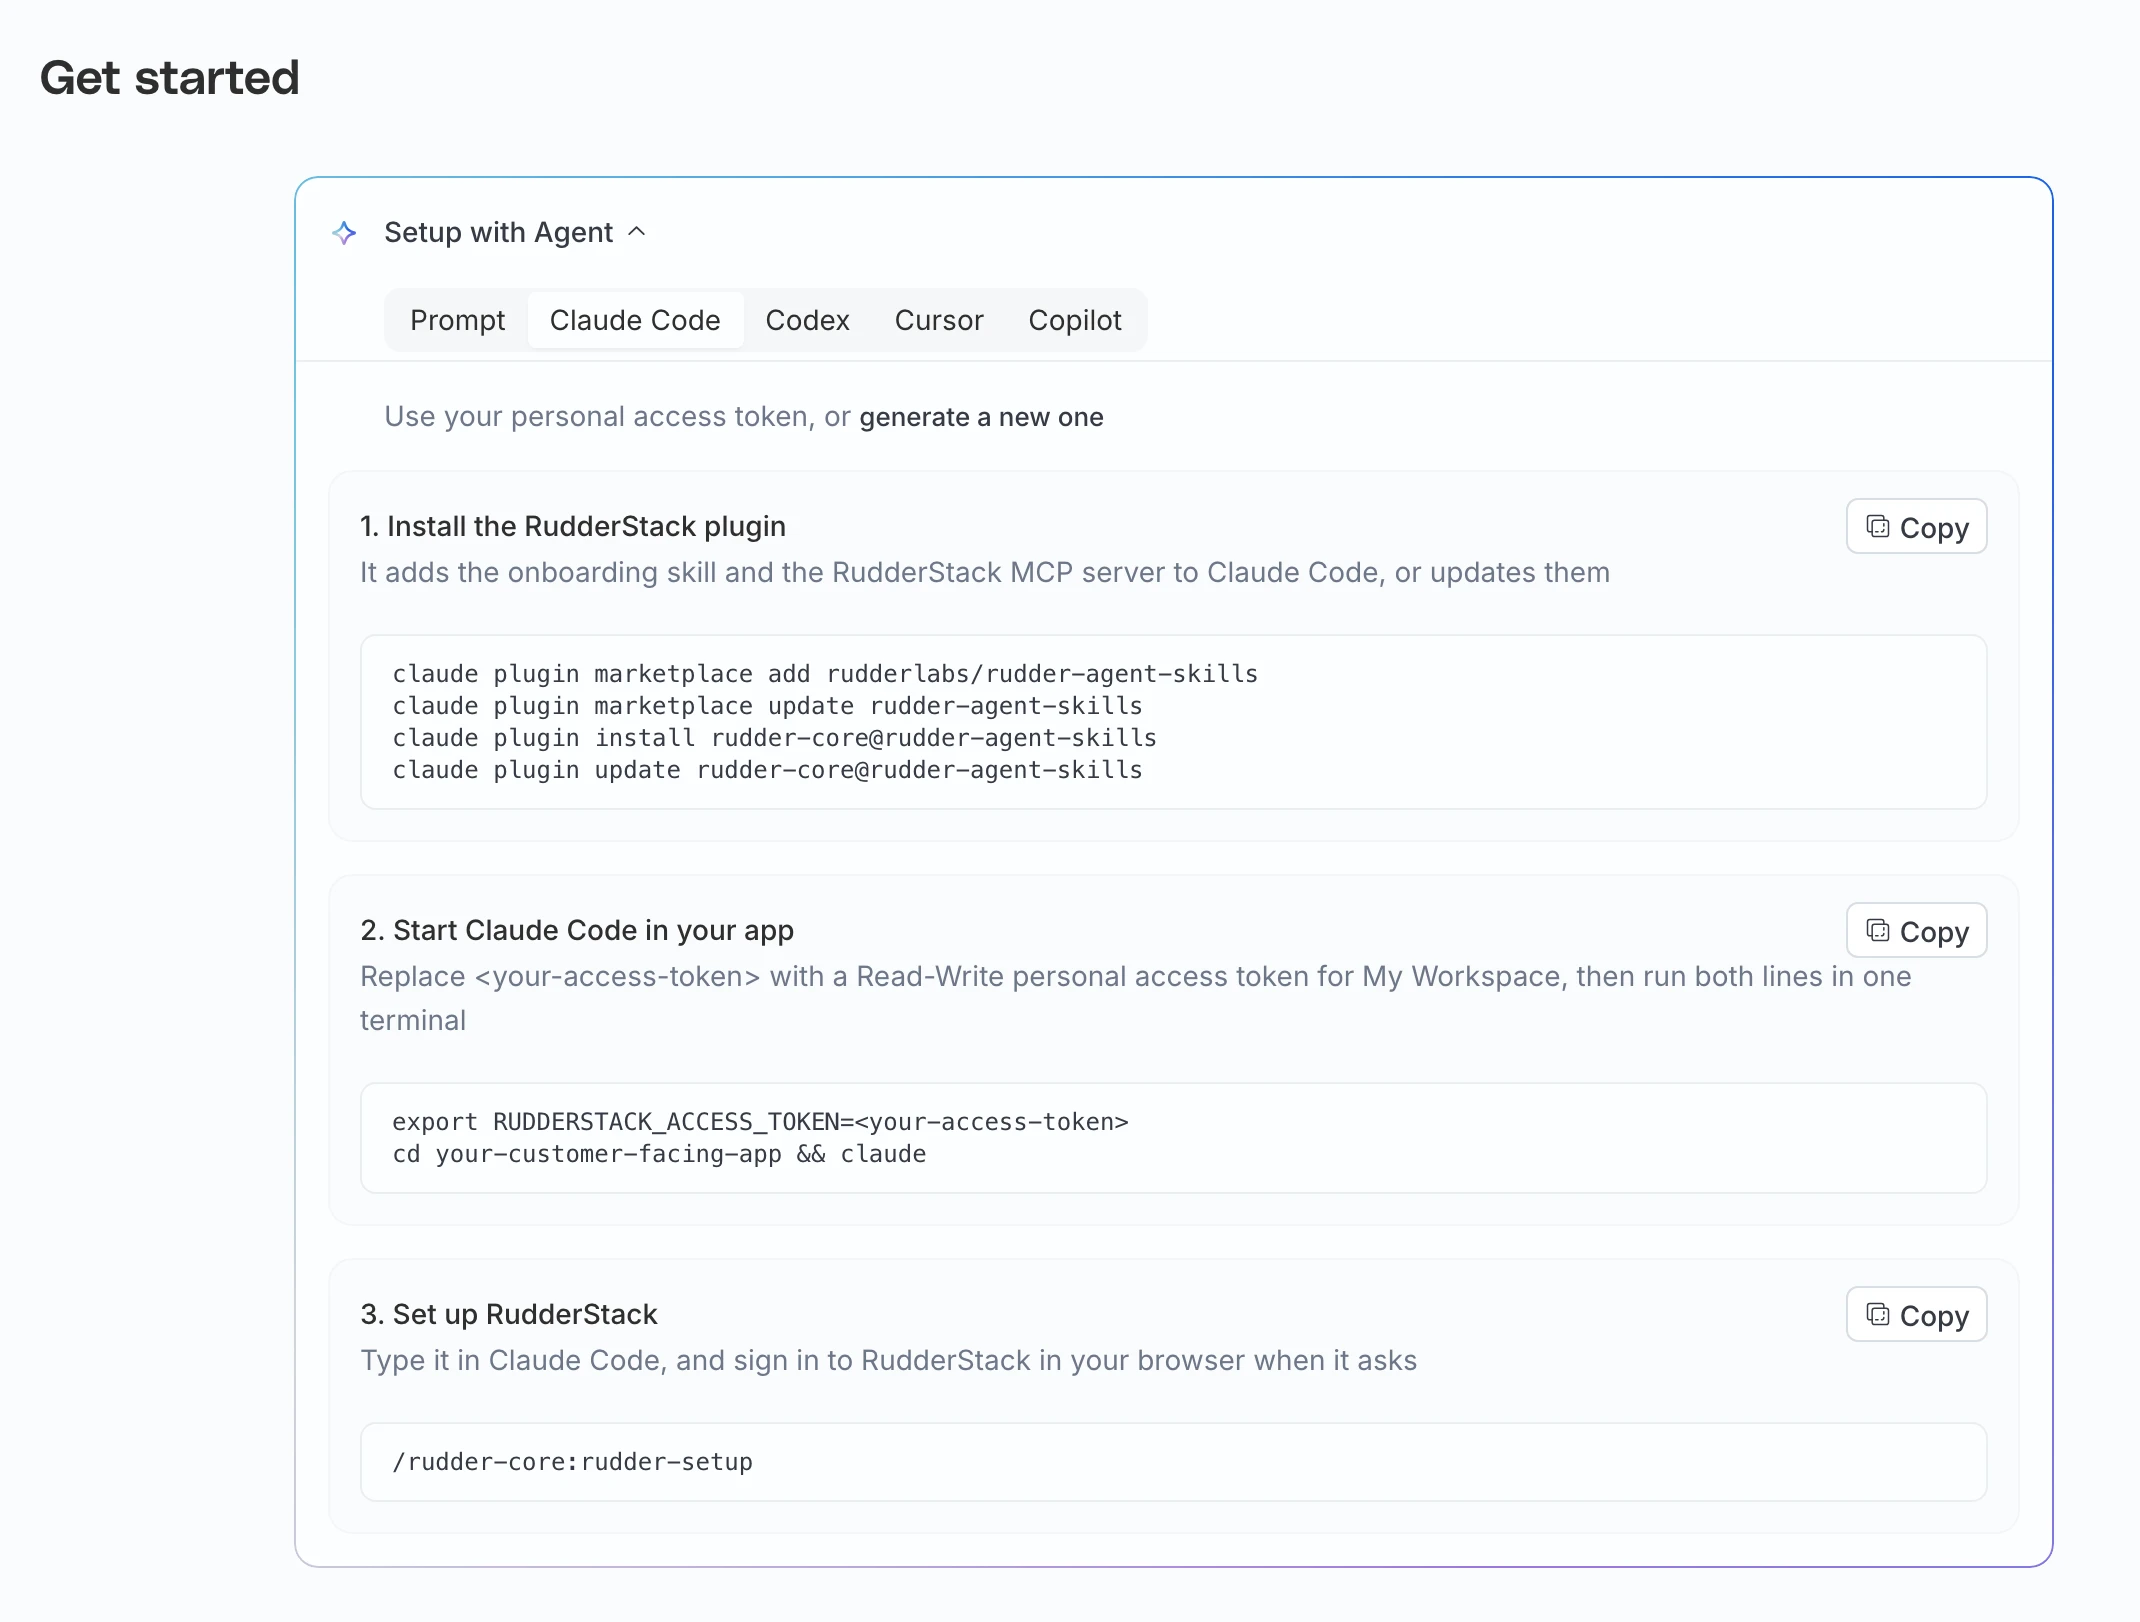
#### Claude Code
1. Install the RudderStack plugin. It adds the skill and the MCP server.
```bash
claude plugin marketplace add rudderlabs/rudder-agent-skills
claude plugin marketplace update rudder-agent-skills
claude plugin install rudder-core@rudder-agent-skills
claude plugin update rudder-core@rudder-agent-skills
```
1. Start Claude Code in your app. Run both lines in one terminal.
```bash
export RUDDERSTACK_ACCESS_TOKEN=<your-access-token>
cd your-customer-facing-app && claude
```
1. Type the following in Claude Code, and sign in to RudderStack in your browser when it asks:
```text
/rudder-core:rudder-setup
```
#### Codex
1. Install the RudderStack plugin and sign in. The last line opens your browser.
```bash
codex plugin marketplace add rudderlabs/rudder-agent-skills
codex plugin marketplace upgrade rudder-agent-skills
codex plugin add rudder-core@rudder-agent-skills
codex mcp login rudderstack
```
1. Start Codex in your app. Run both lines in one terminal.
```bash
export RUDDERSTACK_ACCESS_TOKEN=<your-access-token>
cd your-customer-facing-app && codex
```
1. Type the following in Codex, and approve the commands that reach RudderStack when Codex asks:
```text
$rudder-core:rudder-setup
```
#### Cursor
1. Click **Add to Cursor** on the card to add the RudderStack MCP server. Cursor asks you to install it, then to sign in to RudderStack.
2. Install the skill:
```bash
npx skills add rudderlabs/rudder-agent-skills -g -y -a cursor -s rudder-setup
```
1. Quit Cursor, then open your app from a terminal that has the token. Run both lines in one terminal.
```bash
export RUDDERSTACK_ACCESS_TOKEN=<your-access-token>
cursor your-customer-facing-app
```
1. Type `/rudder-setup` in Cursor's Agent chat.
If the `cursor` command isn't found, run **Shell Command: Install ‘cursor' command** from Cursor's Command Palette. If Cursor doesn't list the skill, update Cursor and open your app again.
#### GitHub Copilot
1. On the card's **Copilot** tab, click **Add to VS Code** to add the RudderStack MCP server. VS Code asks you to install it, then to sign in to RudderStack.
2. Install the skill:
```bash
npx skills add rudderlabs/rudder-agent-skills -g -y -a github-copilot -s rudder-setup
```
1. Quit VS Code, then open your app from a terminal that has the token. Run both lines in one terminal.
```bash
export RUDDERSTACK_ACCESS_TOKEN=<your-access-token>
code your-customer-facing-app
```
1. Type `/rudder-setup` in Copilot Chat in Agent mode.
If the `code` command isn't found, run **Shell Command: Install ‘code' command in PATH** from the VS Code Command Palette.
#### Any other agent
1. Export the token in your app's folder, then start your agent from the same terminal.
```bash
export RUDDERSTACK_ACCESS_TOKEN=<your-access-token>
```
1. Copy the prompt from the card's **Prompt** tab and paste it into your agent.
The prompt tells the agent to install the skills, connect the MCP server at `https://mcp.rudderstack.com/mcp`, and follow `rudder-setup`. It works in Claude Code, Codex, Cursor, and GitHub Copilot too.
## What the agent does
The agent starts each step with a line such as `Step 3 of 9 · Goal and plan`, so you can follow along.
| Step | What happens | What you do |
|---|---|---|
| 1. Start | Checks the Rudder CLI, the token, the MCP server, and the folder it was started in | Sign in to RudderStack in the browser, if asked |
| 2. Explore | Finds the app's platform and reads what your workspace already holds | Confirm what sends the events, if the code doesn't say |
| 3. Goal and plan | Proposes up to four events with their properties and where each one fires | Say what you want to learn, then approve the plan |
| 4. Destination and secrets | Writes the destination spec from the settings the Rudder CLI accepts | Pick a destination, and fill its secrets into a git-ignored file |
| 5. Plan and apply | Validates the specs, shows a dry run, applies them, and commits | Approve the dry run |
| 6. Instrument | Installs the SDK and adds one typed function for each planned event | Nothing |
| 7. Verify locally | Runs your app against a local listener and compares what it sends with the plan | Use the app so each event fires |
| 8. Verify live | Waits for the write key to be accepted, then reads the delivery counts | Use the app once more |
| 9. Wrap up | Summarizes the resources, the code changes, the delivery counts, and the commits | Decide whether to open a pull request |
The destination question offers a webhook, Google Analytics 4, Amplitude, and Mixpanel, and accepts any other destination type that the Rudder CLI lists for your source.
**Info:** A new write key can take a few minutes to be accepted. Step 8 checks the key for up to five minutes before anyone sends an event, so you don't see `401 invalid write key` errors.
## What the setup adds to your repository
The setup adds these files, in separate commits for the specs and for the code:
| Path | Content |
|---|---|
| `rudder/sources/`, `rudder/destinations/`, `rudder/connections.yaml` | The pipeline as [Rudder CLI](https://www.rudderstack.com/docs/rudder-cli/) specs |
| `rudder/plan.md`, `rudder/plan.events.json` | Your question, the agreed events, and their property types |
| `rudder/secrets.vars.yaml` | Destination secrets. Git-ignored. |
| `.env.local` | The source's write key and the data plane URL. Git-ignored. |
| One analytics module in your app | The SDK setup and one typed function for each event |
The agent commits only the paths it wrote, so your uncommitted work stays out of its commits. The one exception is an app that isn't in git yet. The agent asks first, then runs `git init` and commits the app as it is, so the undo can revert the later commits without deleting your files.
## Undo the setup
Ask the agent to undo the setup, in the same session or a later one. It reverts the commits the run made, restores the key files it changed, and removes from the workspace only the resources this run created. It shows a dry run first and stops if anything else would be removed.
## Run the setup without an app
Start the agent in an empty folder and answer **Not sure yet, show me an event arriving** when it asks what sends the events. The agent then creates the pipeline and sends the first planned event with `curl`. The pipeline is real. When your app is ready, copy the `rudder/` folder into its repository and run the skill again there.
## Limitations
- Destinations that connect through a sign-in in the dashboard (OAuth) can't be created by the skill yet. The agent says so and offers a webhook for the first event.
- For a device mode destination, the SDK sends events straight to the destination, so RudderStack reports no delivery count and step 8 can't confirm the event.
- The skill stops in a workspace that holds CLI-managed resources from another project. See the warning below.
**Warning:** `rudder-cli apply` deletes every CLI-managed resource in the workspace that is missing from the `rudder/` folder. The agent stops when a dry run lists `Removed resources:`. Don't approve an apply that removes resources you didn't expect.
## Troubleshooting
| Symptom | Fix |
|---|---|
| The agent says `RUDDERSTACK_ACCESS_TOKEN` isn't set | Quit the agent, run the `export` line in a terminal, and start the agent again from that terminal. For Cursor and VS Code, quit the editor and open it from that terminal. To save the token once, run `rudder-cli auth login` instead of the `export` line. |
| The agent can't find the RudderStack MCP tools | An MCP server added during a session loads after a restart. Restart the agent in the same terminal and resume the conversation, for example with `claude --continue` or `codex resume --last`. |
| `rudder-cli` isn't found after the install | The agent runs it as `~/.local/bin/rudder-cli` for the session. To use it in a new terminal, add `export PATH="$HOME/.local/bin:$PATH"` to your shell profile. |
| `npx skills add` fails | Update Node.js to 22.20 or later. |
| The setup stopped midway | Run the skill again in the same folder. It finds the specs in `rudder/` and resumes. |
## Next steps
- Add a [Tracking Plan](https://www.rudderstack.com/docs/data-governance/tracking-plans/) for the agreed events with the `rudder-tracking-plans` skill.
- Check later changes to your events with the `rudder-tracking-review` skill. When your app's code sends the events, step 9 offers to add a line that tells your agent to use it. The line goes into your `AGENTS.md`, or into `CLAUDE.md` when that is the file you have. The agent doesn't commit the line, and an undo leaves it in place.
- Add a second destination. It's one more spec in `rudder/destinations/` and one more line in `rudder/connections.yaml`.
## See more
- [Get Started Page](https://www.rudderstack.com/docs/get-started/introduction/get-started-page/): Set up the same pipeline by hand in the dashboard
- [RudderStack Agent Skills Overview](https://www.rudderstack.com/docs/ai-features/agent-skills/): The marketplace and its other skills
- [Connect to RudderStack MCP](https://www.rudderstack.com/docs/ai-features/rudderstack-mcp/connect/): MCP setup for each client