How to Create a Model in RudderStack
- free
- growth
- enterprise
3 minute read
This guide lists the steps to create a SQL model in RudderStack.
Create a new model
- Log in to the RudderStack dashboard.
- From the left navigation bar, go to Activate > Models and click New model.
- Configure the settings explained in the following sections:
1. Select source
Select the warehouse source for which you want to create a model. RudderStack supports the Models feature for the following sources:
2. Specify warehouse credentials
Specify the warehouse credentials to authenticate RudderStack. See the Configure warehouse credentials section of the source-specific documentation (for example, Redshift) for more details.
Once you select or add your warehouse credentials and click Next, RudderStack will validate them before you can proceed with the setup. See FAQ for more information on these validations.
3. Specify model name
- Assign a name to uniquely identify the source in the RudderStack dashboard.
- Select the source type to Model and click Continue.
4. Configure model
- Enter an optional model description.
- Specify the custom SQL query in Query section.
- Click Run Query to fetch the data preview.
- Select the Primary key to use a column that uniquely identifies your warehouse records.
You can set a primary key only after you run the SQL query successfully using the Run Query option.
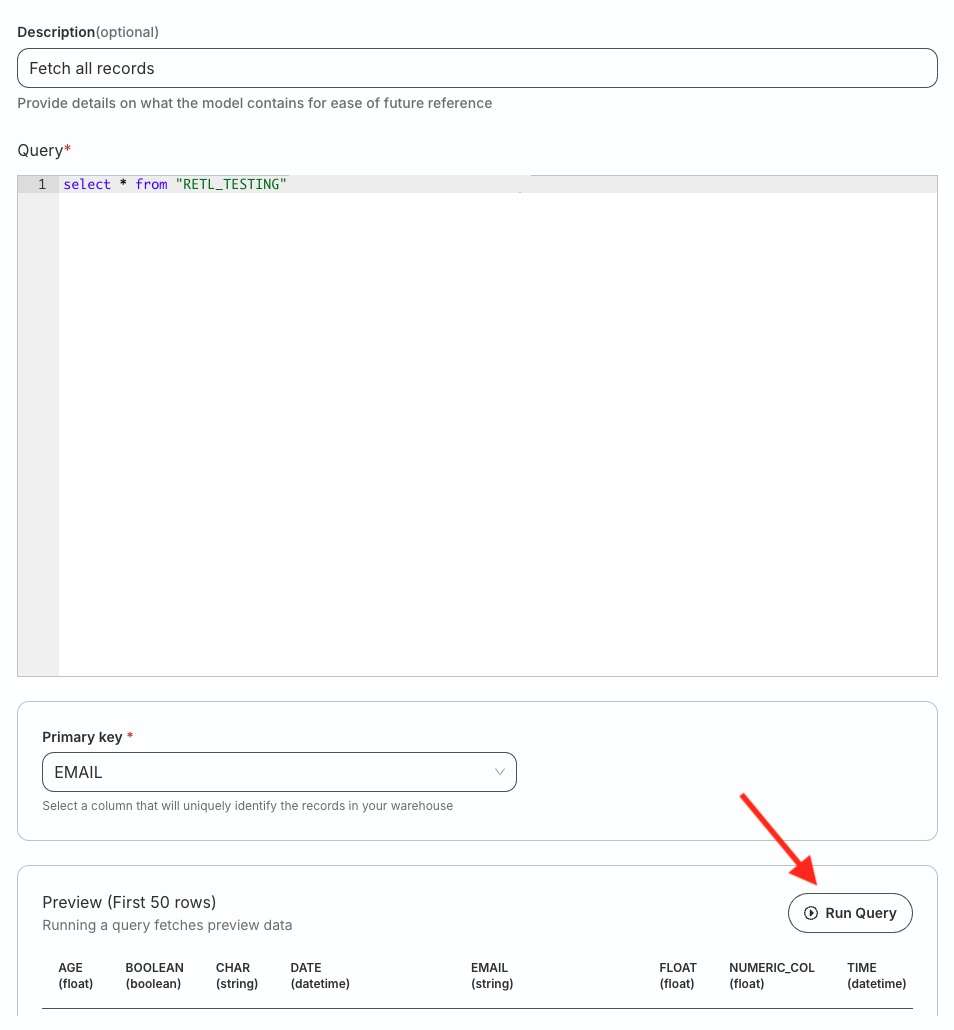
Note the following:
- The Preview section displays the preview of the 50 resultant rows in a paginated format.
- You can add single-line/multiline comments above the query. However, RudderStack supports only multiline comments at the end of the query. Support for single-line comments is coming soon.
- You don’t need to add a semi-colon at the end of a query. RudderStack handles this automatically before running the query on the warehouse data.
5. Review and complete setup
To make any changes to the warehouse credentials or model configuration, click the edit icon present next to those sections.
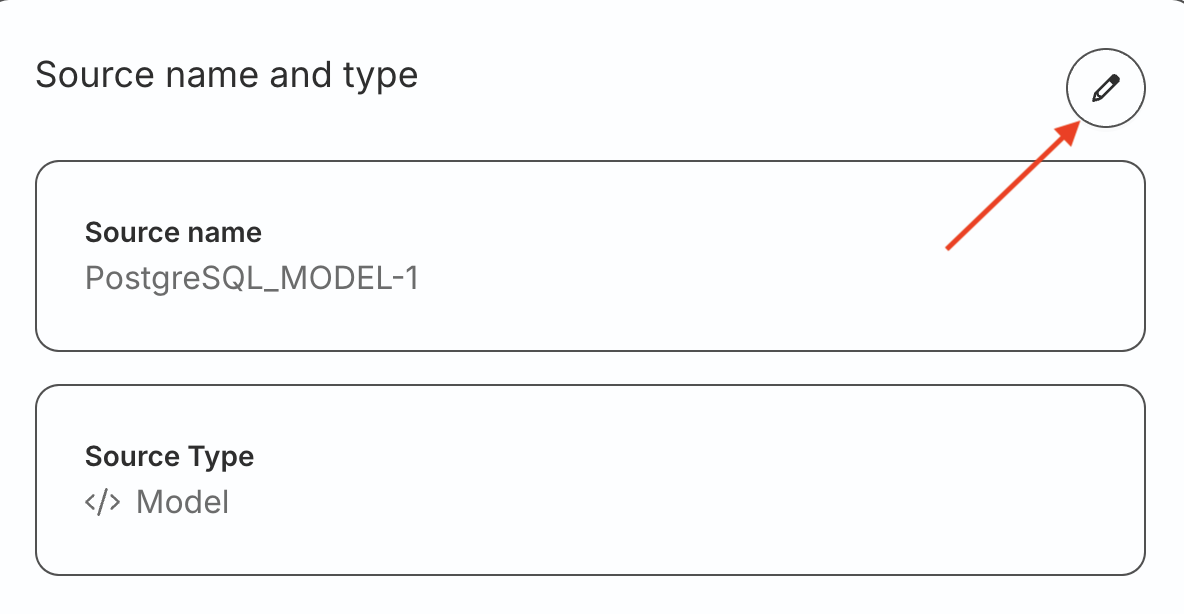
Once you have reviewed your configuration, click Create source to complete the setup.
To change the query, description, credentials, or alerts later, see How to Update a Model.
6. Connect model to destination
To start using the newly-created source, you can connect it to:
- A new destination, or
- An existing destination that is not already connected to any other source.
To connect to a destination later, click Done on the top right:
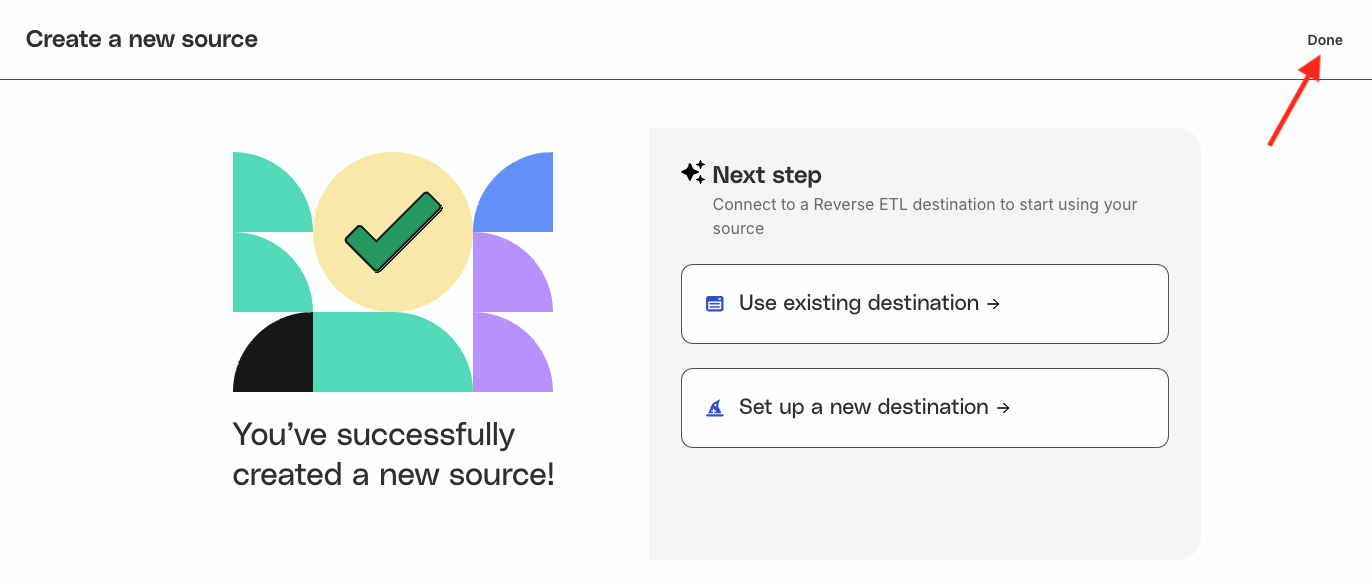
You will then be redirected to the Overview page of the source where you will see the option of connecting it to a new or existing destination.
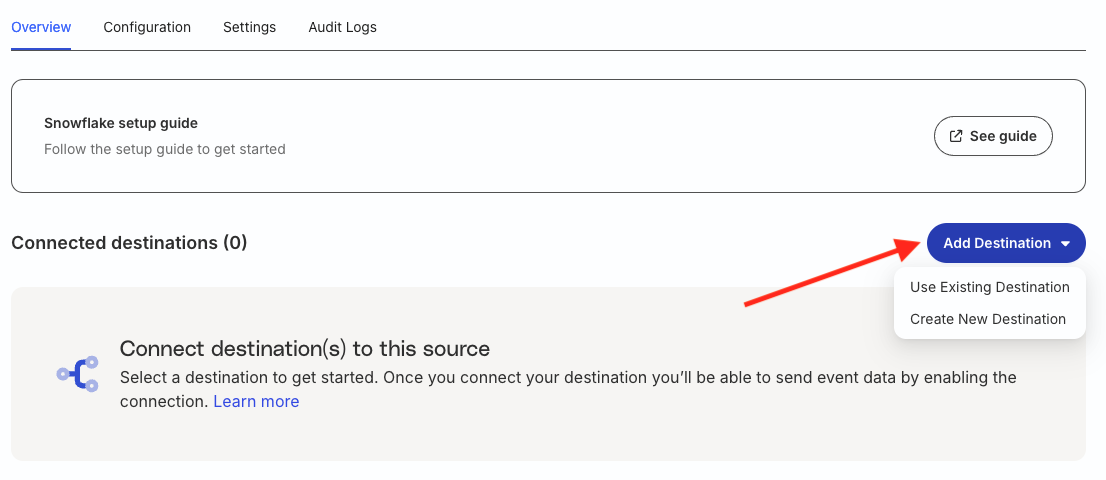
See Set up Reverse ETL Connection section for more information.
FAQ
What do the three validations under Verifying Credentials imply?
Once you proceed after entering the connection credentials, you will see the following validations under the Verifying Credentials option:
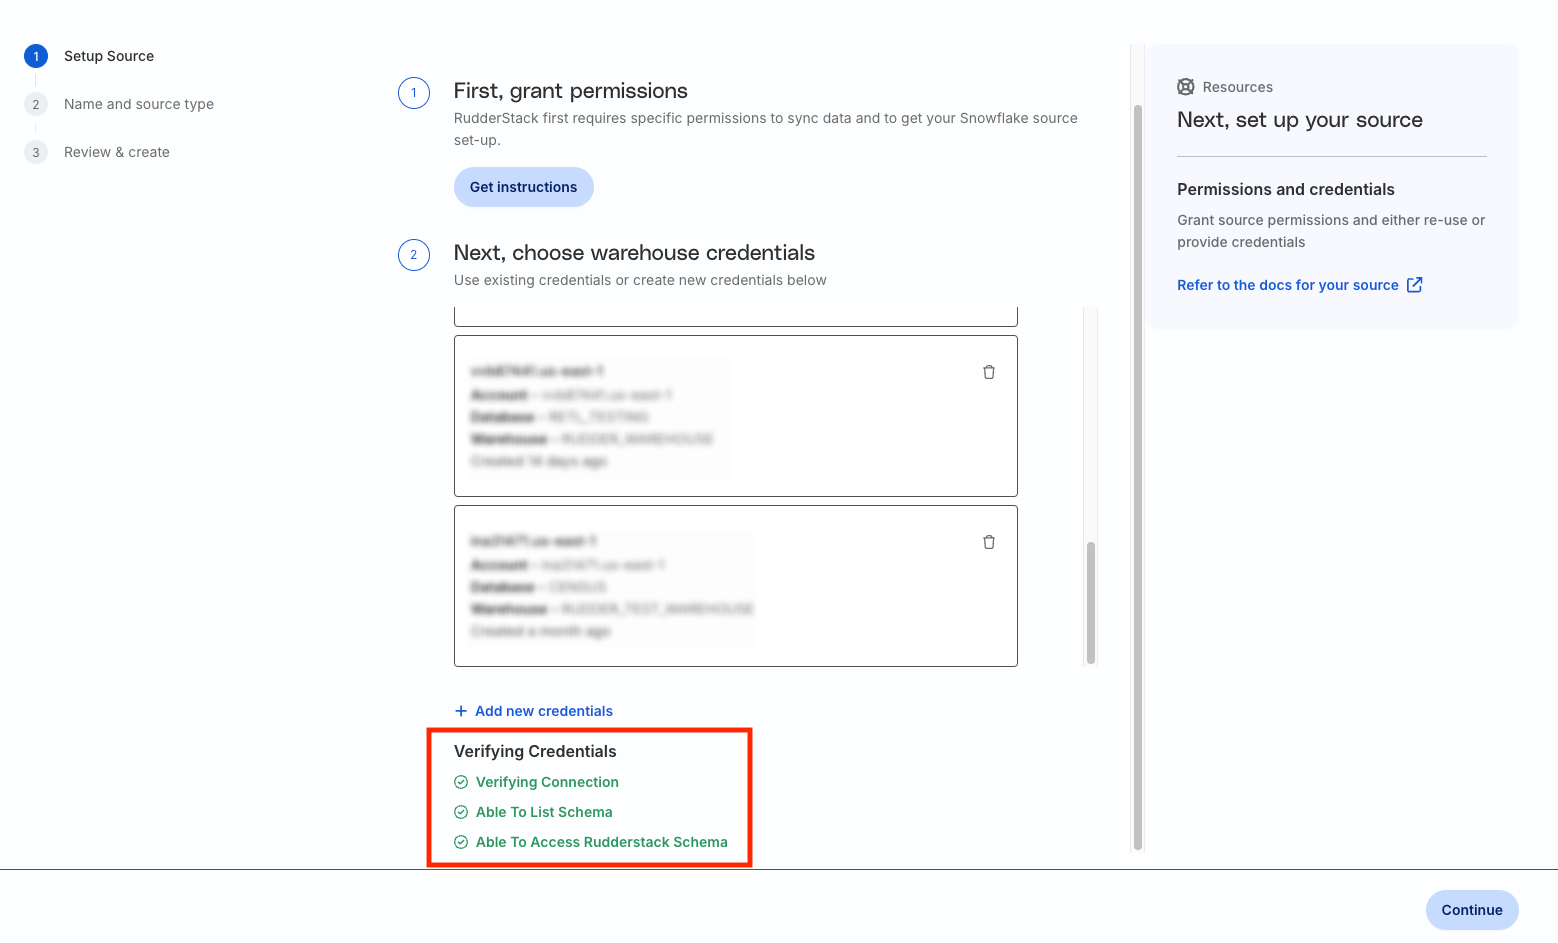
These options are explained below:
- Verifying Connection: Indicates that RudderStack is trying to connect to the warehouse with the information specified in the connection credentials.
If this option gives an error, it means that one or more fields specified in the connection credentials are incorrect. Verify your credentials in this case.
Able to List Schema: Checks if RudderStack is able to fetch all schema details using the provided credentials.
Able to Access RudderStack Schema: Checks if RudderStack has the required access to the
_RUDDERSTACK/_rudderstackschema (depending on your warehouse). To create the schema, run all commands listed in the Permissions section of the respective Reverse ETL source documentation:
If this option gives an error, verify if you have successfully created the_RUDDERSTACK/_rudderstackschema and given RudderStack the required permissions to access it.
