ClickUp is a productivity tool that lets you set up project workflows and tasks, and enable smooth cross-team collaboration.
RudderStack supports ClickUp as a destination where you can seamlessly send your event data.
Find the open source transformer code for this destination in the GitHub repository.
Getting started
Before configuring ClickUp as a destination in RudderStack, verify if the source platform is supported by ClickUp by referring to the table below:
Connection Mode
Web
Mobile
Server
Device mode
-
-
-
Cloud mode
Supported
Supported
Supported
To learn more about the difference between cloud mode and device mode in RudderStack, refer to the RudderStack Connection Modes guide.
Once you have confirmed that the source platform supports sending events to ClickUp, follow these steps:
From your RudderStack dashboard, add a source. Then, from the list of destinations, select ClickUp.
Assign a name to the destination and click Continue.
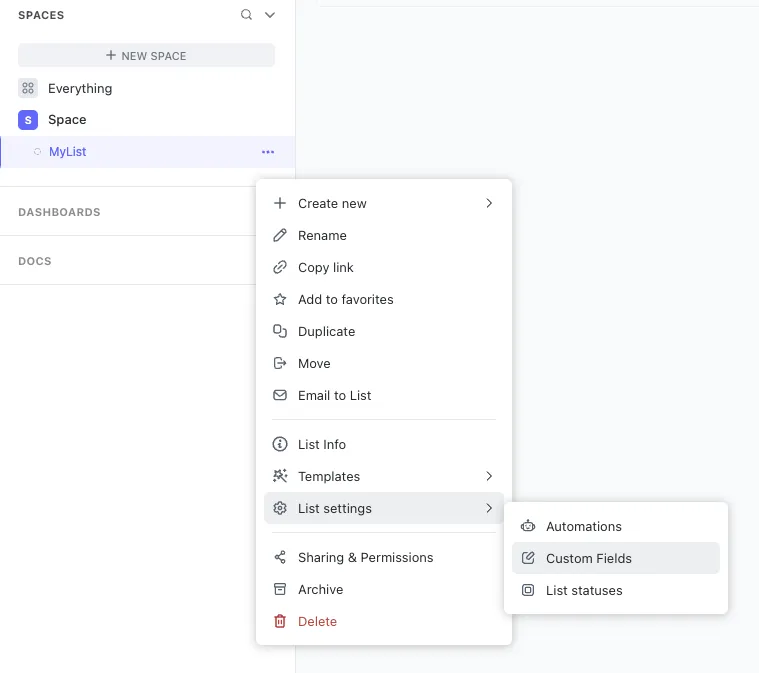
Connection settings
To successfully configure ClickUp as a destination, you will need to configure the following settings:
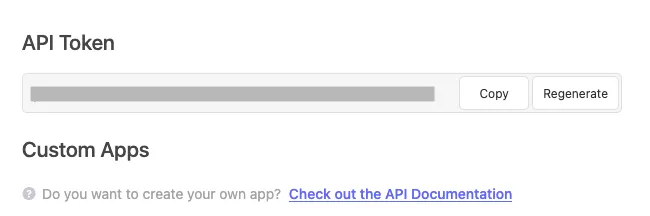
API Token: Enter your ClickUp API token.
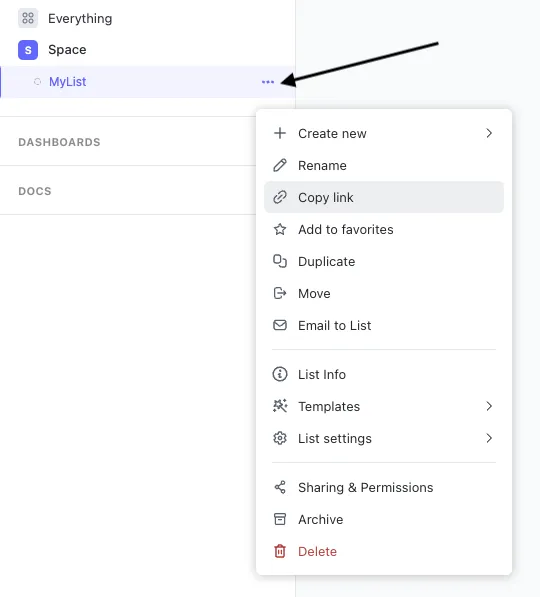
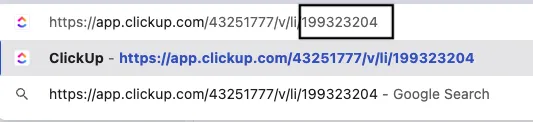
List ID: Enter your ClickUp list ID.
For more information on obtaining your ClickUp API token and list ID, refer to the FAQ section below.
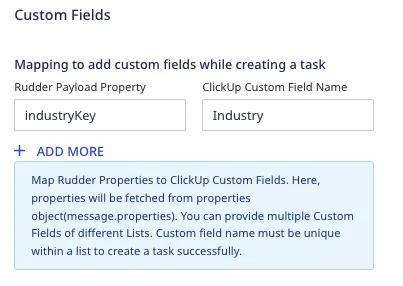
Mapping to add custom fields while creating a task: Use this setting to map a specific RudderStack event property to a ClickUp Custom Field.
For more information on using this setting, refer to the Adding custom fields section below.
You can provide multiple ClickUp custom fields associated with different lists. However, note that the custom field name must be unique within a list to successfully create a task.
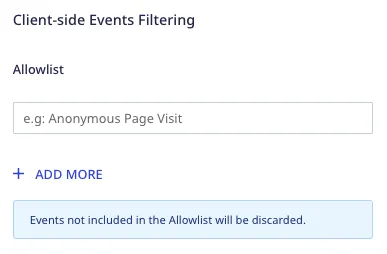
Client-side Events Filtering: This setting lets you specify which events should be allowed to flow through to ClickUp.
RudderStack will discard the events not included in the allowlist.
Track
You can use the track calls to create a task in ClickUp.
RudderStack uses the ClickUp task endpoint to create a task within a list.
To successfully create a task, you need to specify the List ID in the dashboard settings. You can also pass the list ID through externalId, as seen in the above sample snippet.
RudderStack gives preference to the list ID passed via externalId over the list ID specified in the dashboard.
Adding assignees to a task
While creating a task, you can assign it to a Team(Workspace) member by specifying a userId. You can also pass multiple userId in an externalId array:
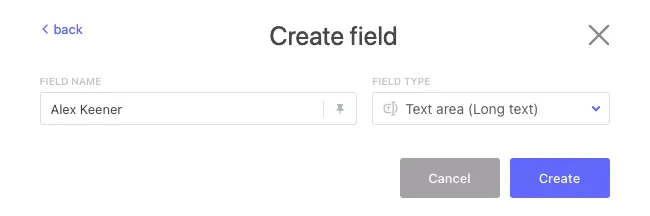
You can pass the custom fields to ClickUp by specifying the mapping in the Mapping to add custom fields while creating a task dashboard setting:
You can specify the ClickUp Custom Field Name corresponding to the custom field you created in the ClickUp dashboard and the RudderStack Payload Property corresponding to the event property present in the payload.
RudderStack uses the custom field name to retrieve the id using the field endpoint.
Supported custom fields
RudderStack supports specifying the following ClickUp custom fields in the dashboard settings:
Custom Field
Notes
URL
Must be in a valid URL format.
Email
Must be in a valid email format.
Phone
Must be a valid phone number with a country code, for example, +1 123 456 7890.
Date
Must be a valid date in a datetime format, for example, 2022-02-25T13:39:21.032Z.
Text
Must be a string.
Checkbox
Must be in a Boolean format.
Number
-
Currency
Must be a number.
Emoji (integer)
Used for rating. The value must be in a range defined in the ClickUp dashboard.
Location
Latitude/longitude and the formatted address must be passed as the Google Geocoding API.
Dropdown
RudderStack uses the dropdown option name to find the UUID using the field endpoint.
Label
RudderStack will use the label name to find the UUID using the field endpoint.
RudderStack currently does not support specifying the following custom fields:
Tasks
Users
Automatic Progress
Manual Progress
Note that when sending the custom fields to ClickUp:
You can provide multiple custom fields of different ClickUp lists in the dashboard.
To successfully create a task, you need to provide a unique custom field name within a list in the custom field mapping.
Supported mapping
The following table lists the mappings between the optional RudderStack properties and the ClickUp properties:
RudderStack property
ClickUp property
Data type
context.externalId.id when context.externalId.type = clickUpListId
list_id
String
properties.taskName / message.event
name
String
properties.description
description
String
context.externalId.id when context.externalId.type = clickUpAssigneeId
assignees
Array
properties.tags
tags
Array
properties.priority
priority
Integer
properties.timeEstimate
time_estimate
Integer (in ms)
properties.status
status
String
properties.dueDate
due_date
Datetime
properties.includeDueDateTime
due_date_time
Boolean
properties.startDate
start_date
Datetime
properties.includeStartDateTime
start_date_time
Boolean
properties.notifyAll
notify_all
Boolean
properties (Only fields mentioned in the dashboard mapping)
custom_fields
Array
Rate limits
Note that the ClickUp enforces rate limits per OAuth and personal token. This rate limit depends on your ClickUp plan and is summarized in the following table:
This site uses cookies to improve your experience while you navigate through the website. Out of
these
cookies, the cookies that are categorized as necessary are stored on your browser as they are as
essential
for the working of basic functionalities of the website. We also use third-party cookies that
help
us
analyze and understand how you use this website. These cookies will be stored in your browser
only
with
your
consent. You also have the option to opt-out of these cookies. But opting out of some of these
cookies
may
have an effect on your browsing experience.
Necessary
Always Enabled
Necessary cookies are absolutely essential for the website to function properly. This
category only includes cookies that ensures basic functionalities and security
features of the website. These cookies do not store any personal information.
This site uses cookies to improve your experience. If you want to
learn more about cookies and why we use them, visit our cookie
policy. We'll assume you're ok with this, but you can opt-out if you wish Cookie Settings.